Build Diary
1/48 Arma Hobby
Hurricane Mk.IIc
July 31, 2023
With the Unboxing out of the way, it’s time to see what’s in store for general fit.
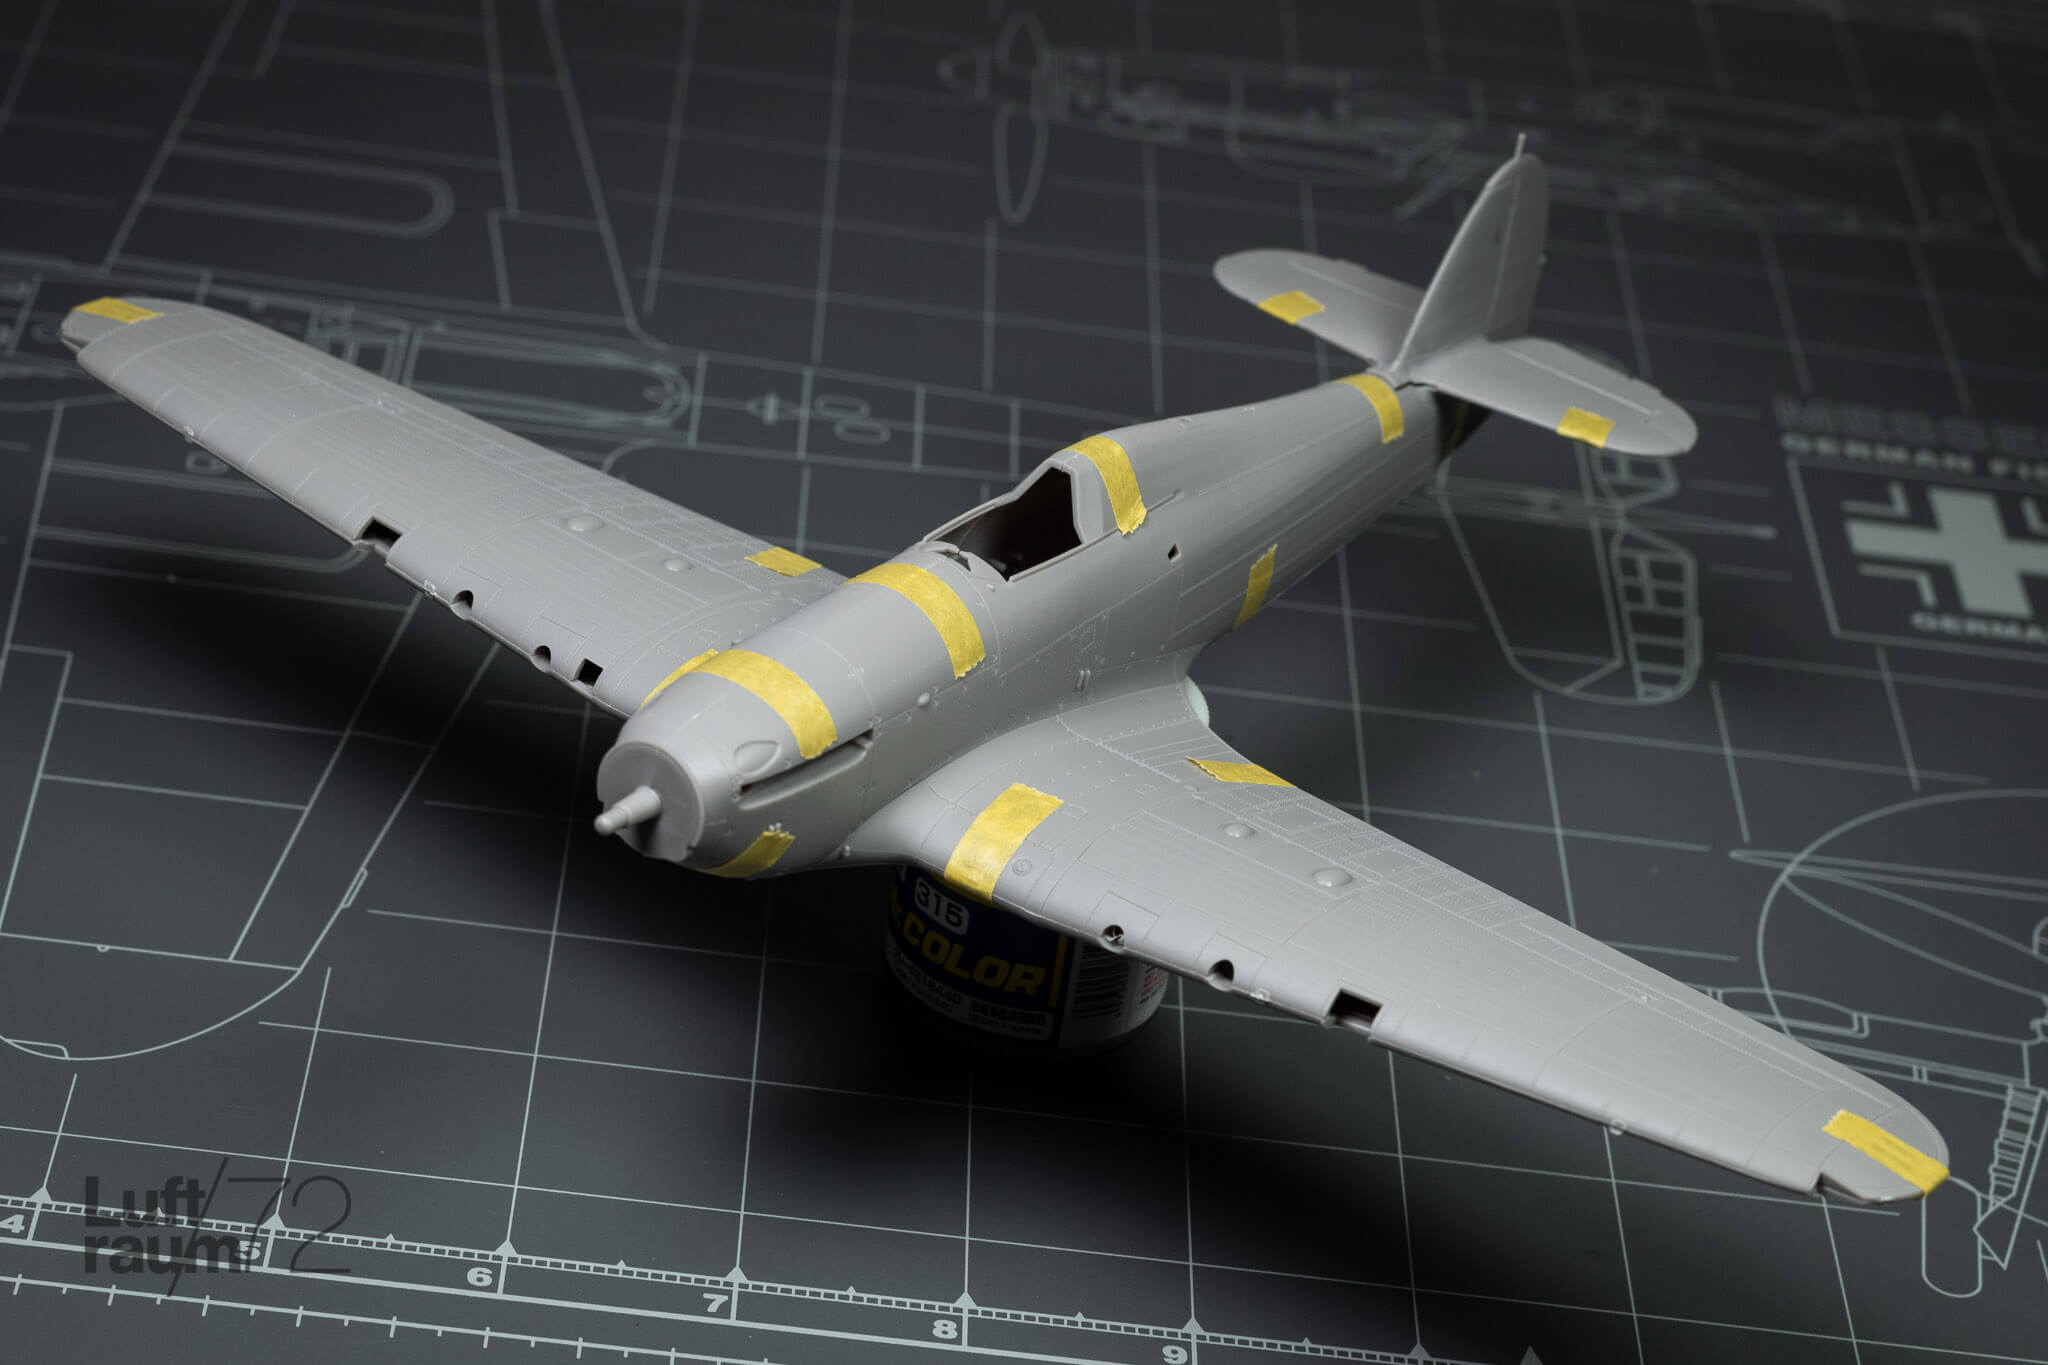
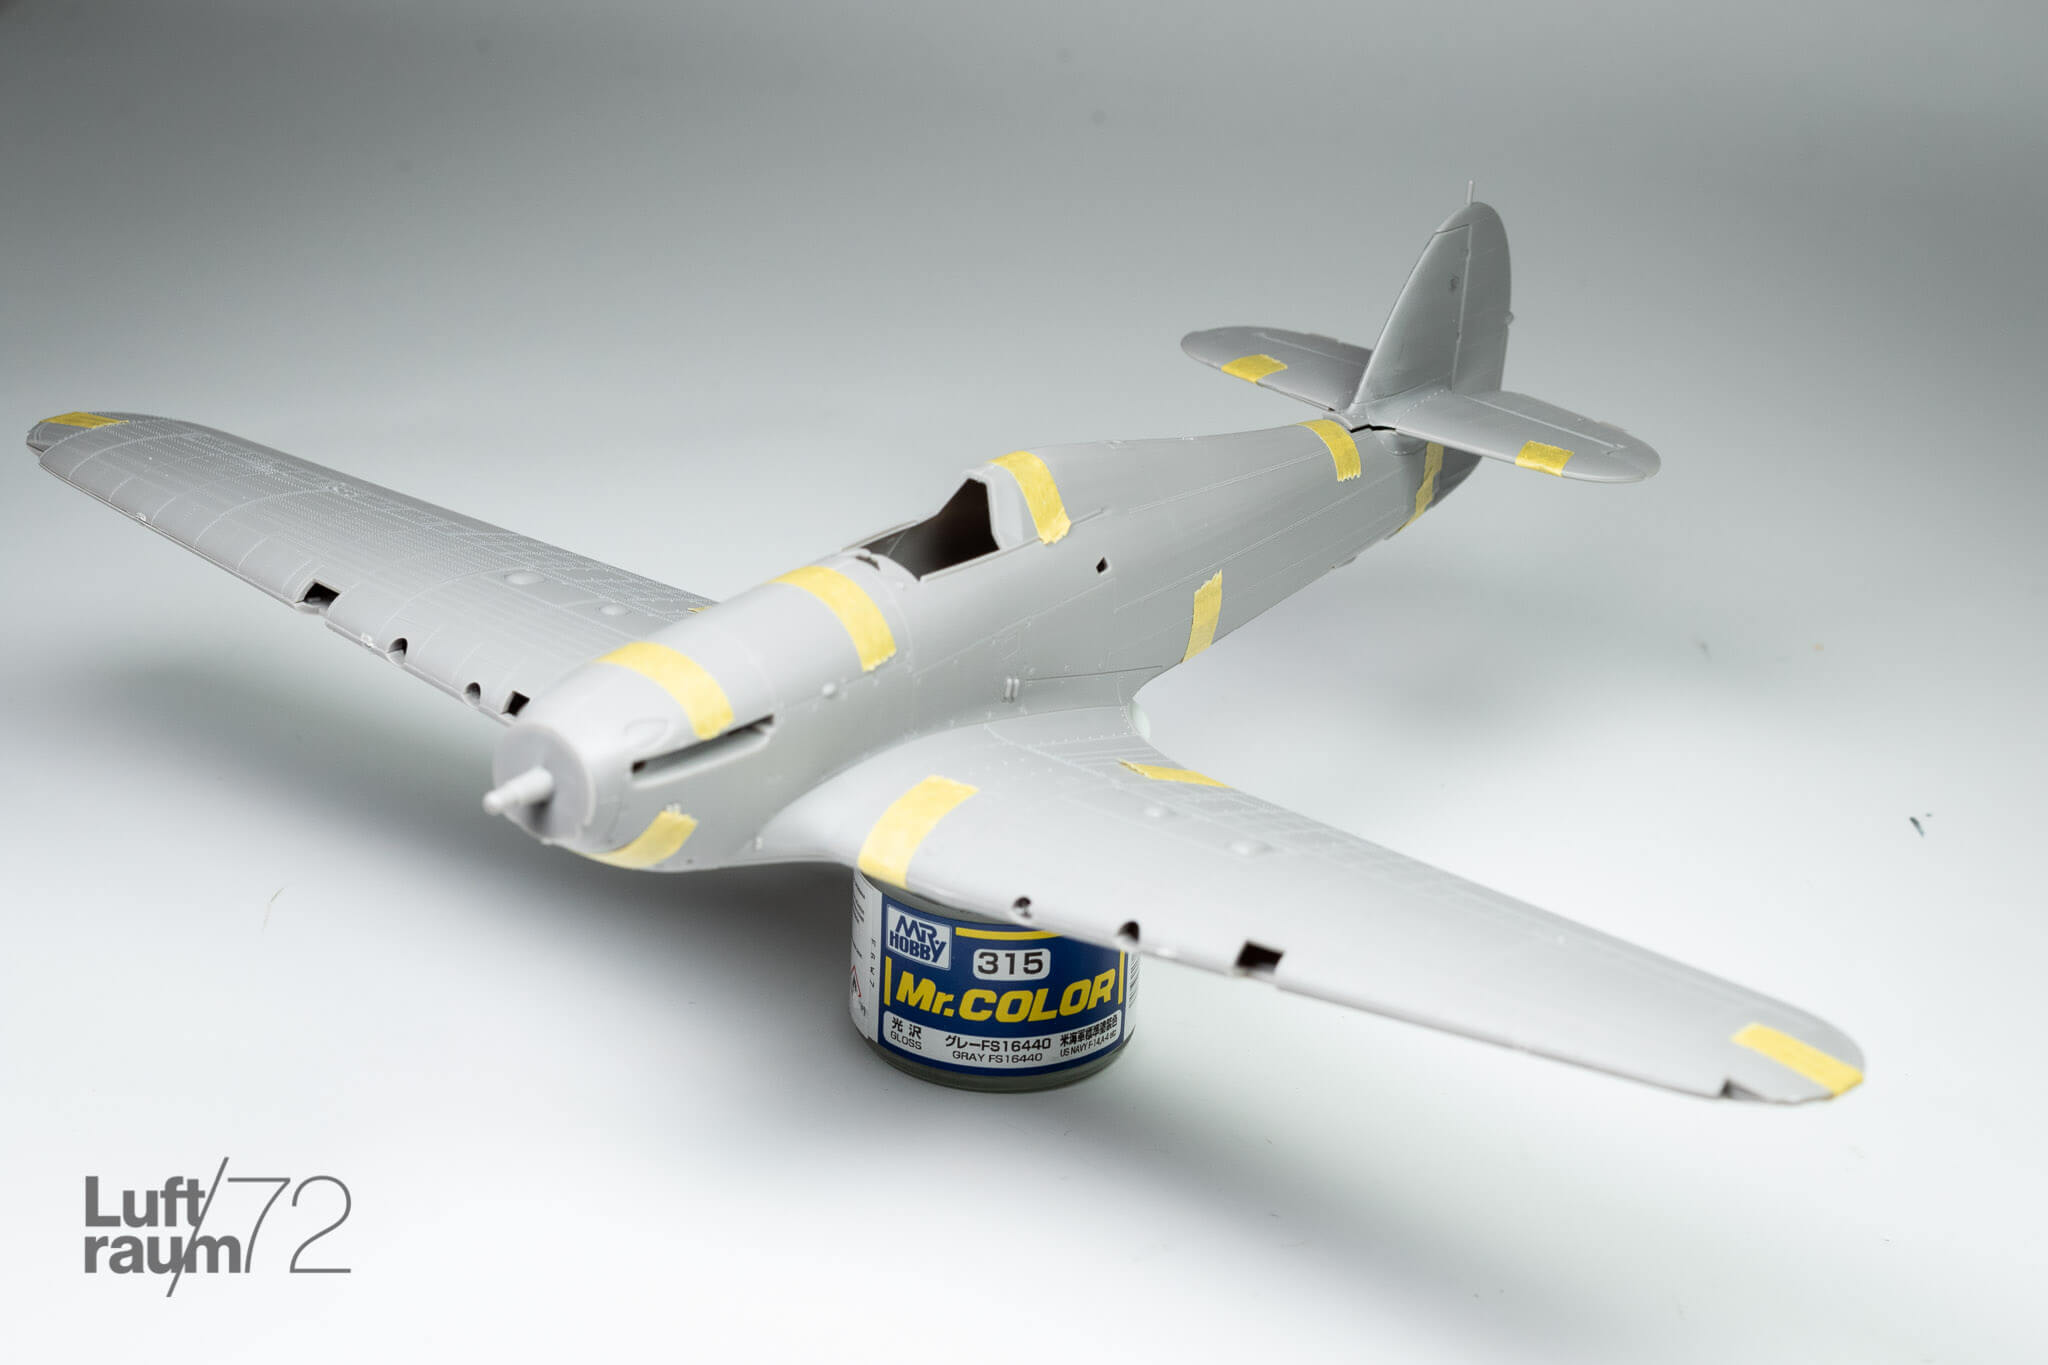
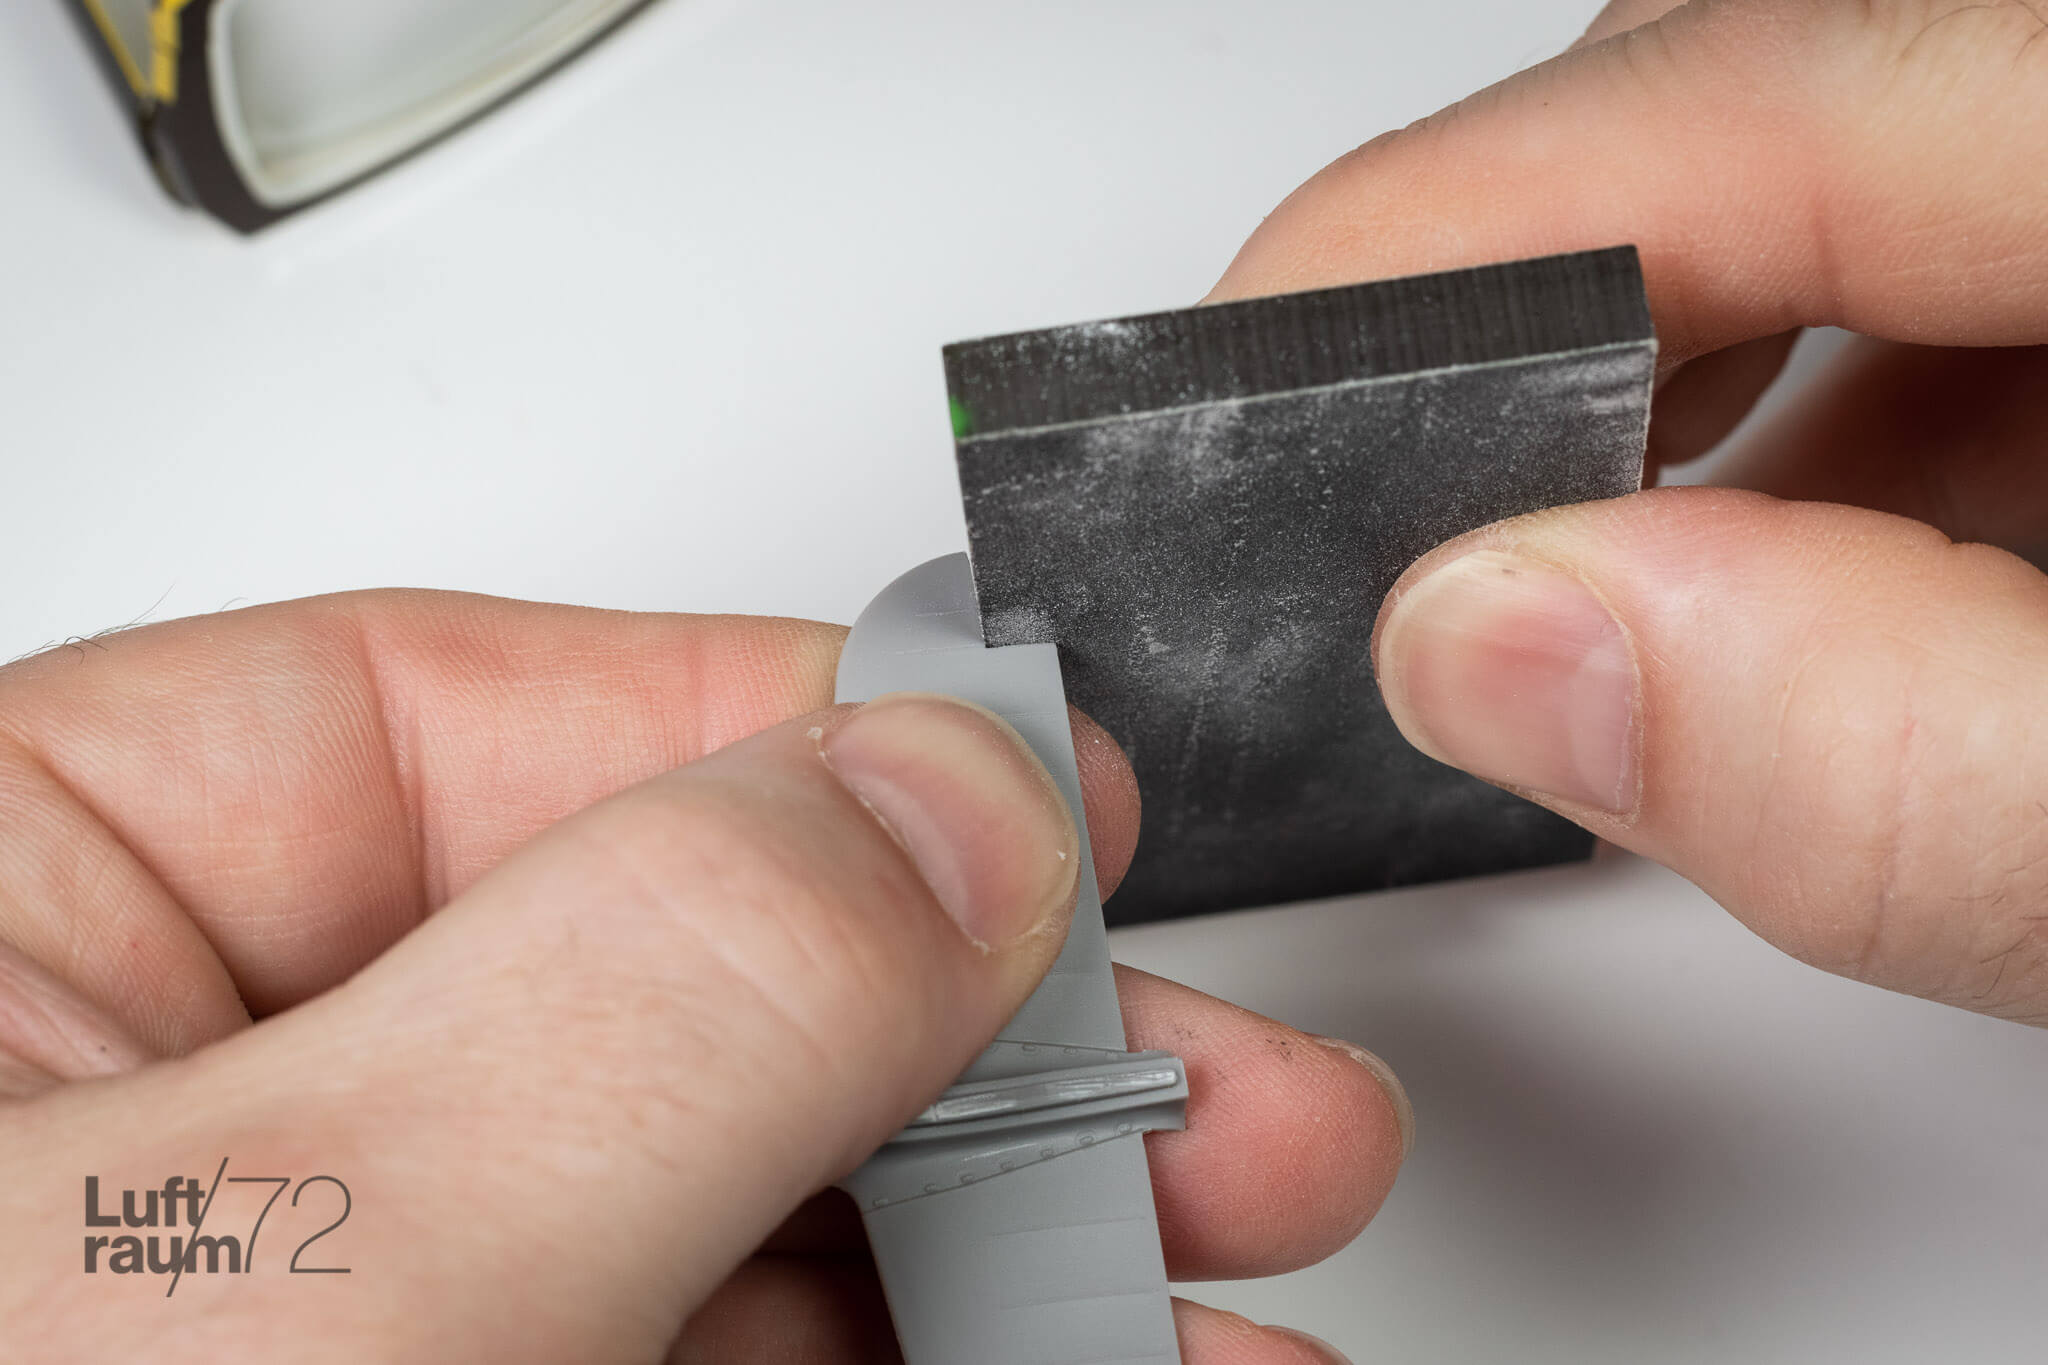
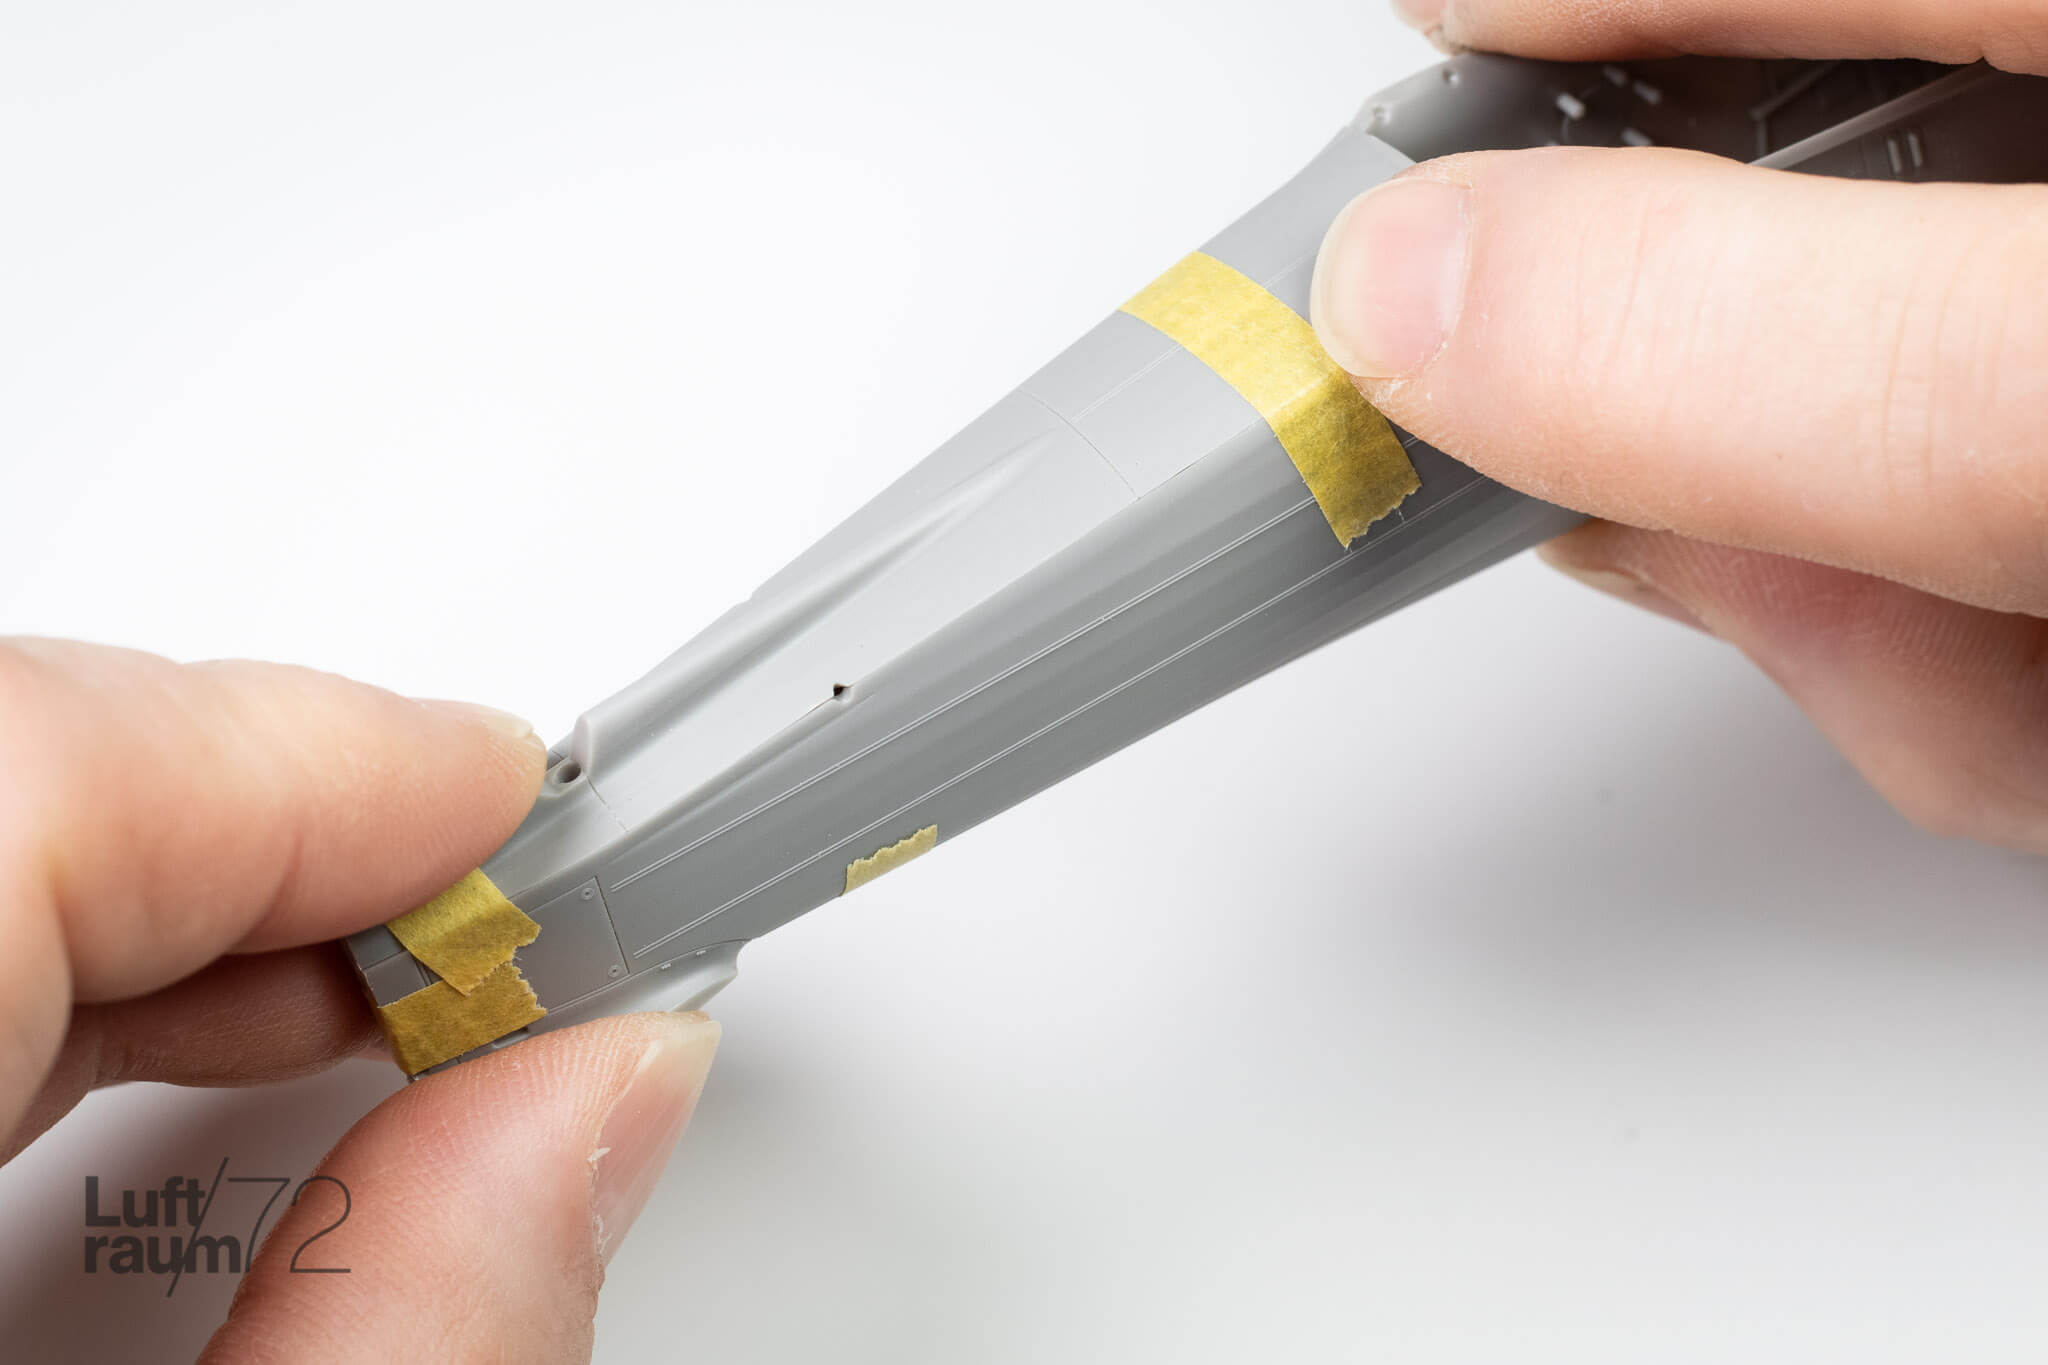
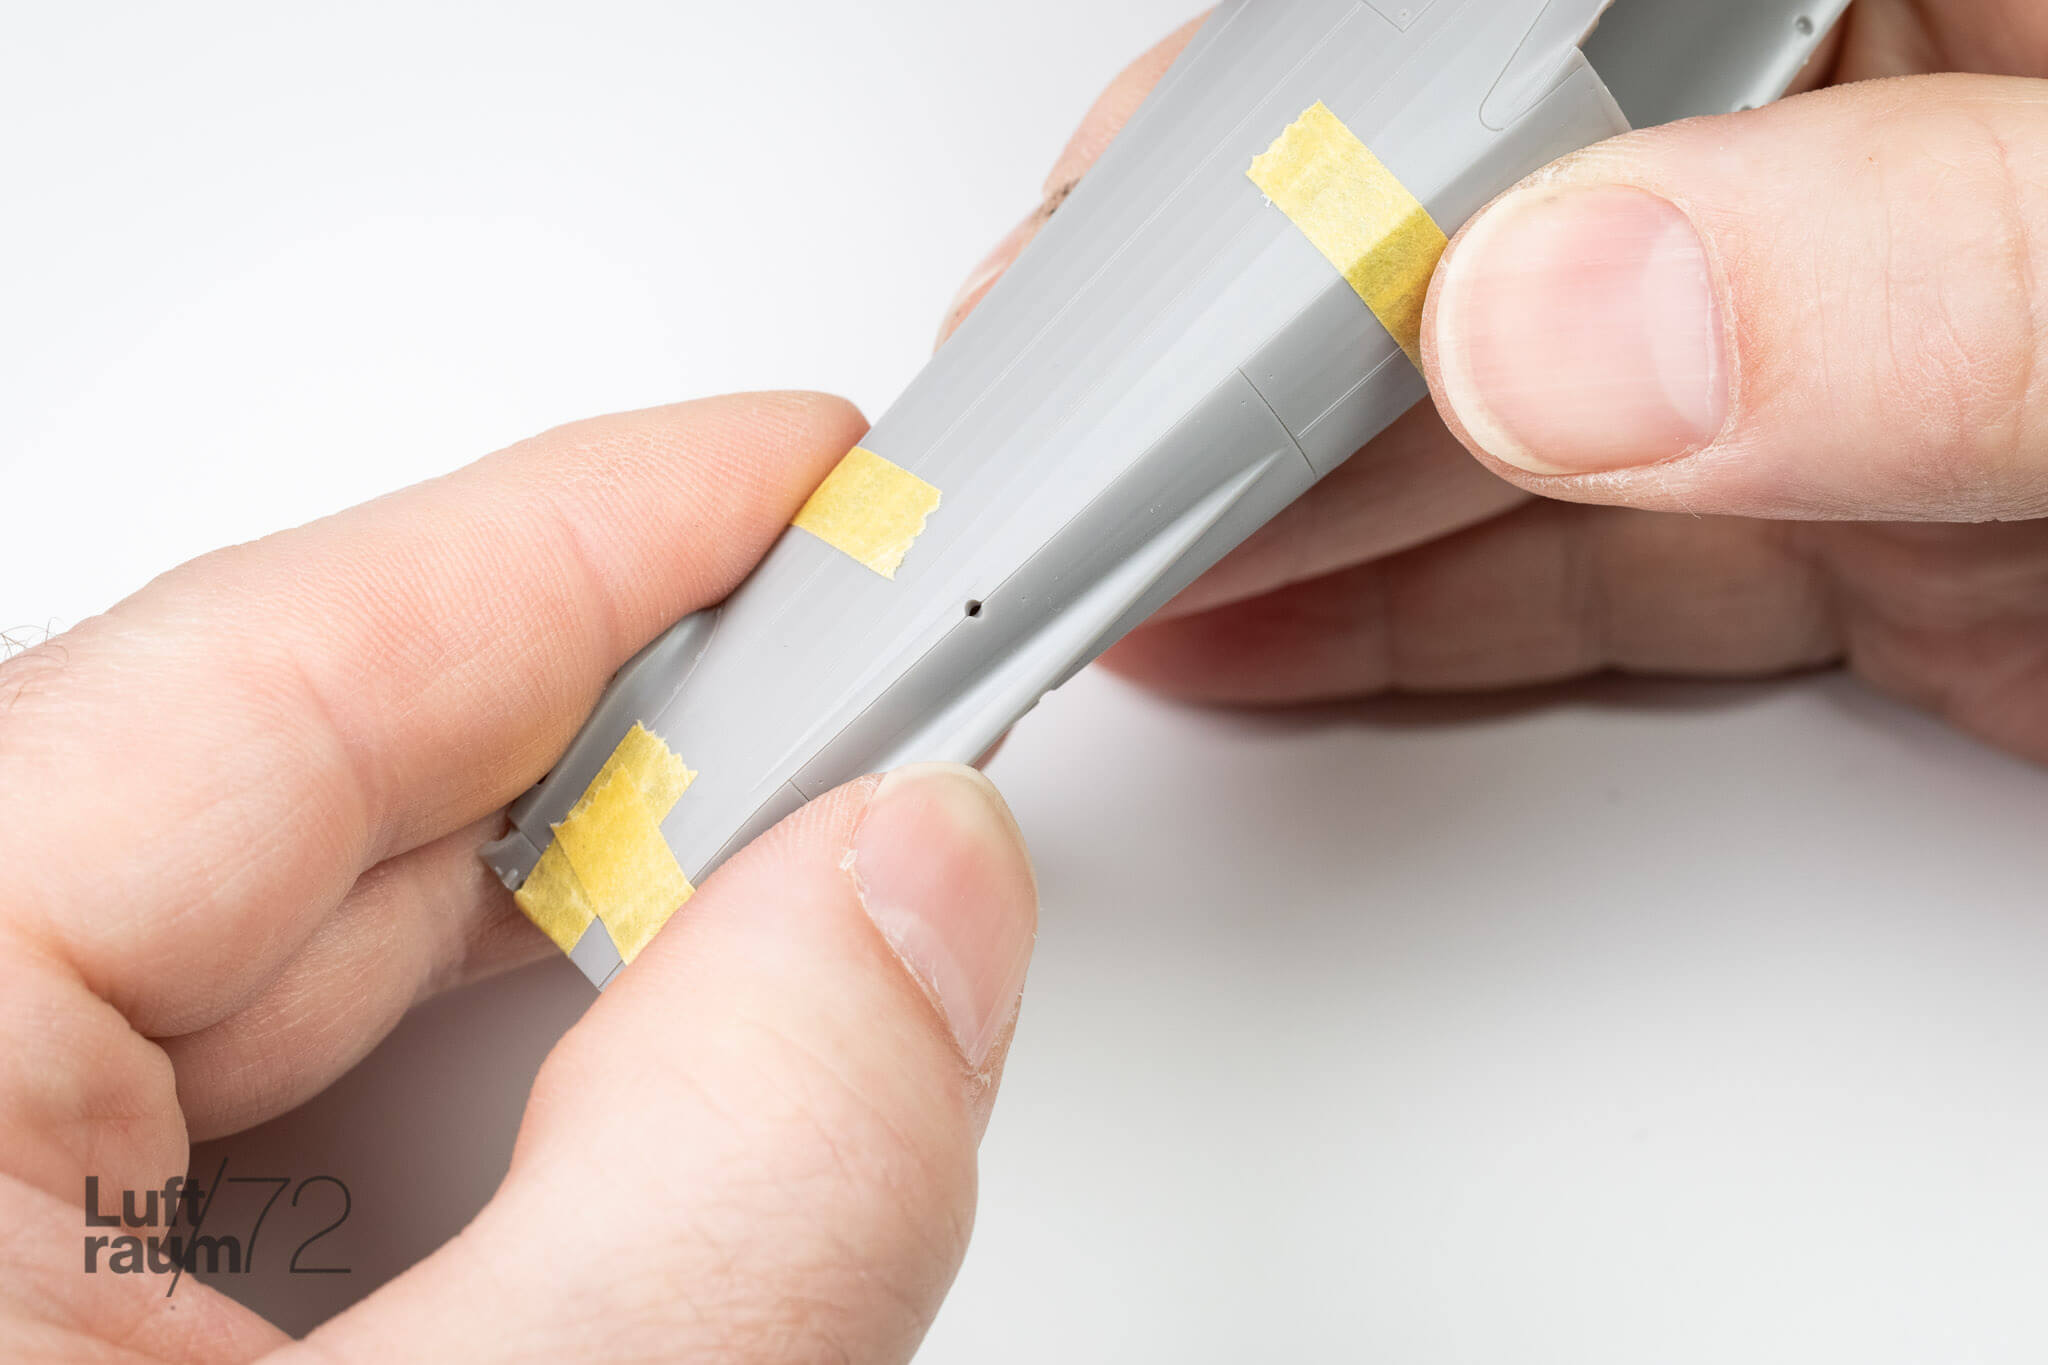
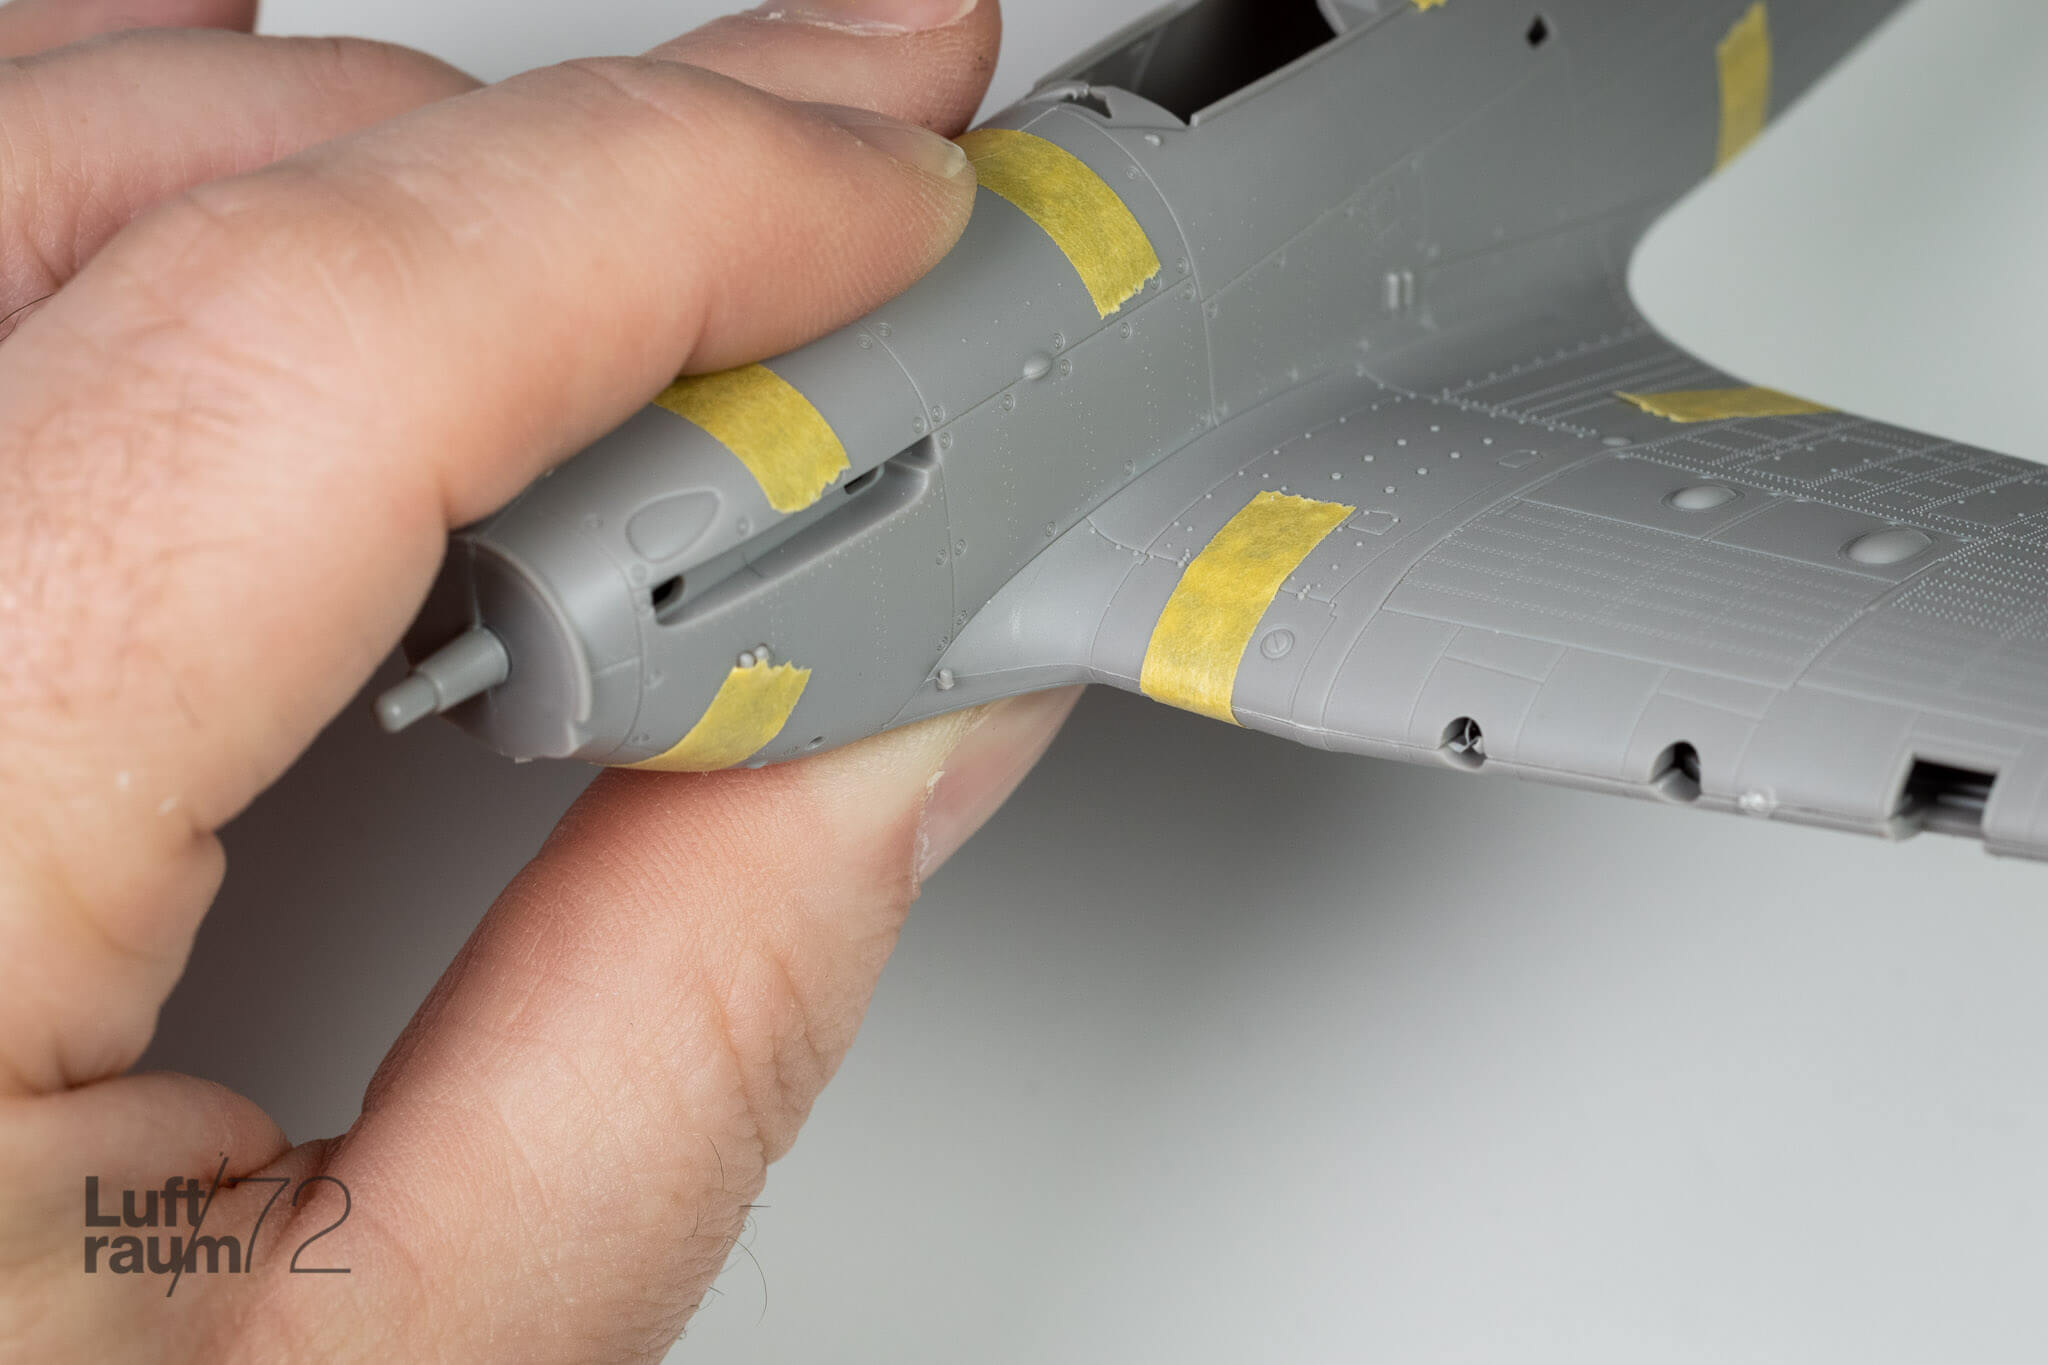
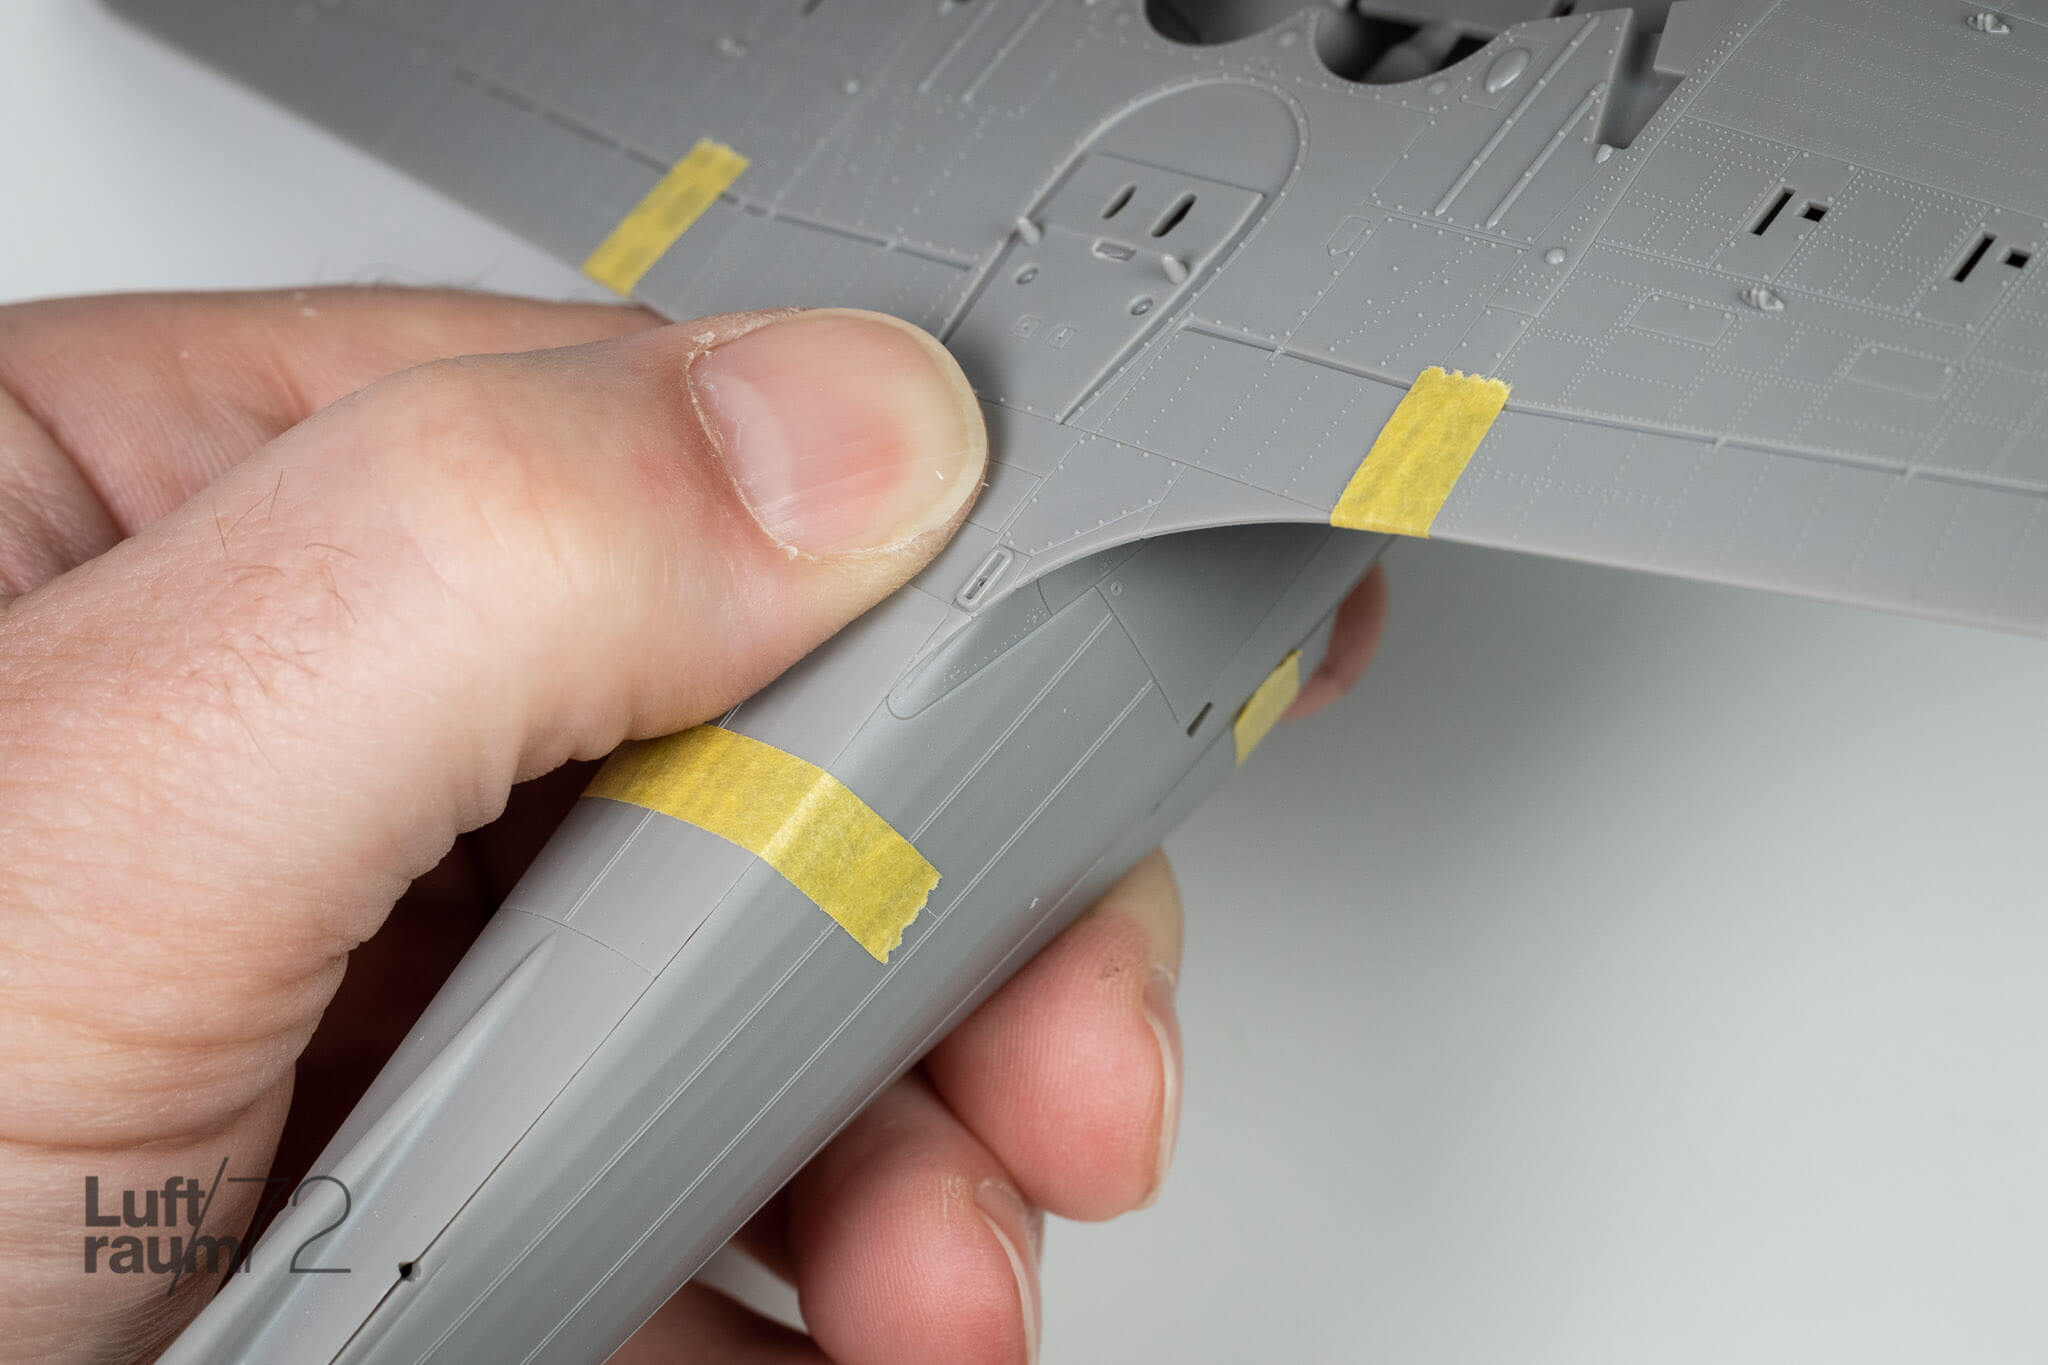
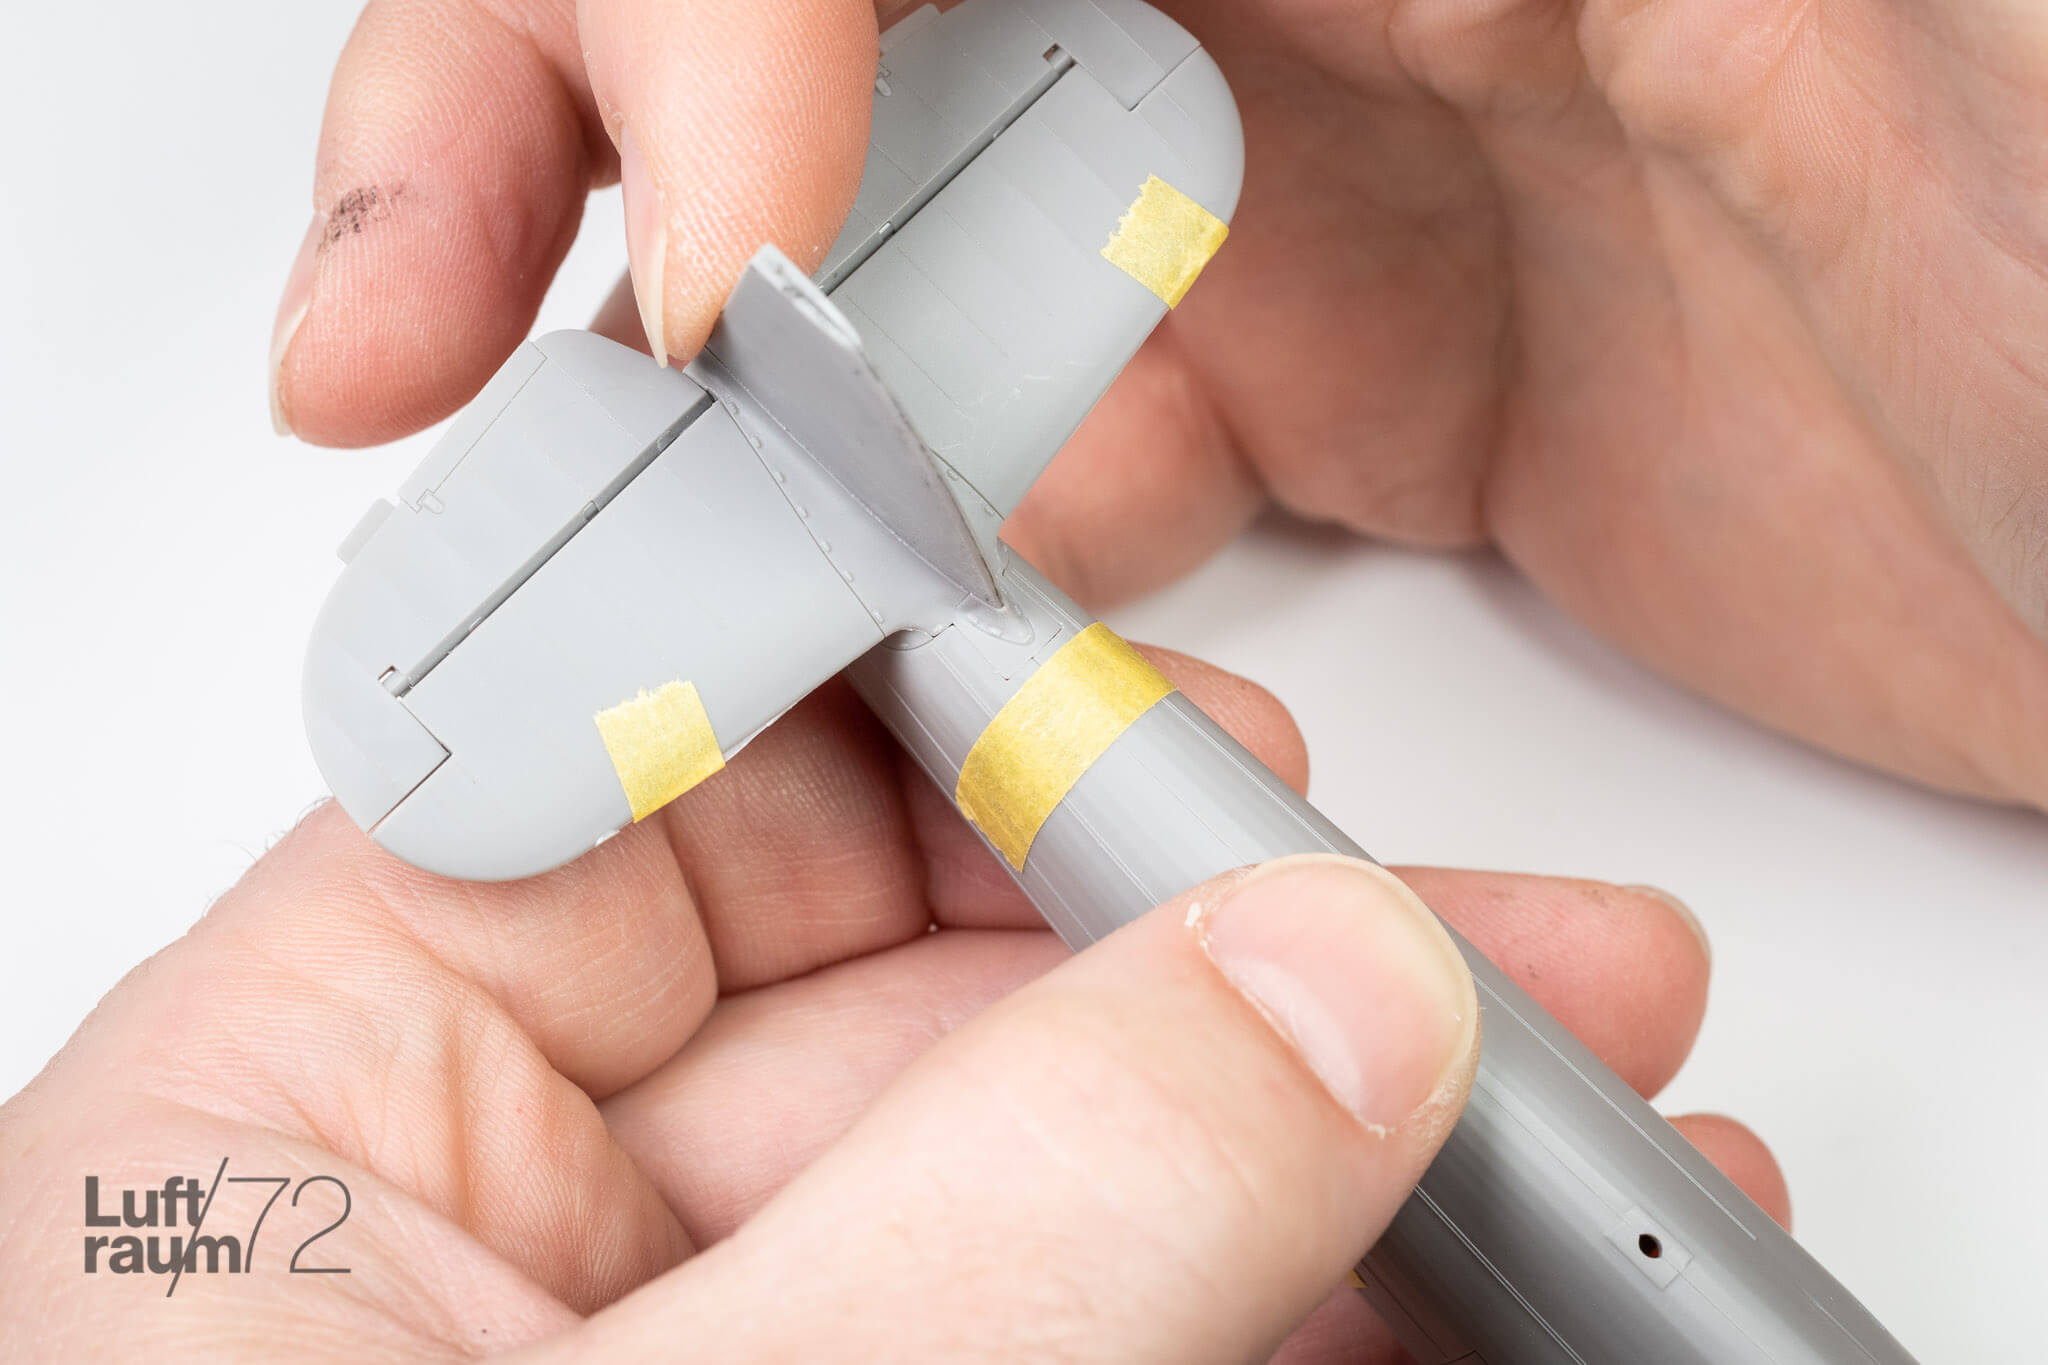
All the major airframe components were snipped out of the runners, sprue gates trimmed, and everything generally cleaned up. Then out came the 6mm Tamiya tape, and halves were mated up and taped together for a first look.
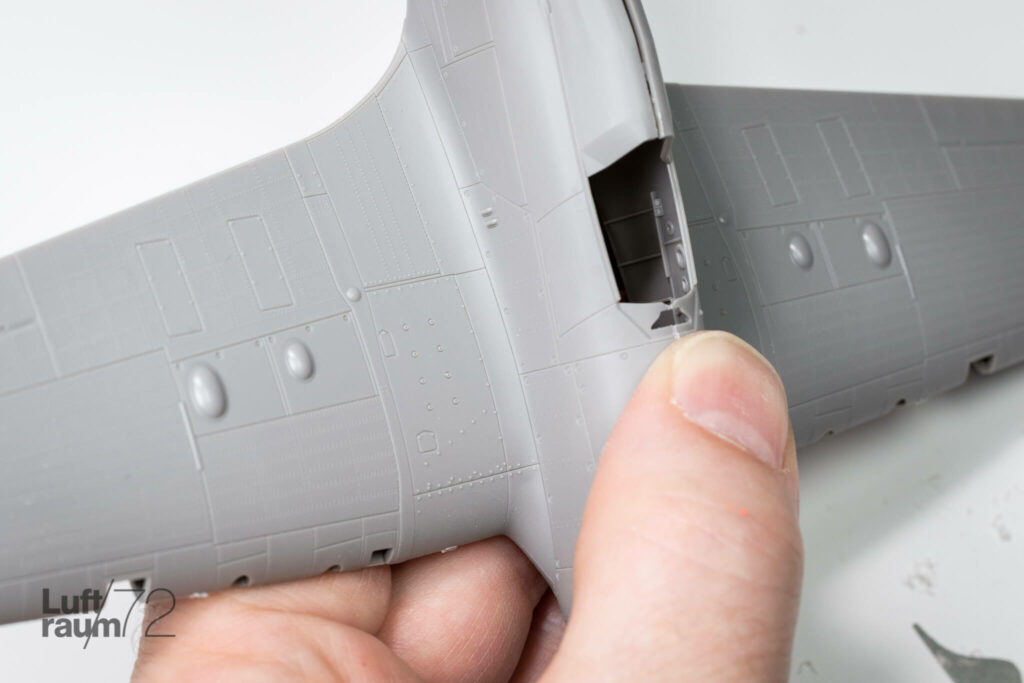
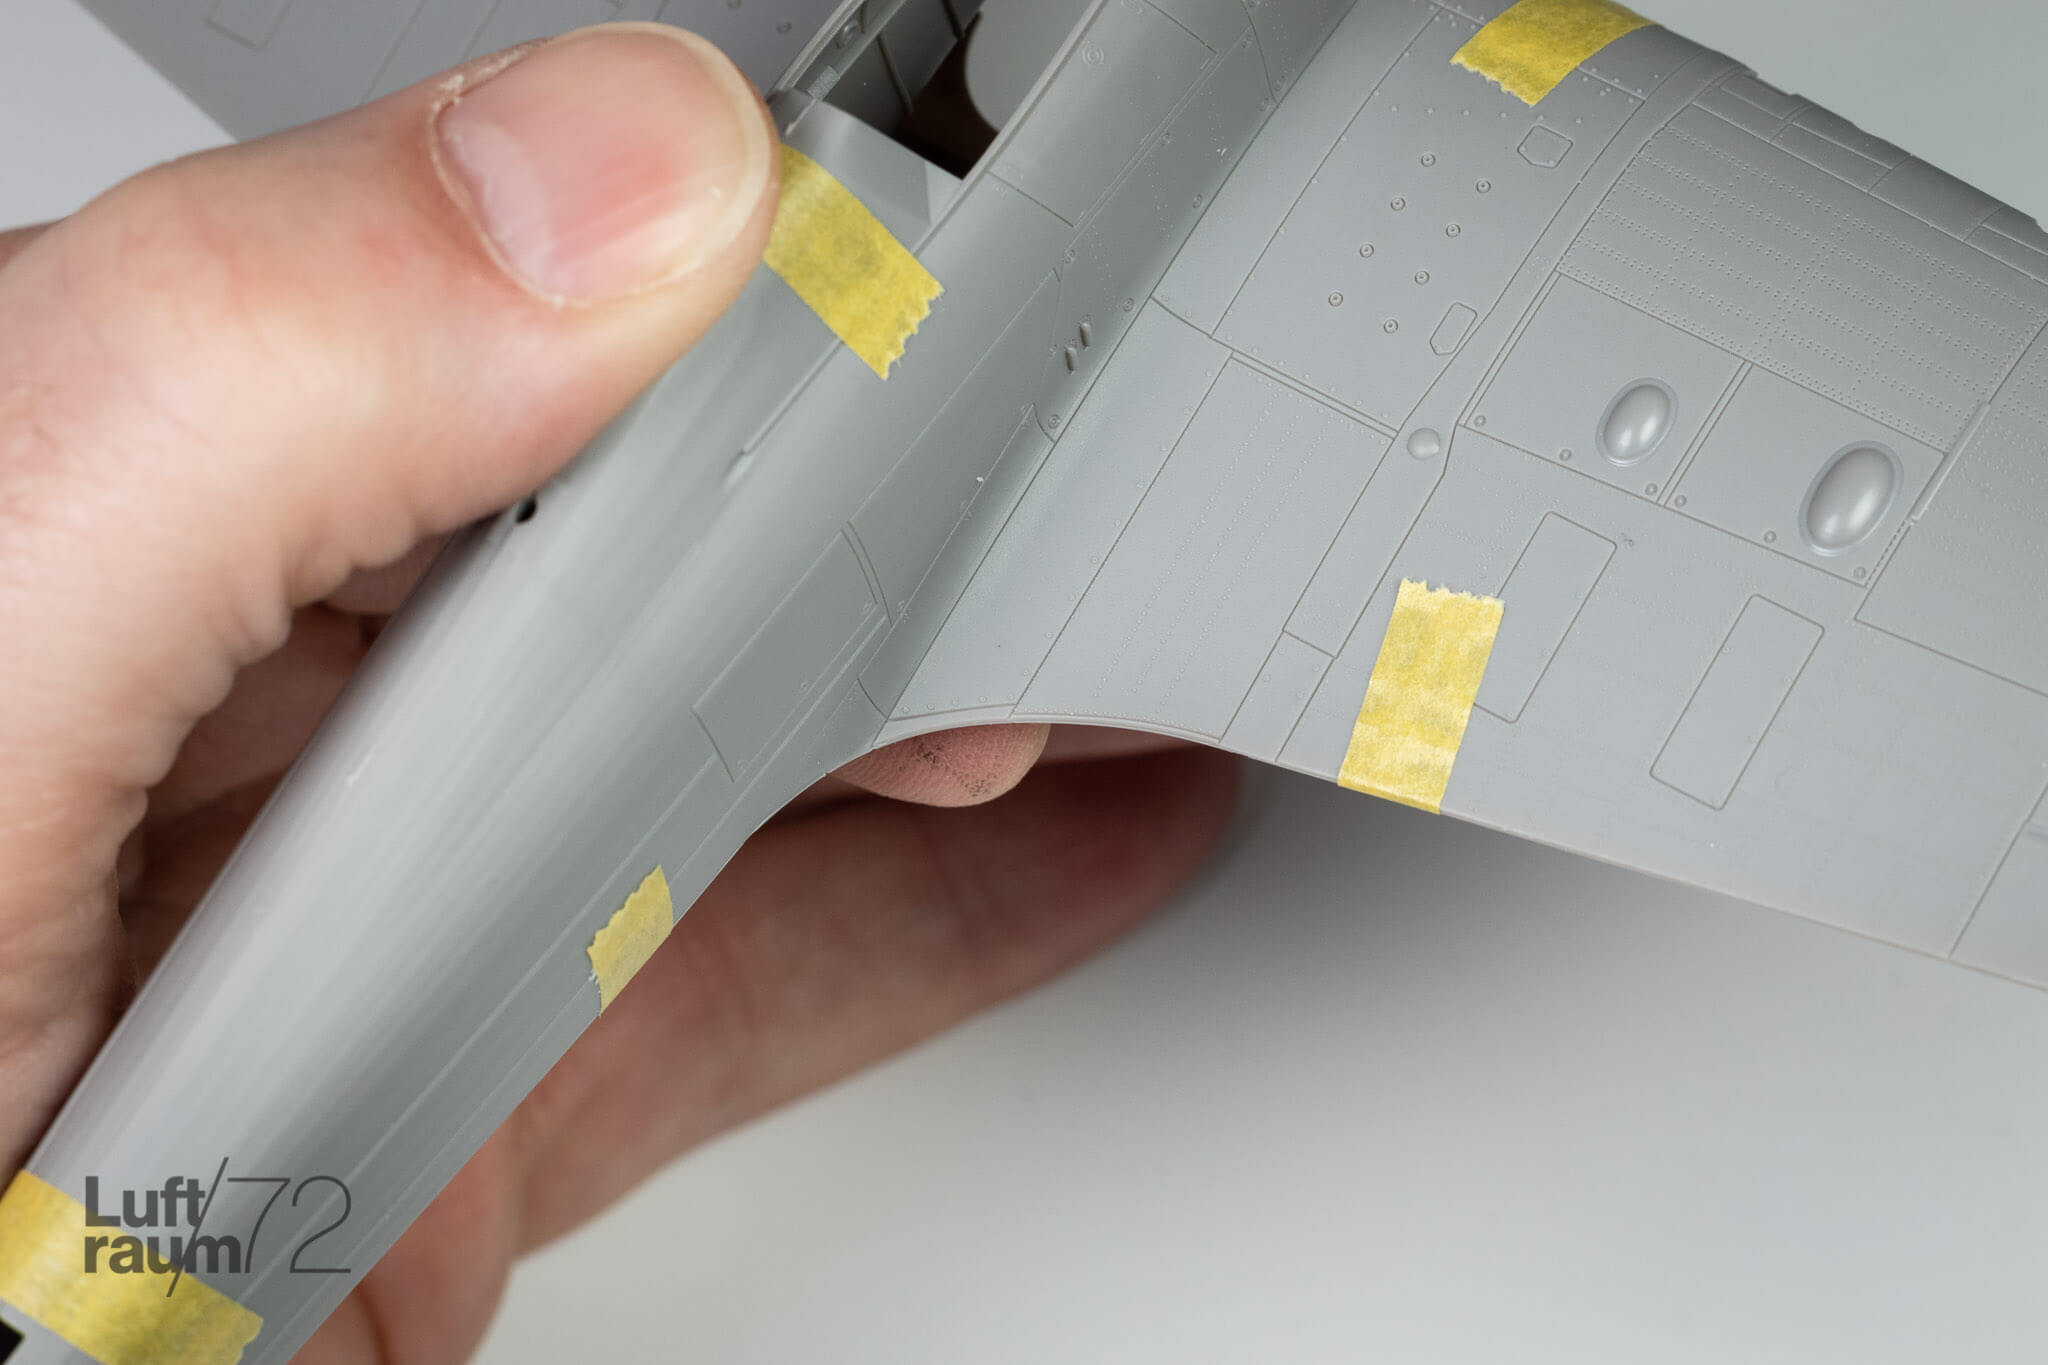
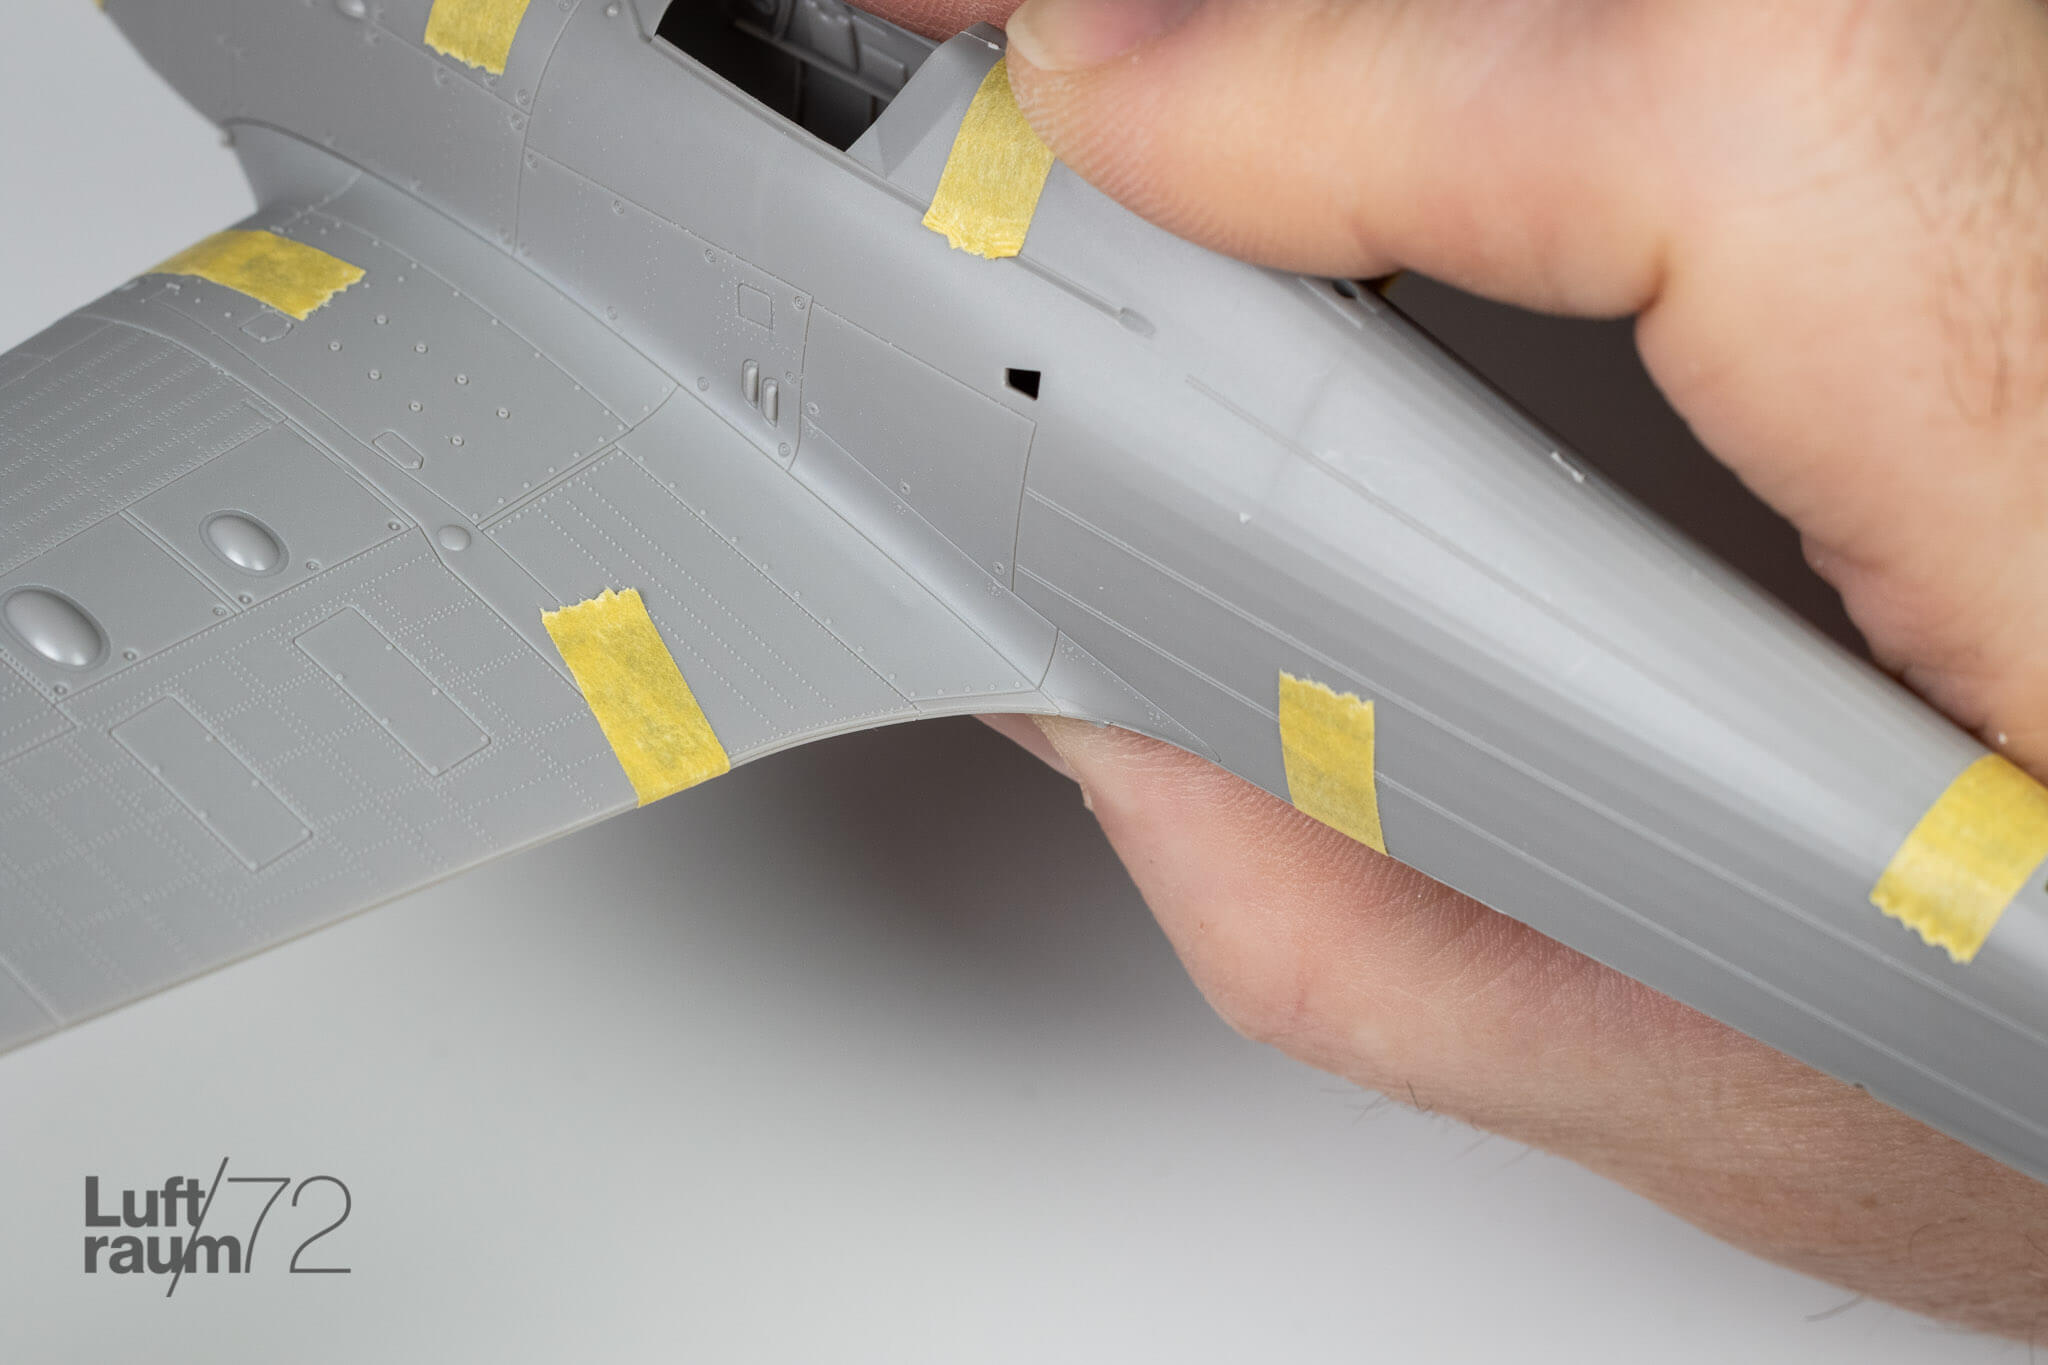
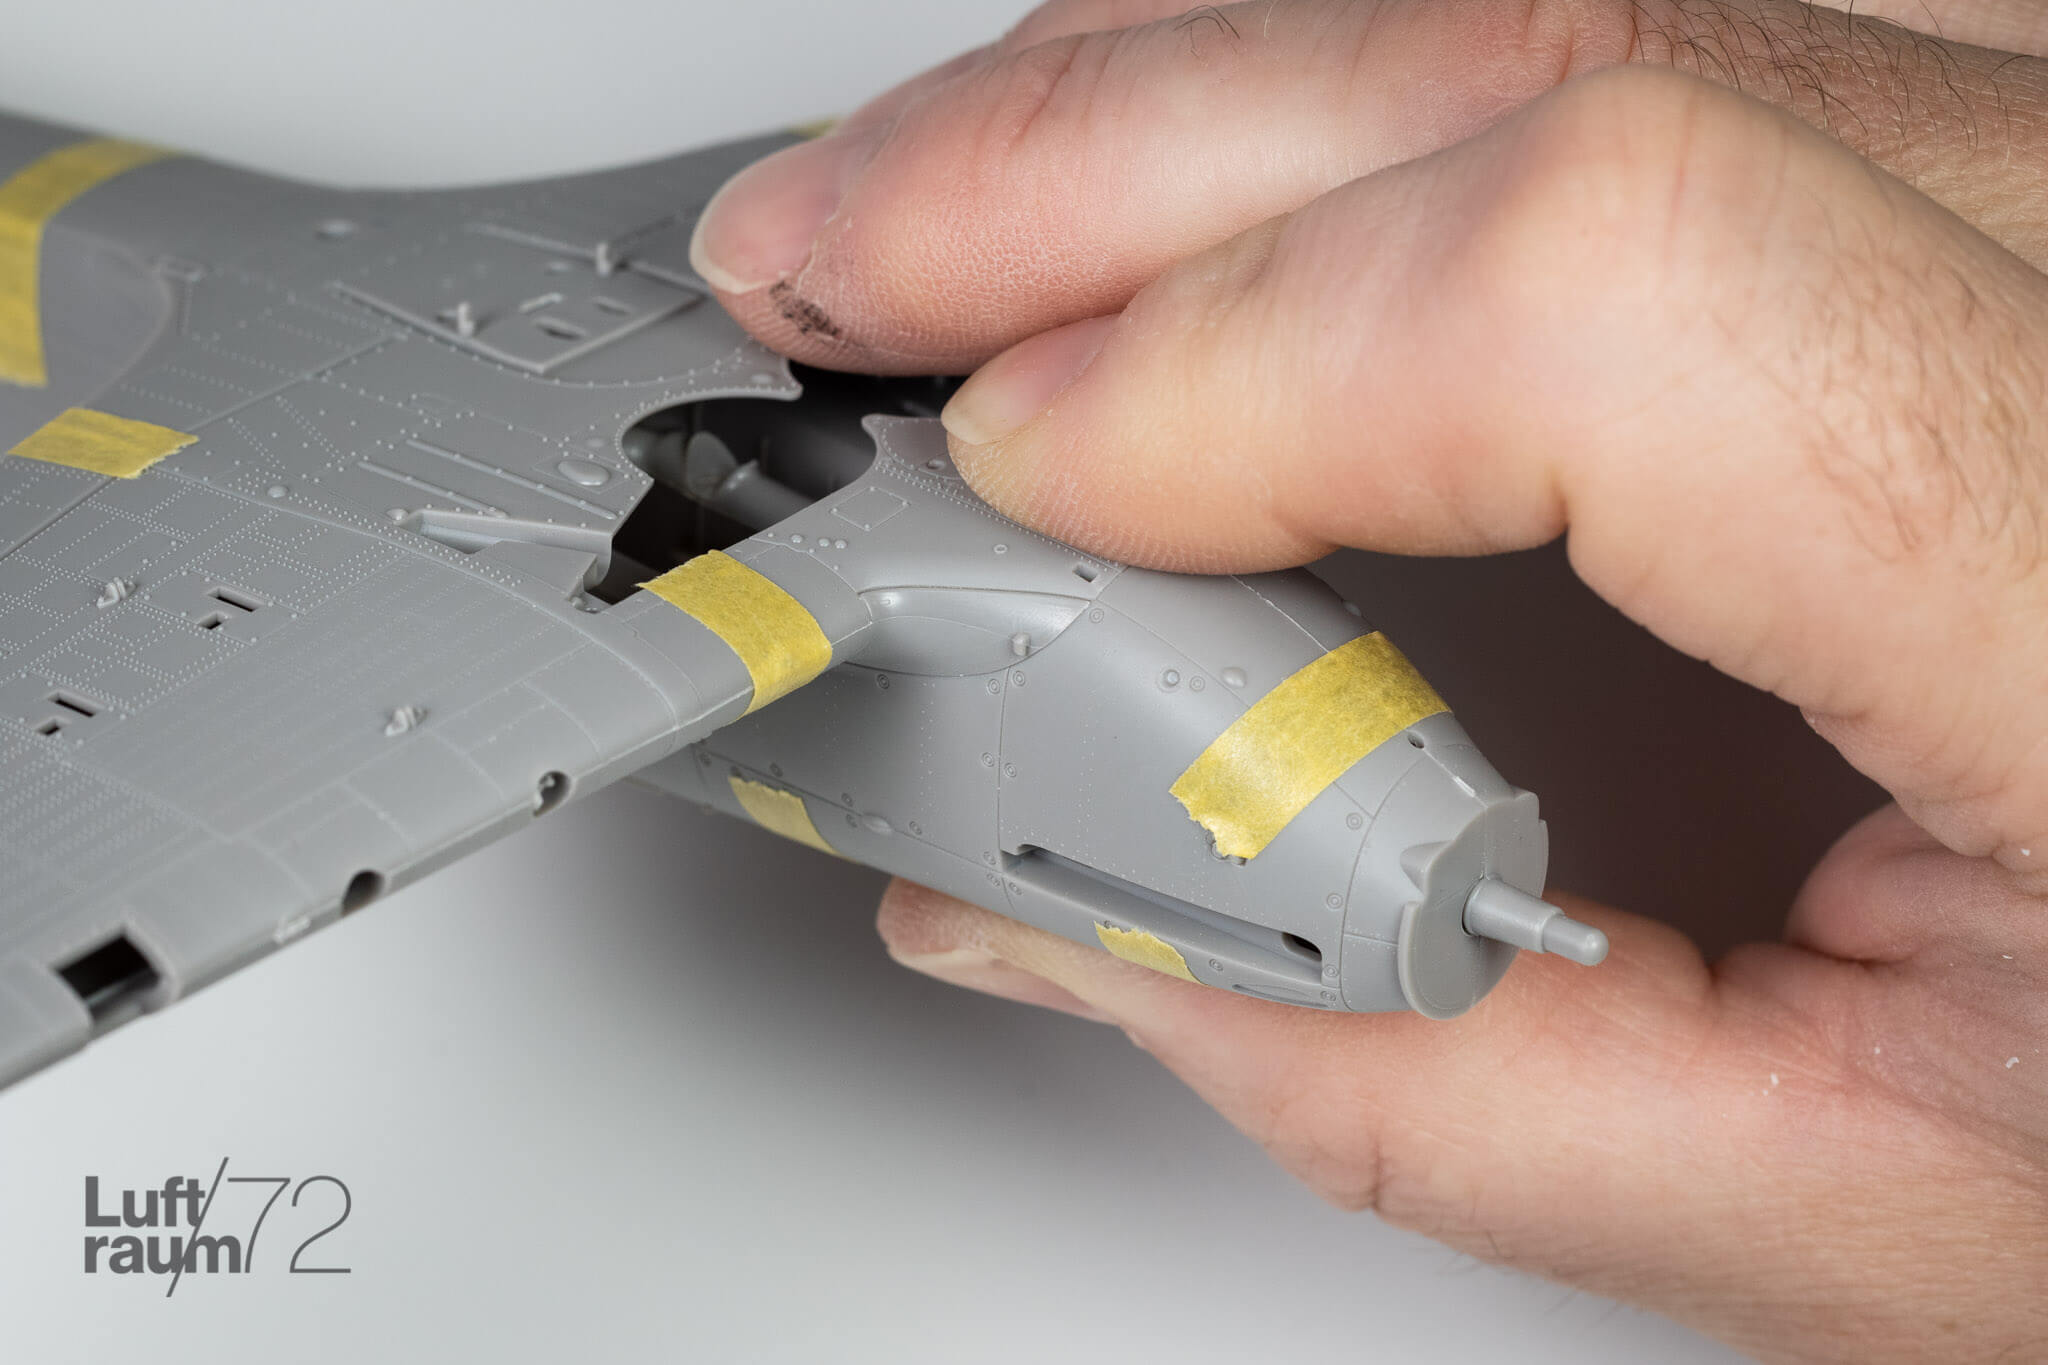
The wing to fuselage fit is sublime. On the wing roots themselves, the joint created is indistinguishable from any other panel line on the kit, which is exactly what I want to see. Whee the lower wing crosses the fuselage, the fit is clean and snug.
The wing upper and lower line up precisely with no mismatch between panel lines, and the mating surfaces are generously thick. That said, I tend to slightly pare material away from the back edge to help perfect the fit. The only area that stands out on the wings is the join created across the front fillet, as it’s quite wide.
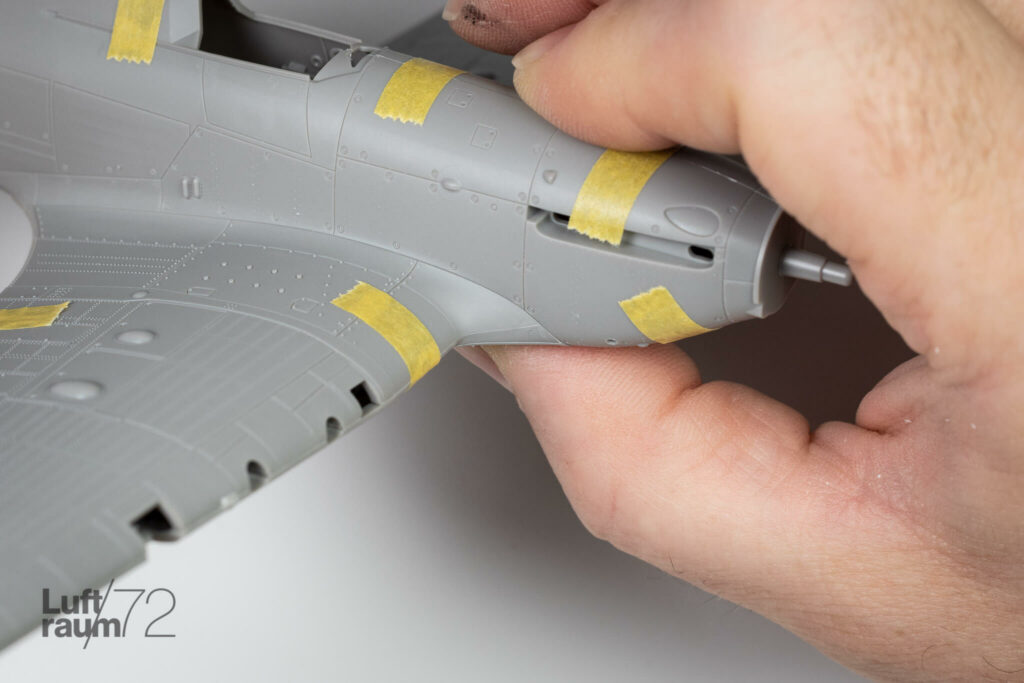
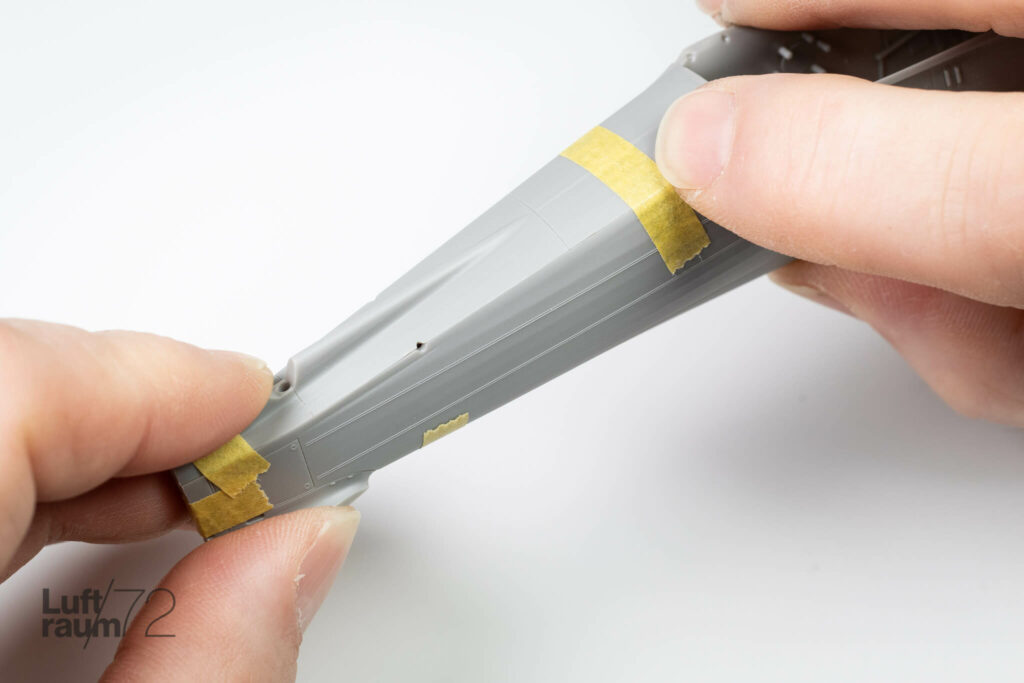
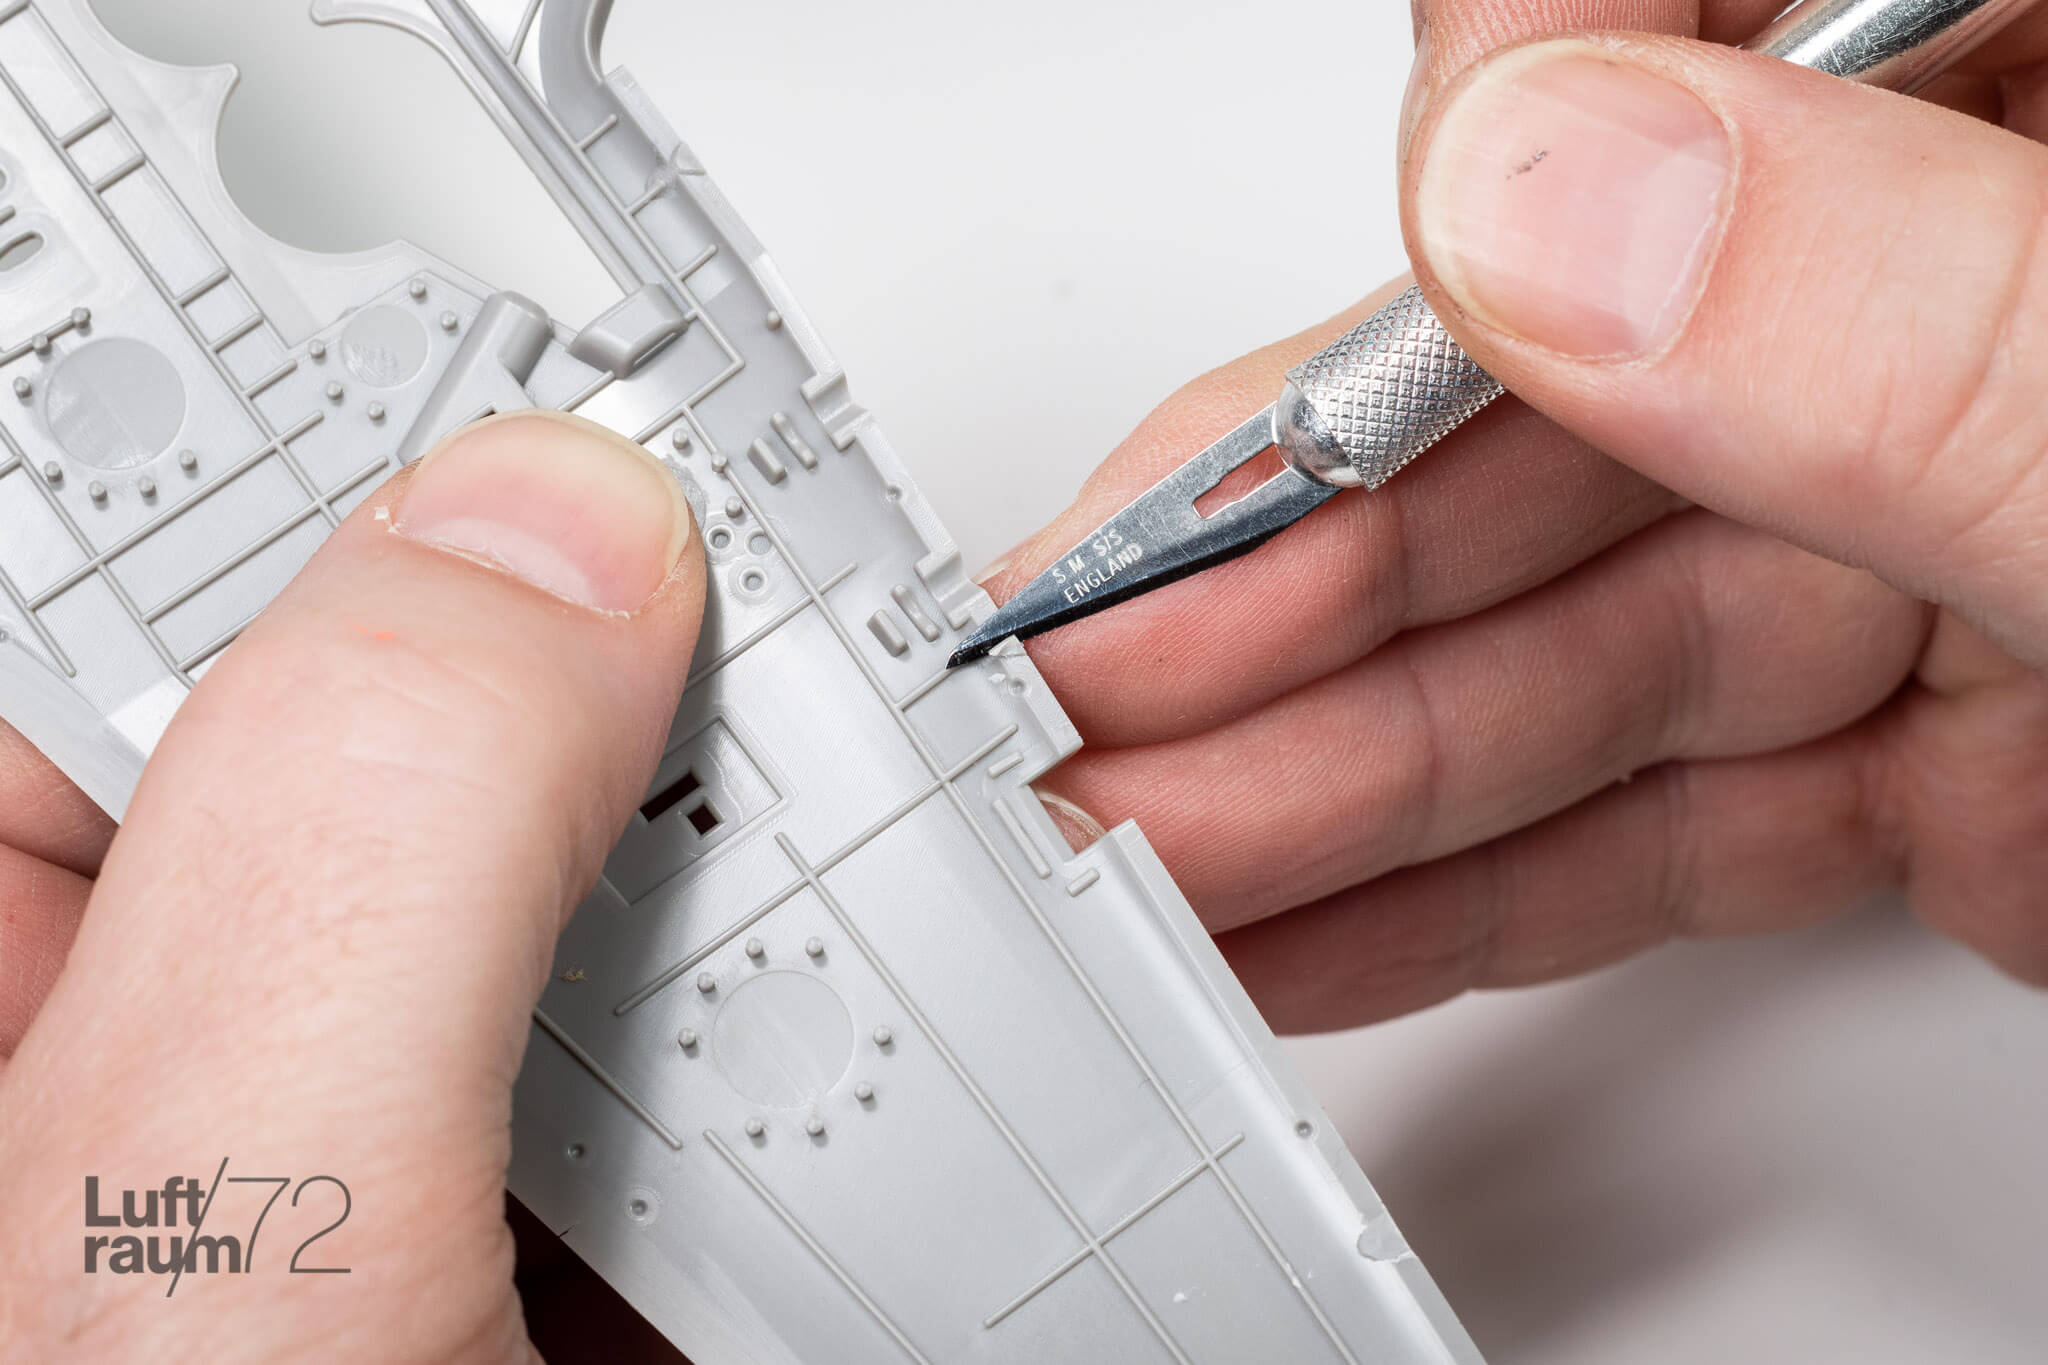
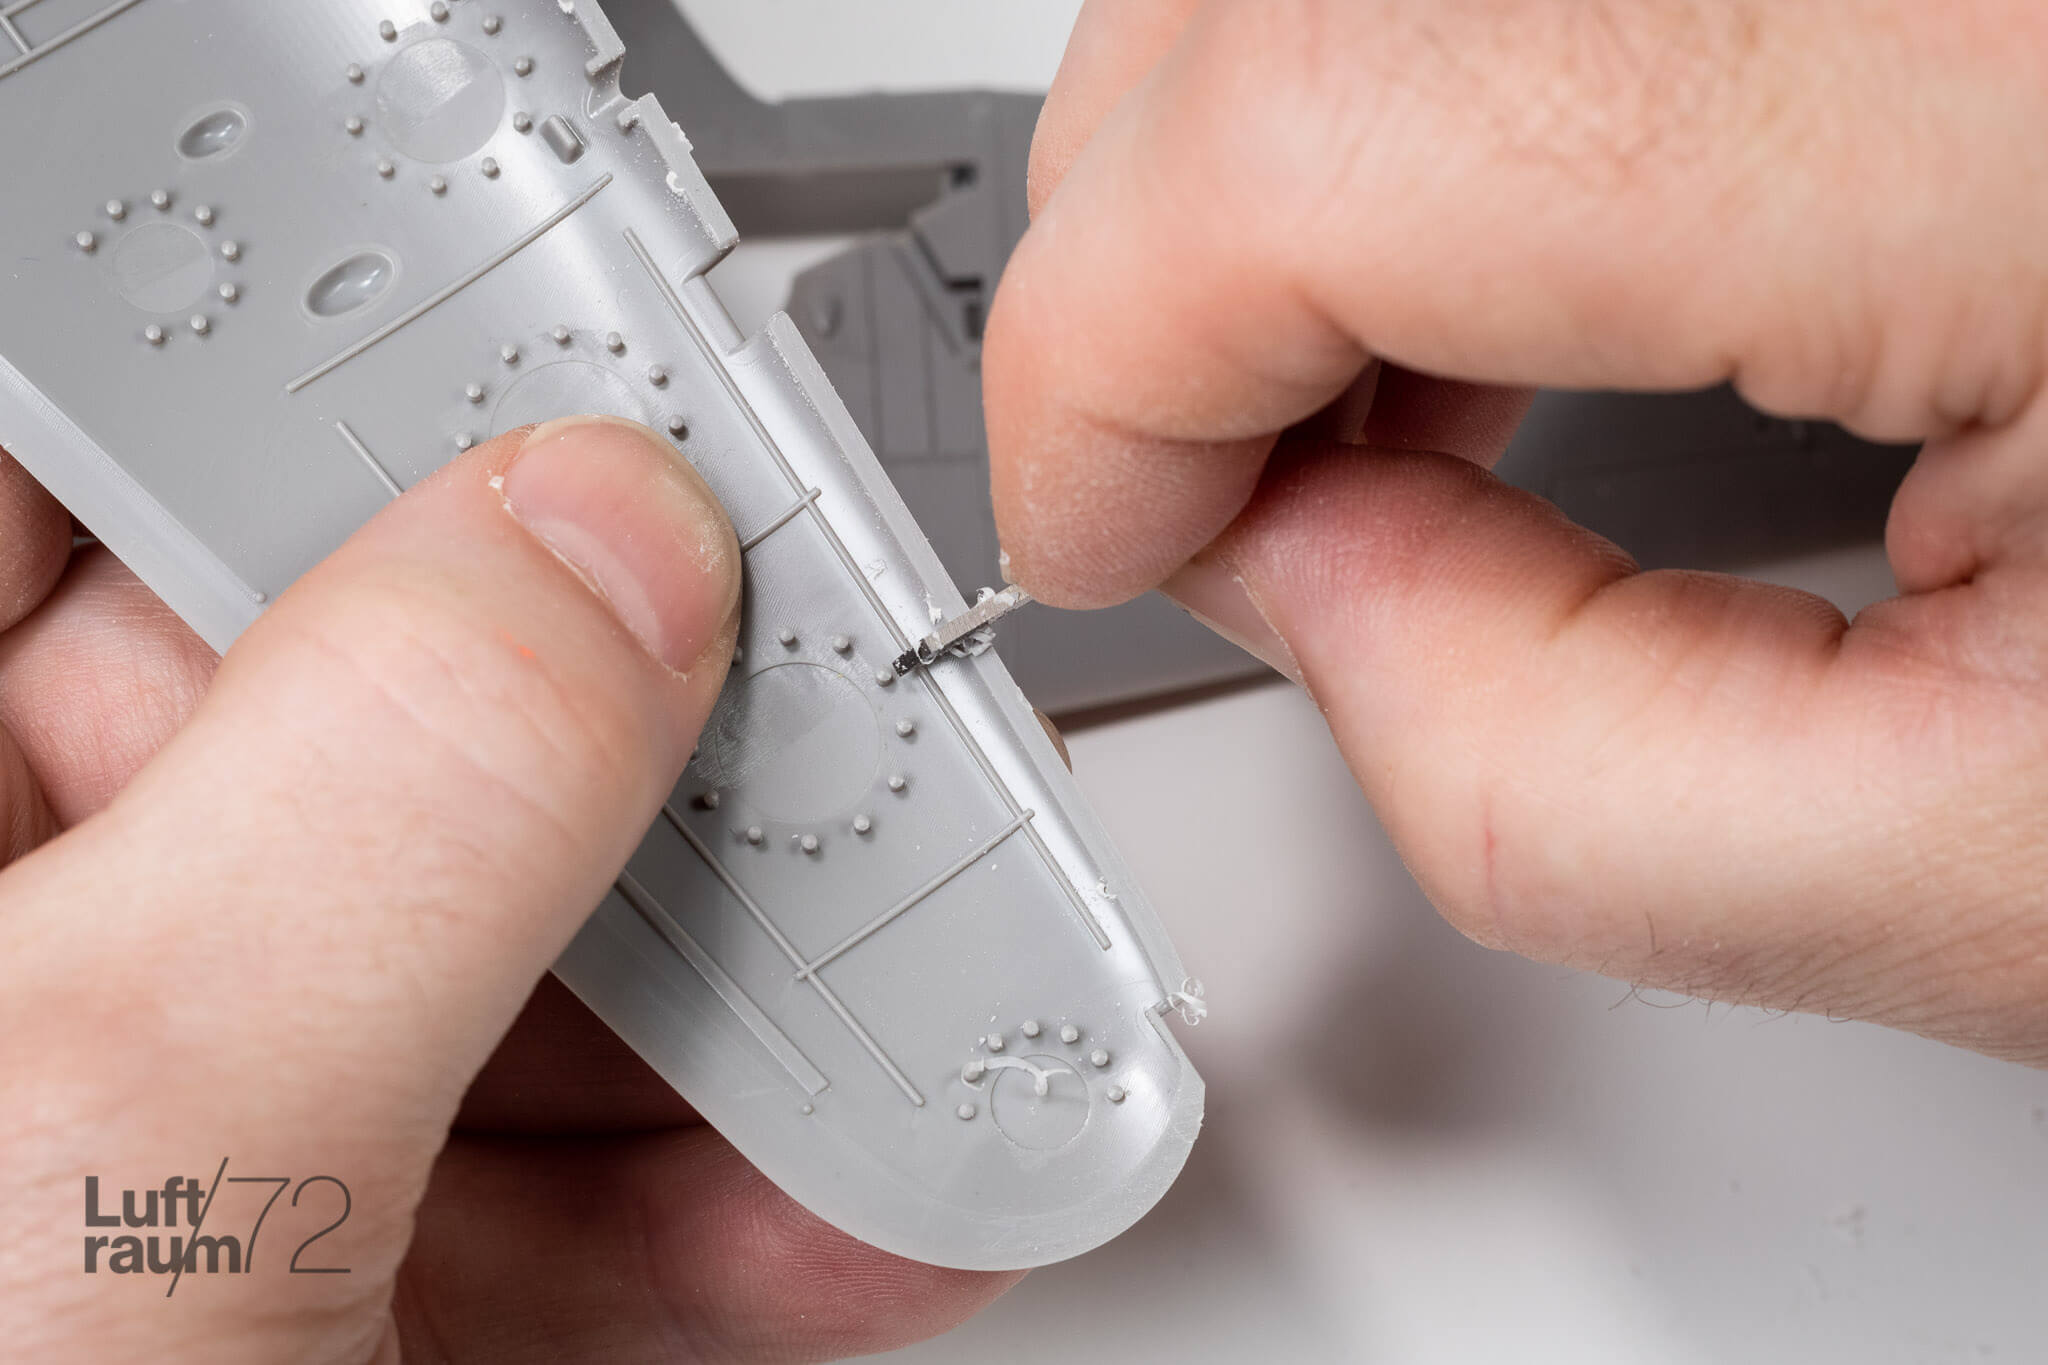
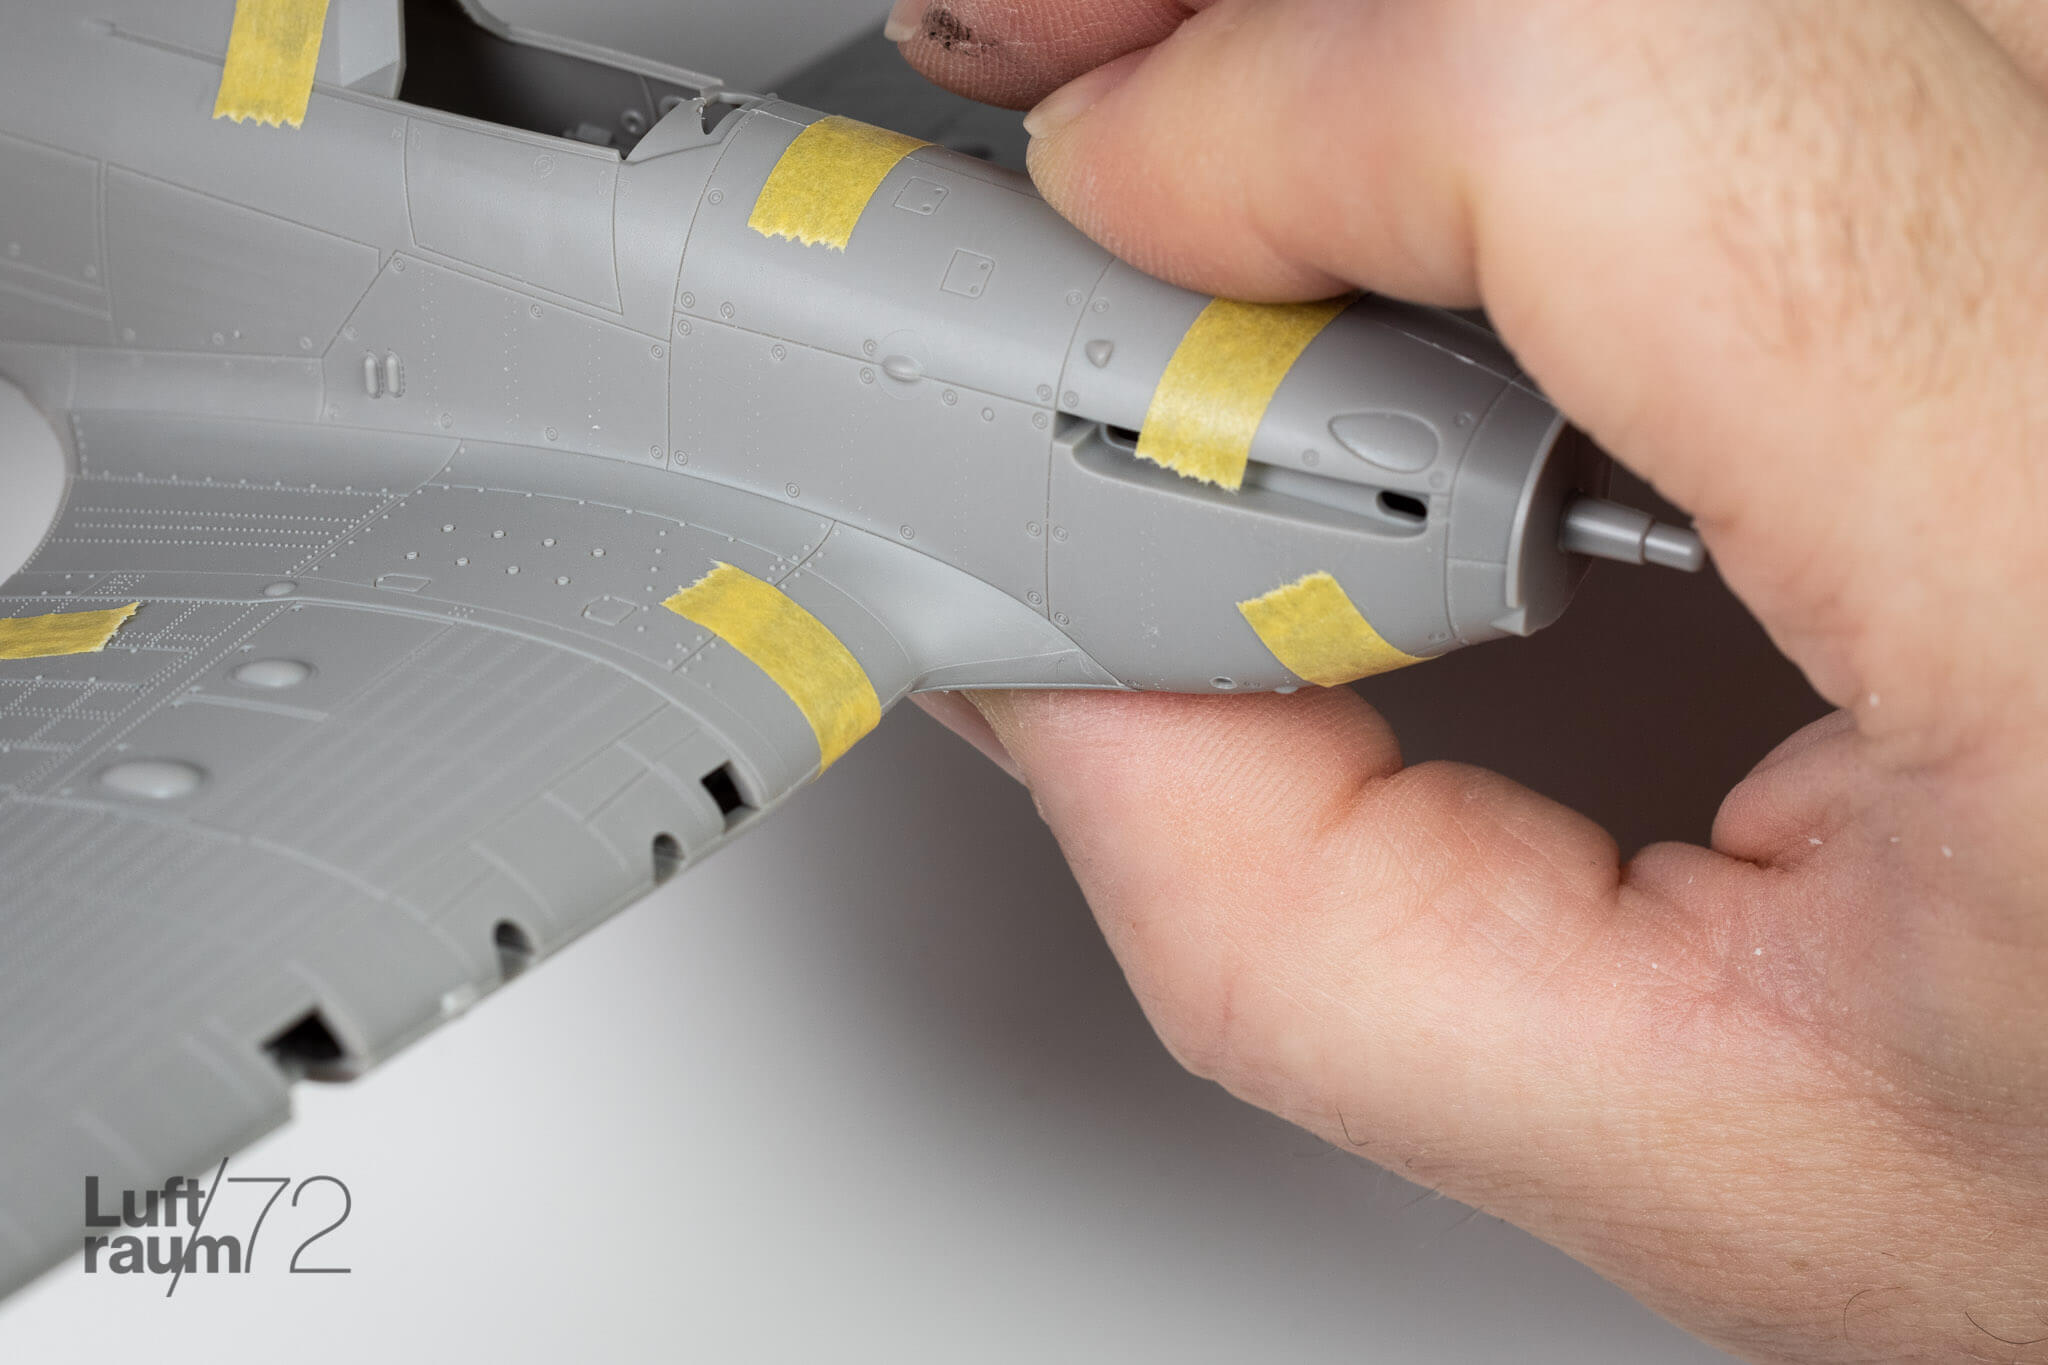
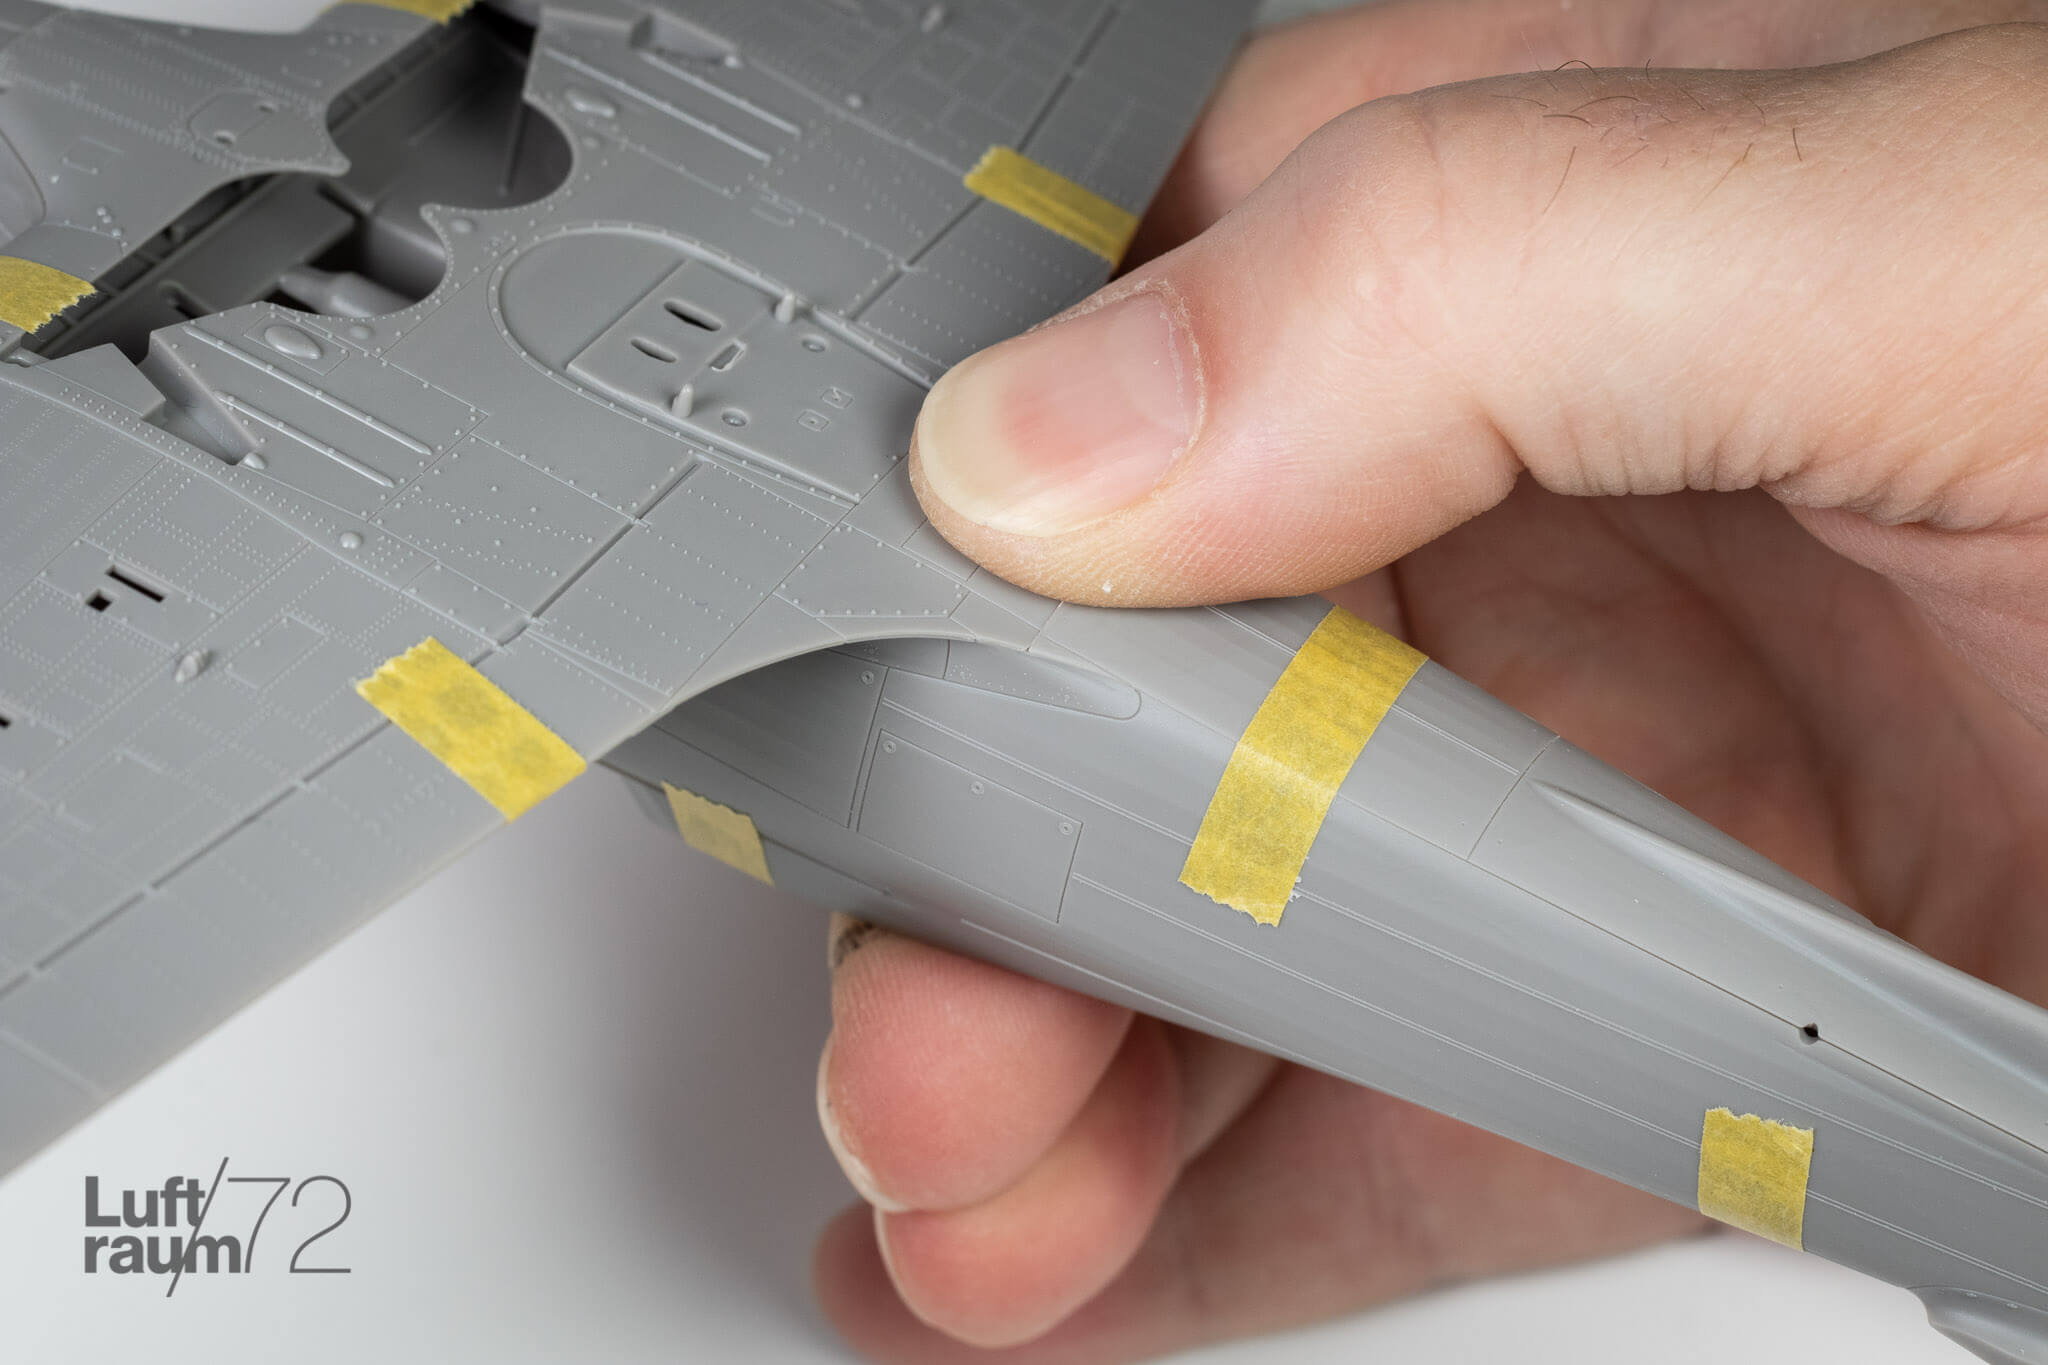
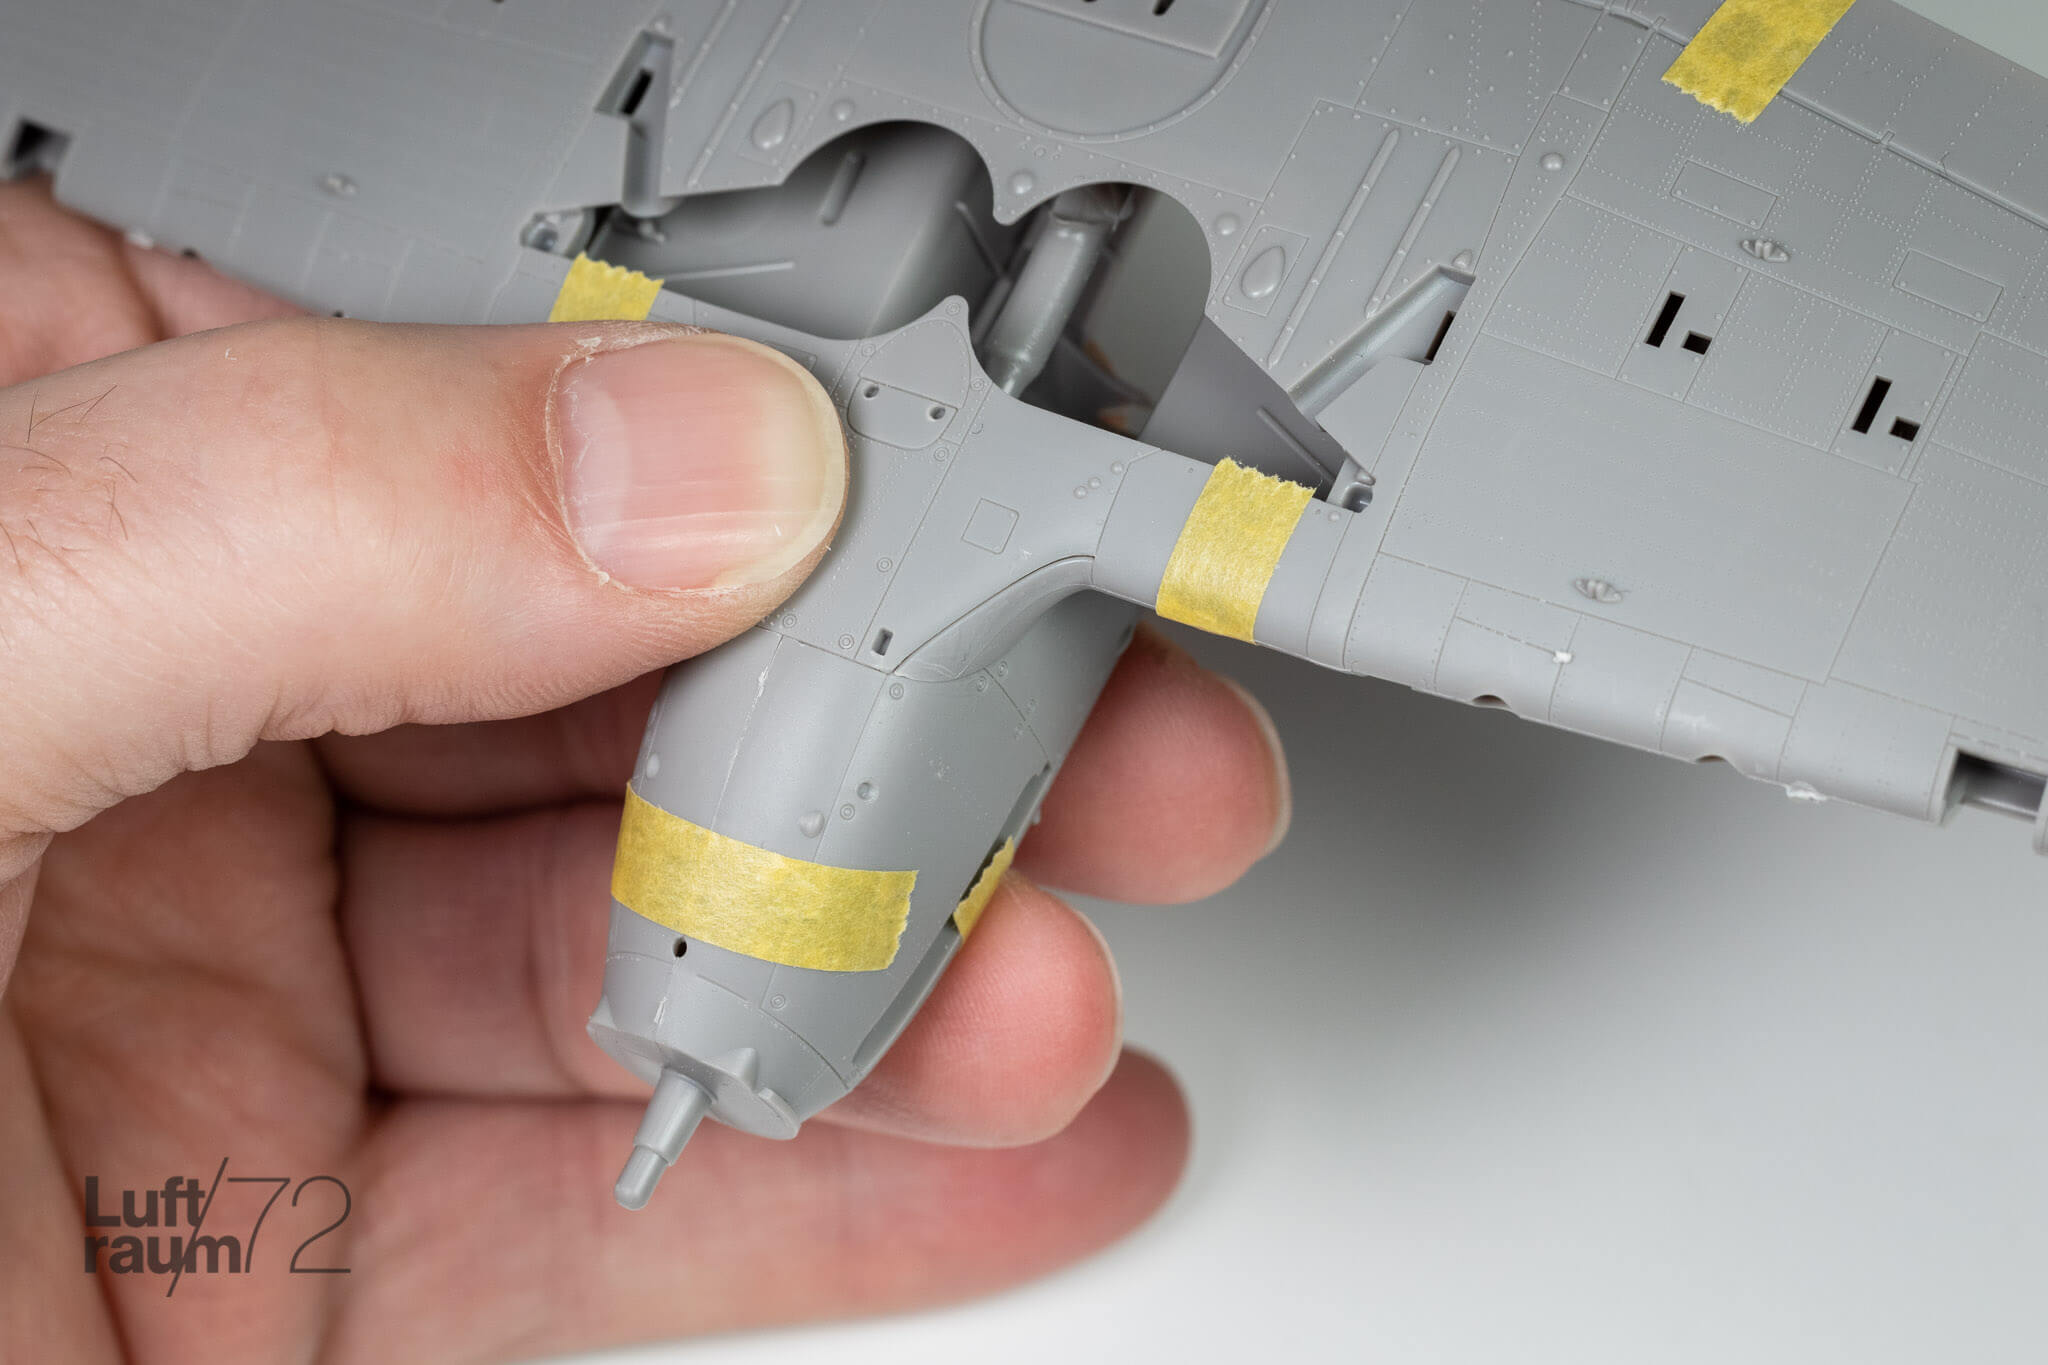
The fuselage halves line up equally well, though there may be a need for a quick dab of filler on the chin where the halves just aren’t quite coming together fully. The squared-off profile of the lower aft fuselage is filled by a third piece. Here, I had to go searching just a little for the ideal fit as the tapered edges had minute amounts of excess plastic — not flash per se — that needed a couple quick swipes of a scalpel to refine.
A quick sidebar as I segue into the empennage. The fit of the lower fuselage, along with some areas the tail planes is indicative of what I’ve come to appreciate about Arma Hobby. Their fit often matches the best in the business — their 1/72 Mustang required filler only on two small panels that had a seam running thorough them — however, it occasionally takes some light finessing with a scalpel and abrasives to find it. Sometimes it’s a minor an artifact of the mould creation process, other times, it’s just a slight blurp of plastic. Either way, dry-fitting and these subtle alterations can save time and spare the putty, which is always a win in my books.
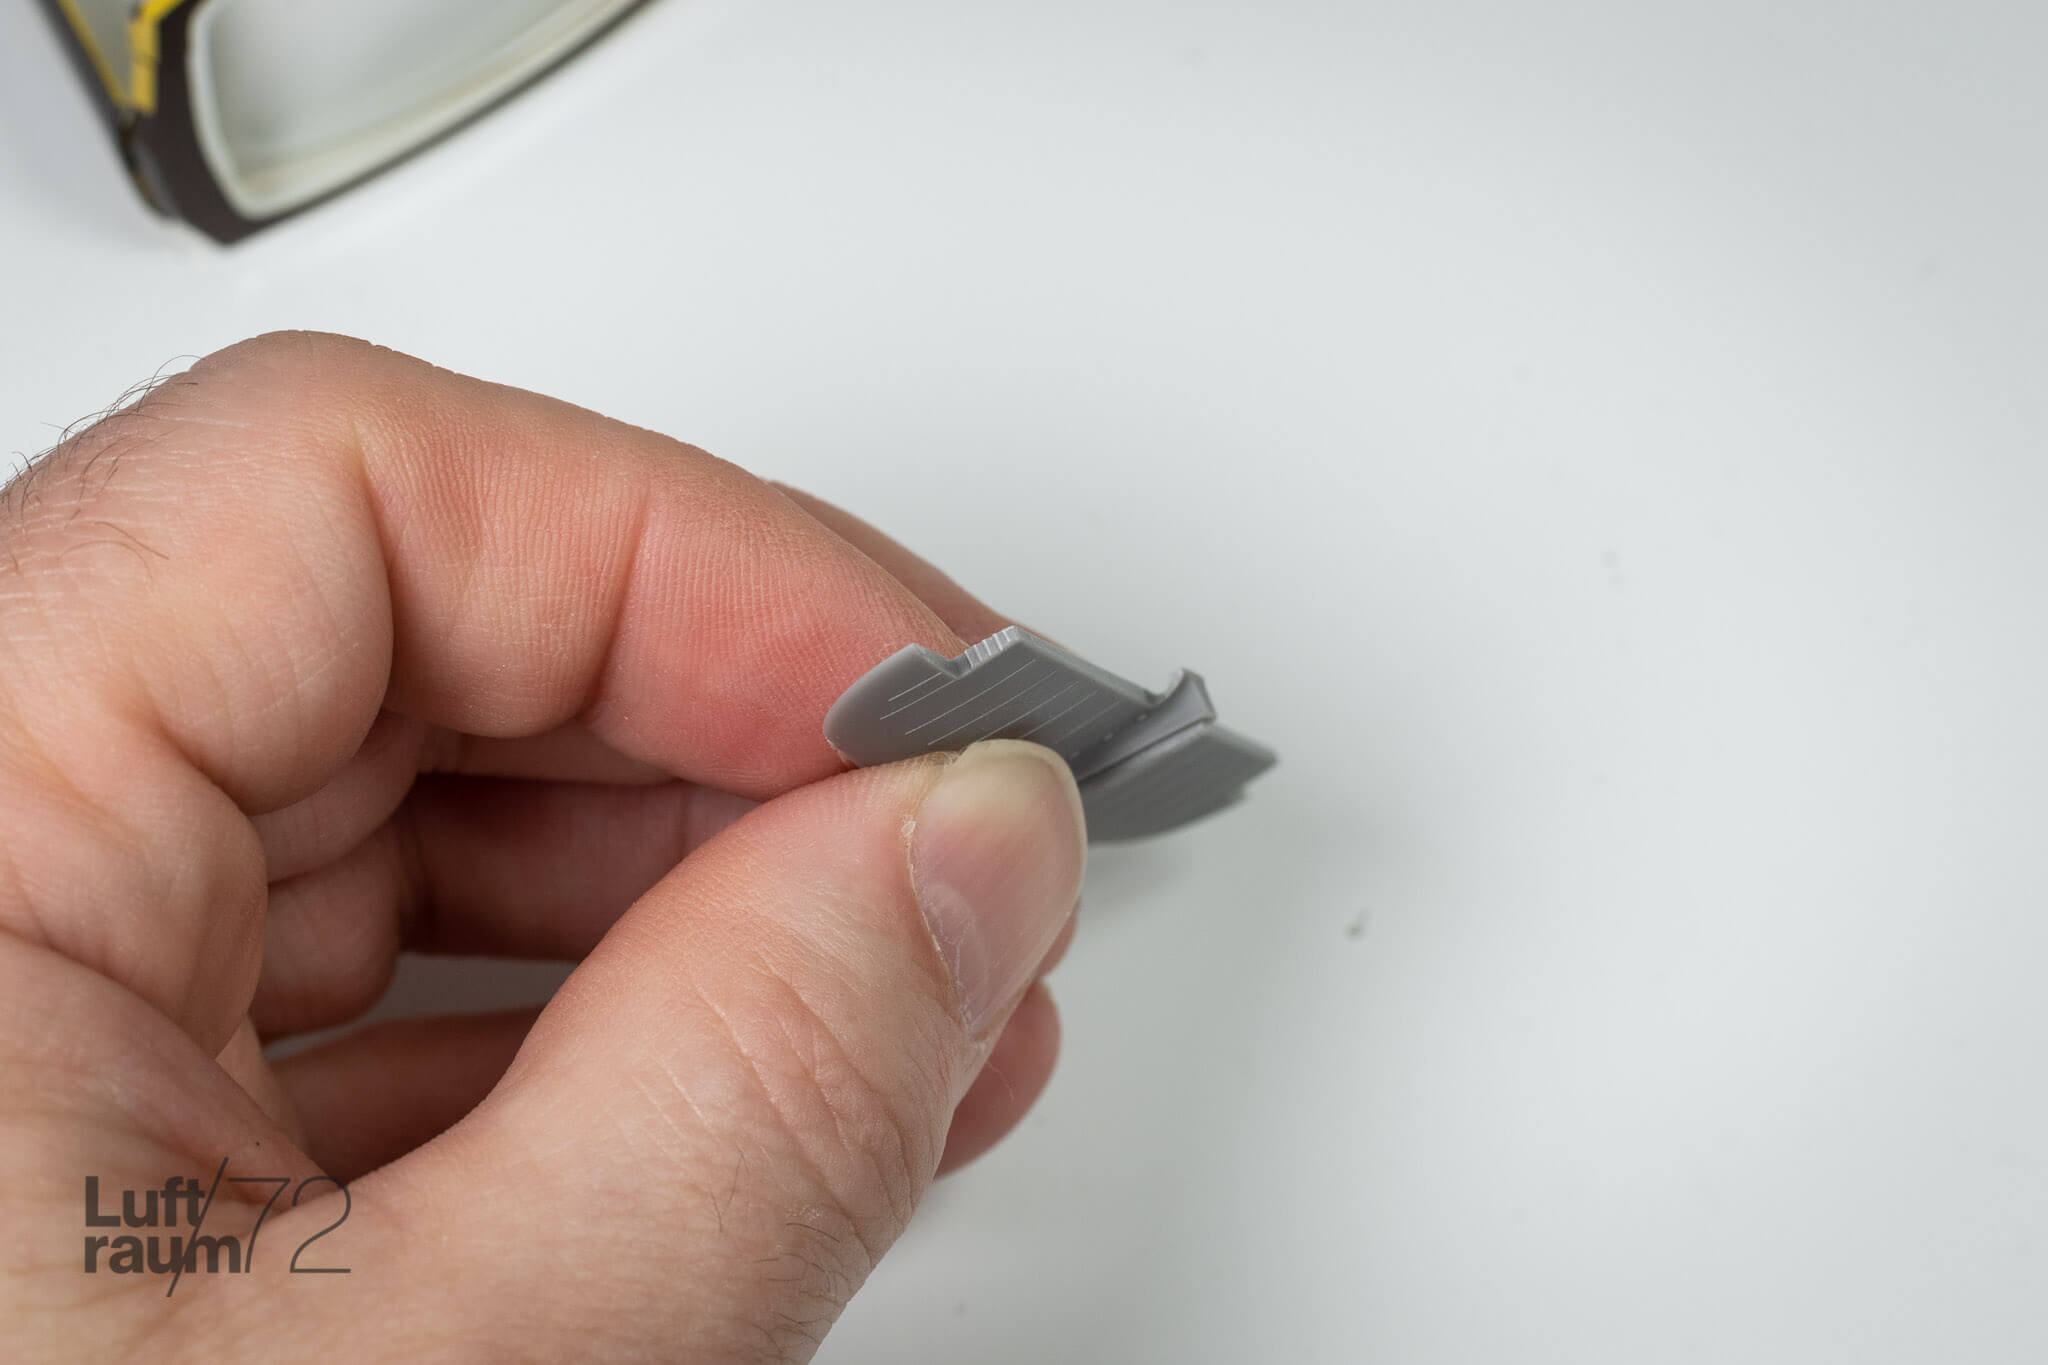
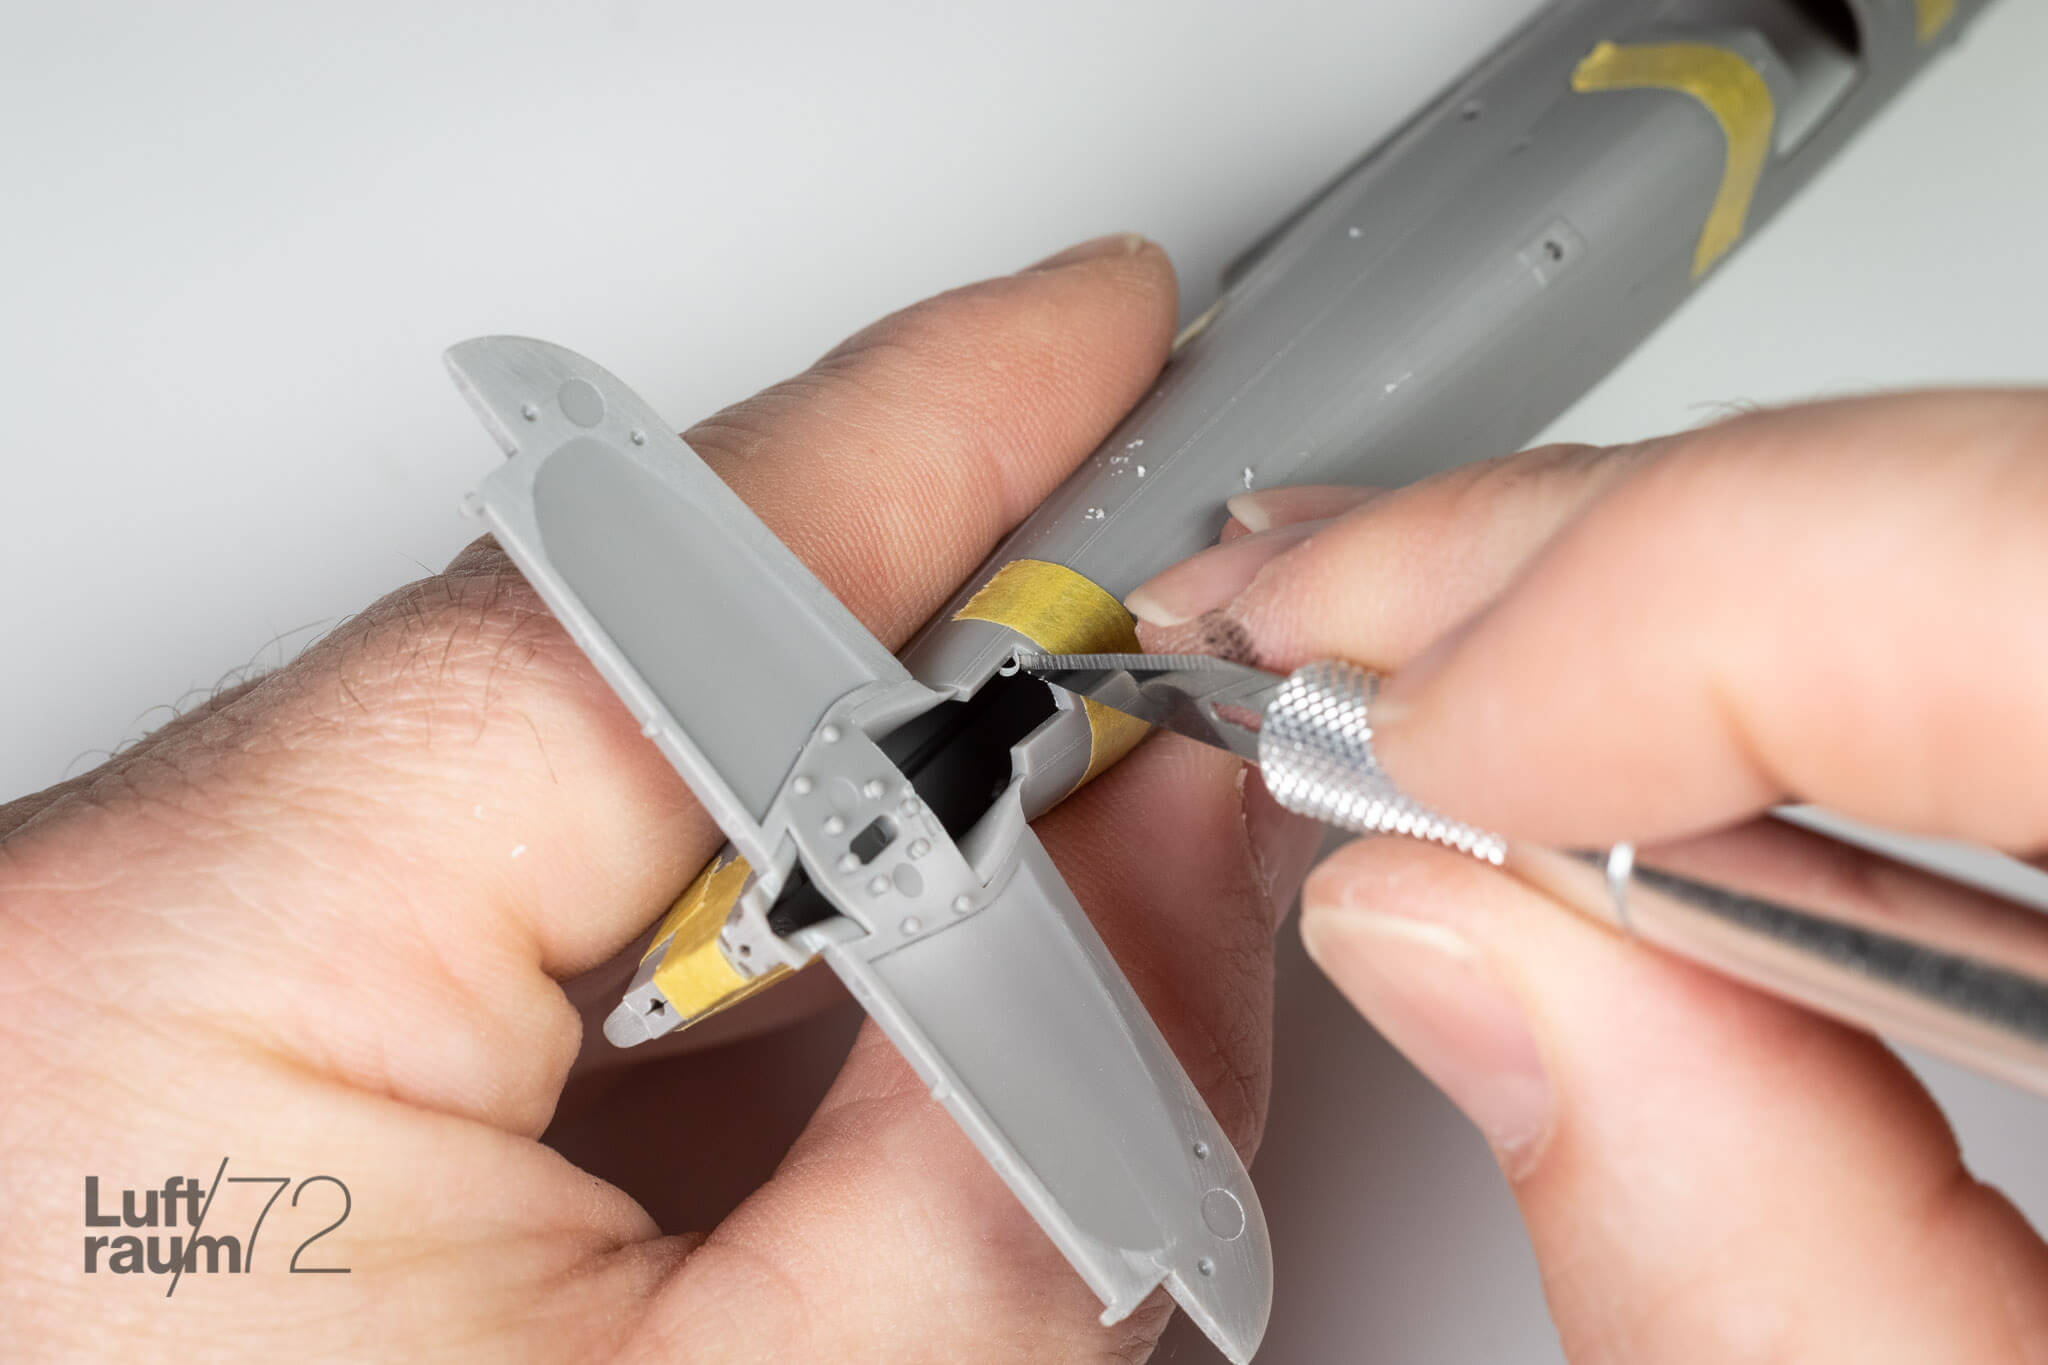
Getting back to the back end. The vertical and horizontal tailplanes are each two-part affairs which match up just fine. The left and right elevons are a single piece, and fitting these required some material to be removed before from the horizontal stabs before they would tuck in properly. The whole assembly then nestles into a notch in the fuselage — here again is where minor adjustments of the mating surfaces can realize great improvements in fit — before the rudder stocks into the back of the tail. Although the top-of-page photo shows a bit of a gap at the front of the tail section, that’s simply gravity pulling on the back. It settles in nicely once the weight is taken off.

When all is said and done, the fit is superb. I spent about 3 hours on dry-fitting as I tend to be slow and methodical about it. Eliminate my dallying and it could easily have been done in half the time. Aside from the two areas of note (the join at the front of the wings, and the seam along the chin), Arma continues to set the bar high in 1/48.