TECHNIQUE
Metallizer Abrasion Effect
Introduction
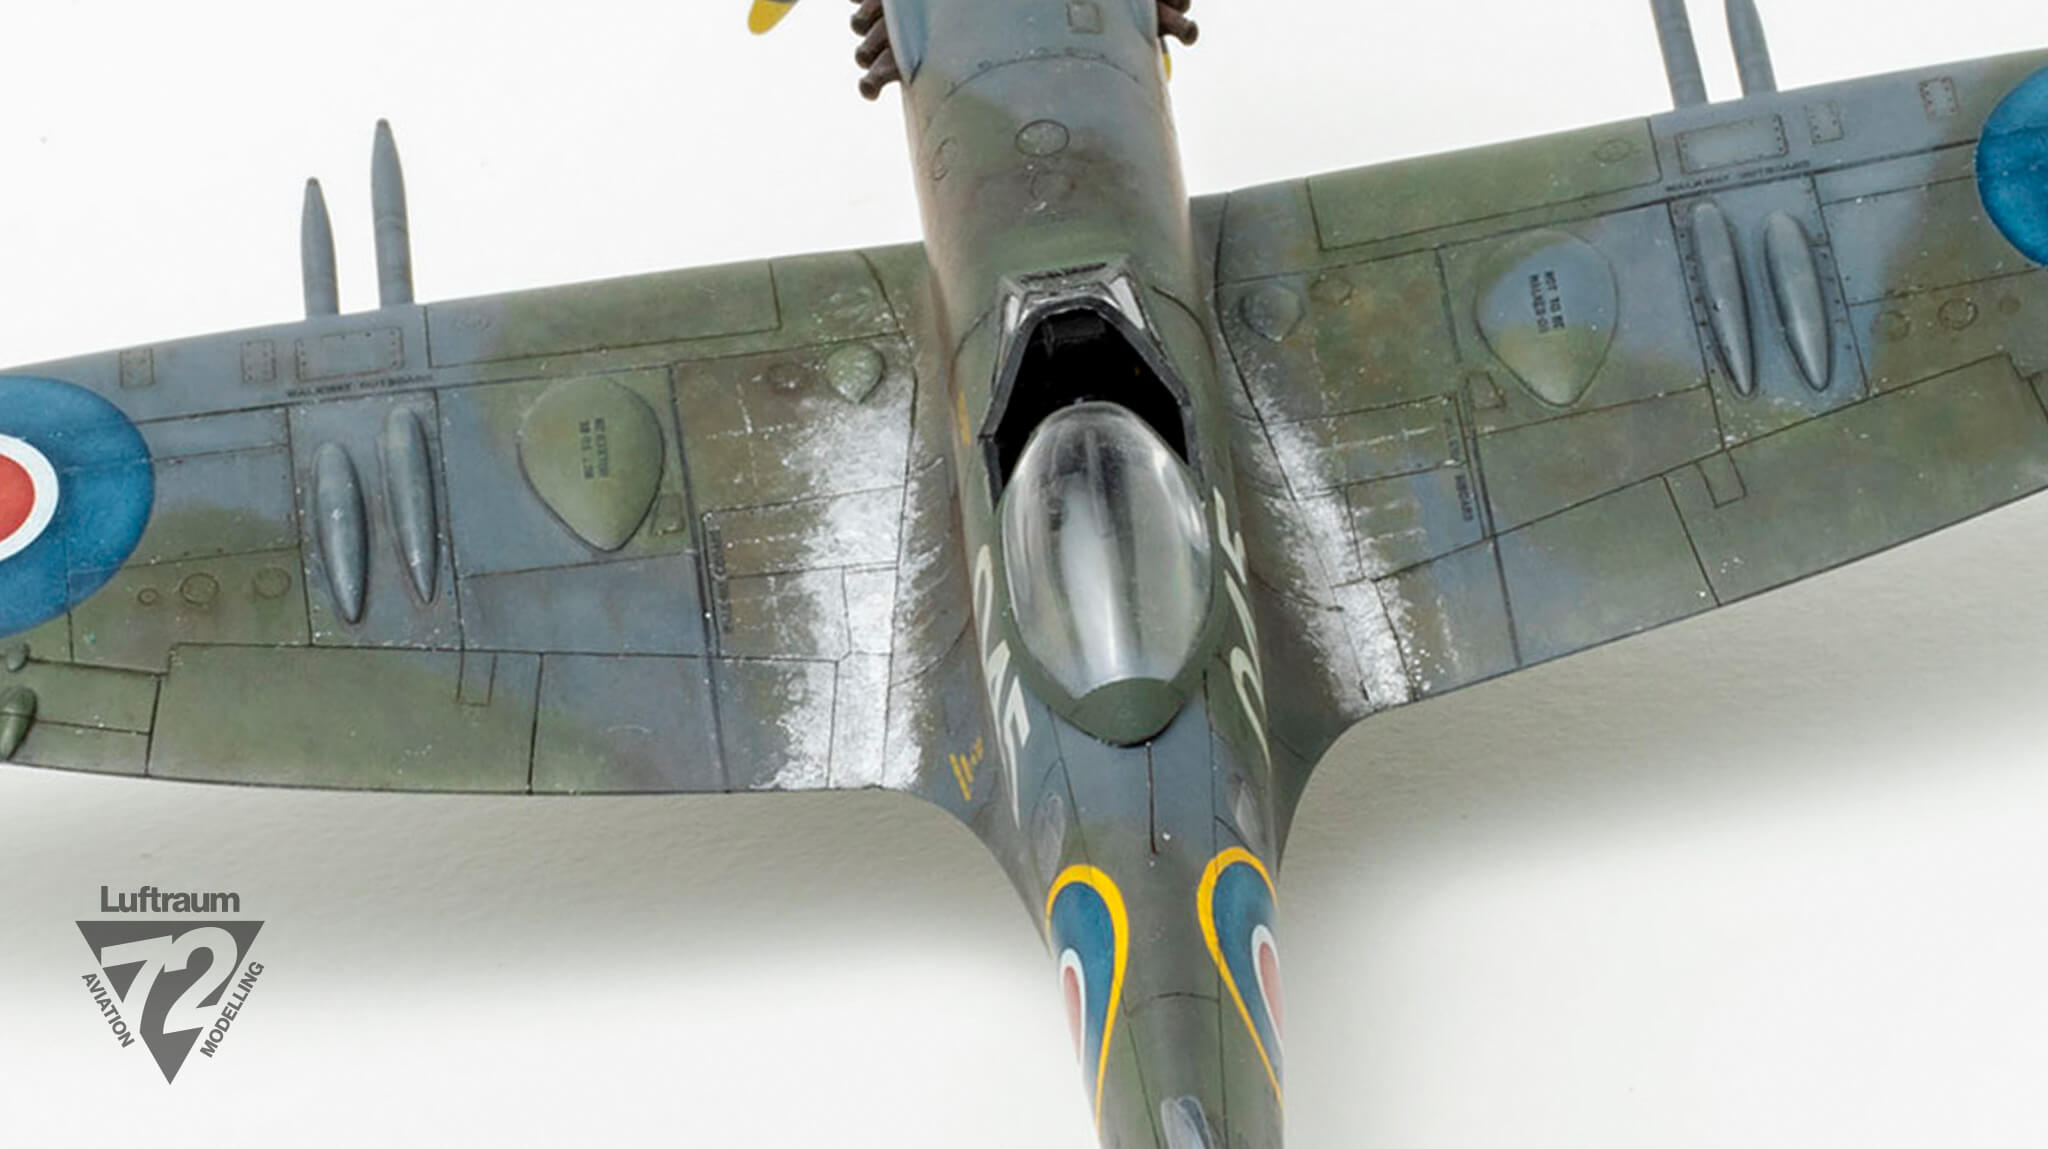
One of the effects I’ve been chasing since I returned to the hobby has been the abrasion and wear found along wing roots in 1/72. Hairspray chipping is one approach, however, it lacks the nuance of paint that has worn vs chipped off. On a build of a braile-scale Seafire Mk.46 back in 2019, I had tried ‘burnishing’ fluid Alclad with a hobby swab, however, the effect was too heavy-handed for my tastes, mostly as there was no way to dial it back once applied.
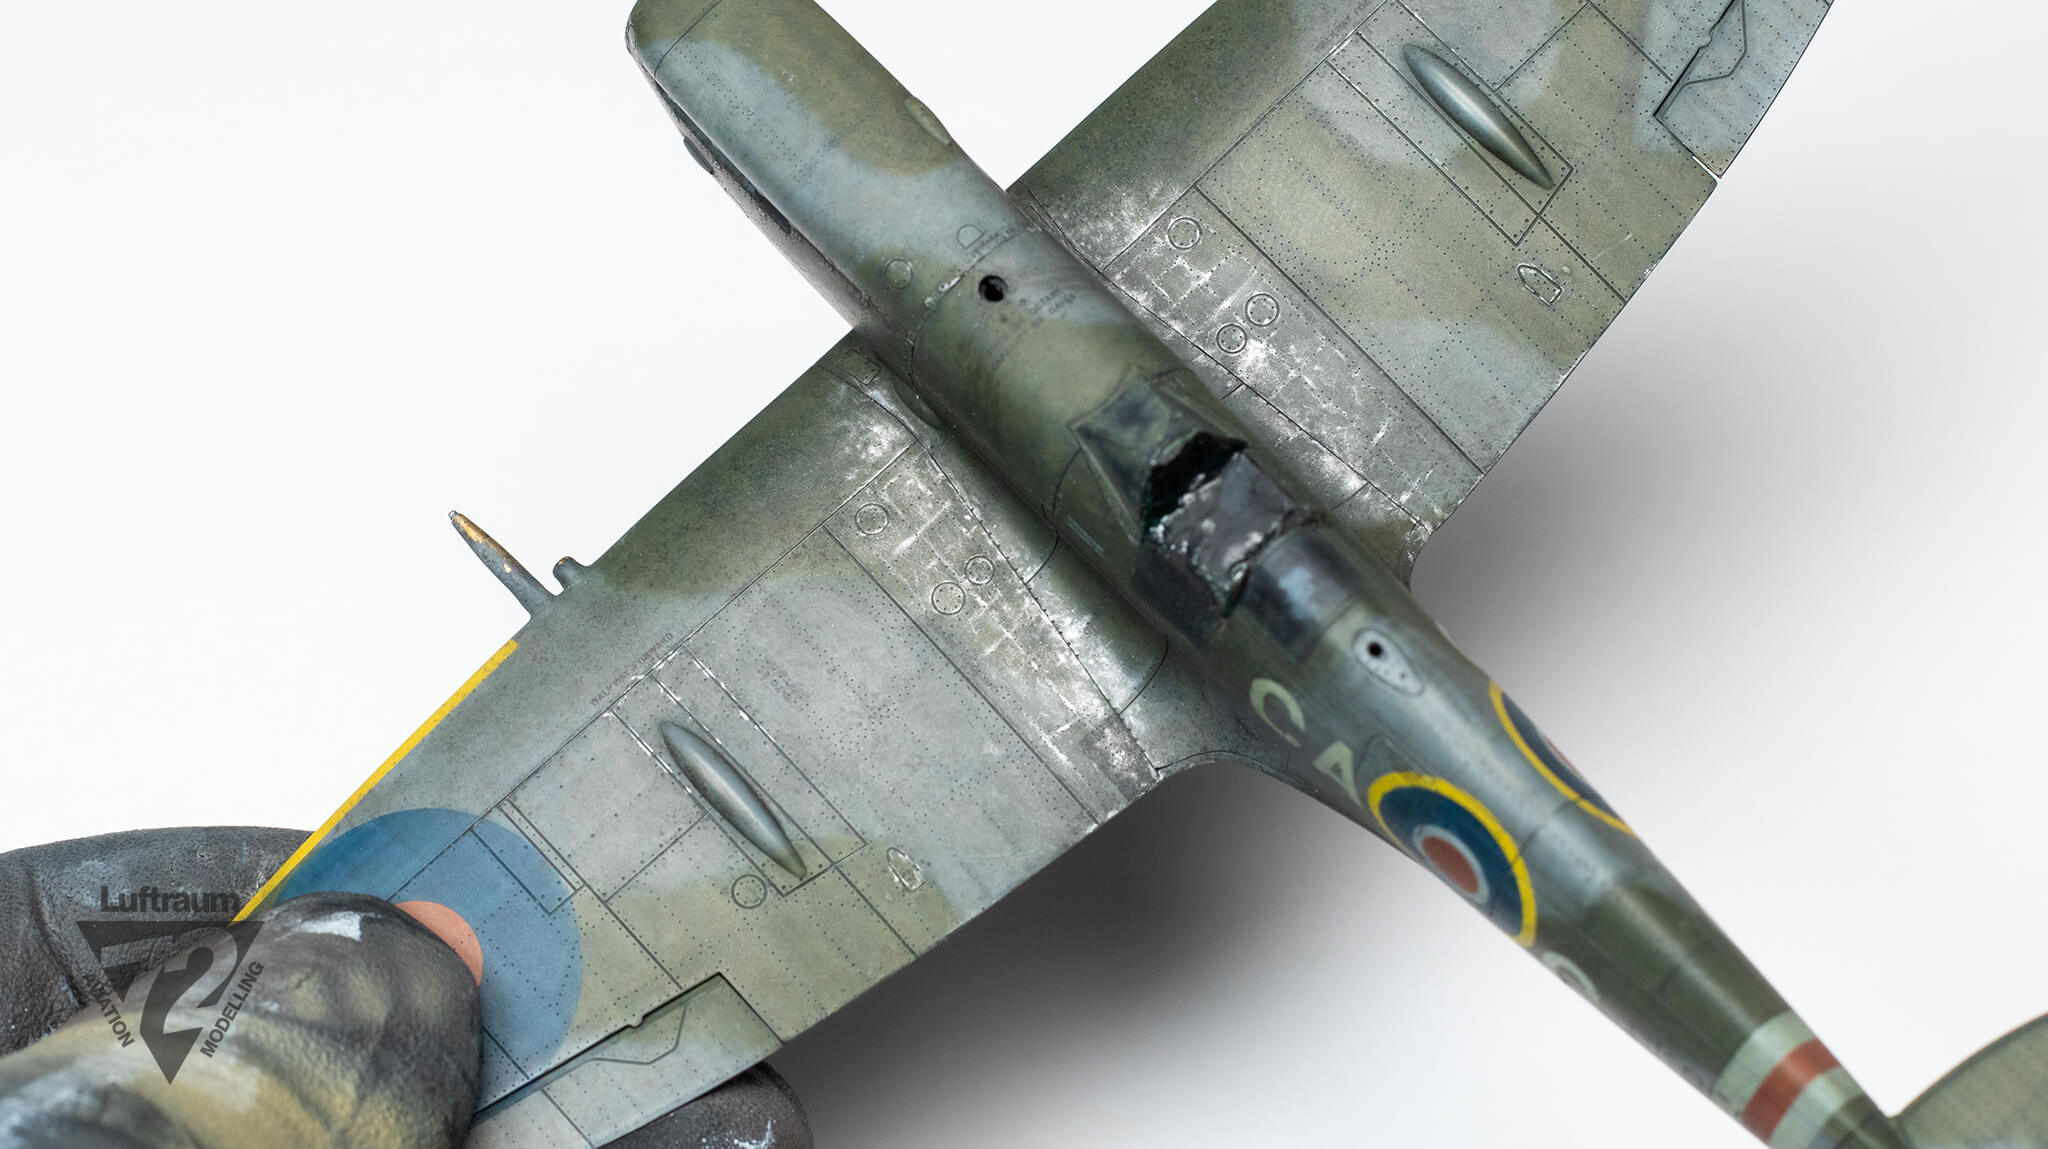
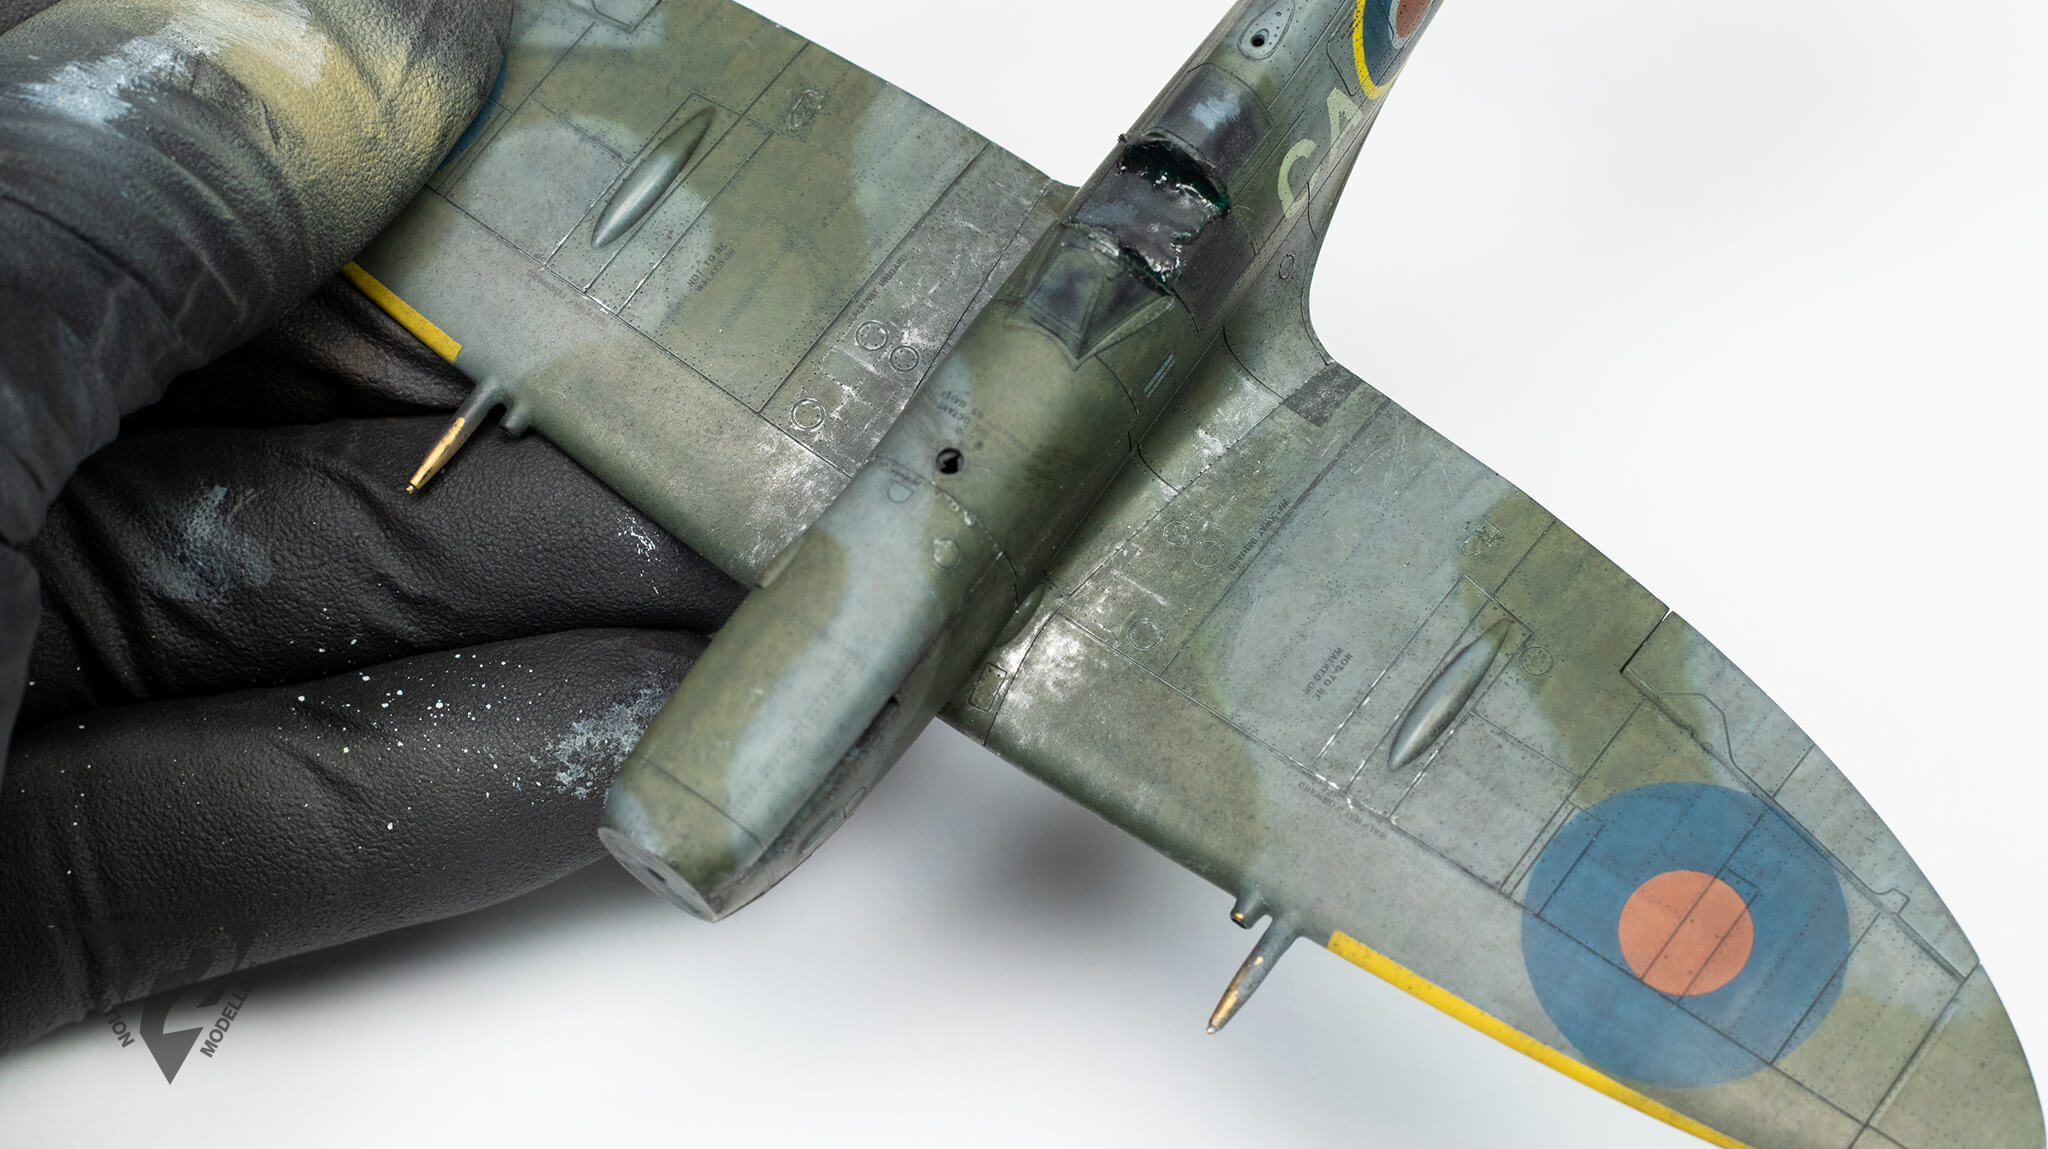
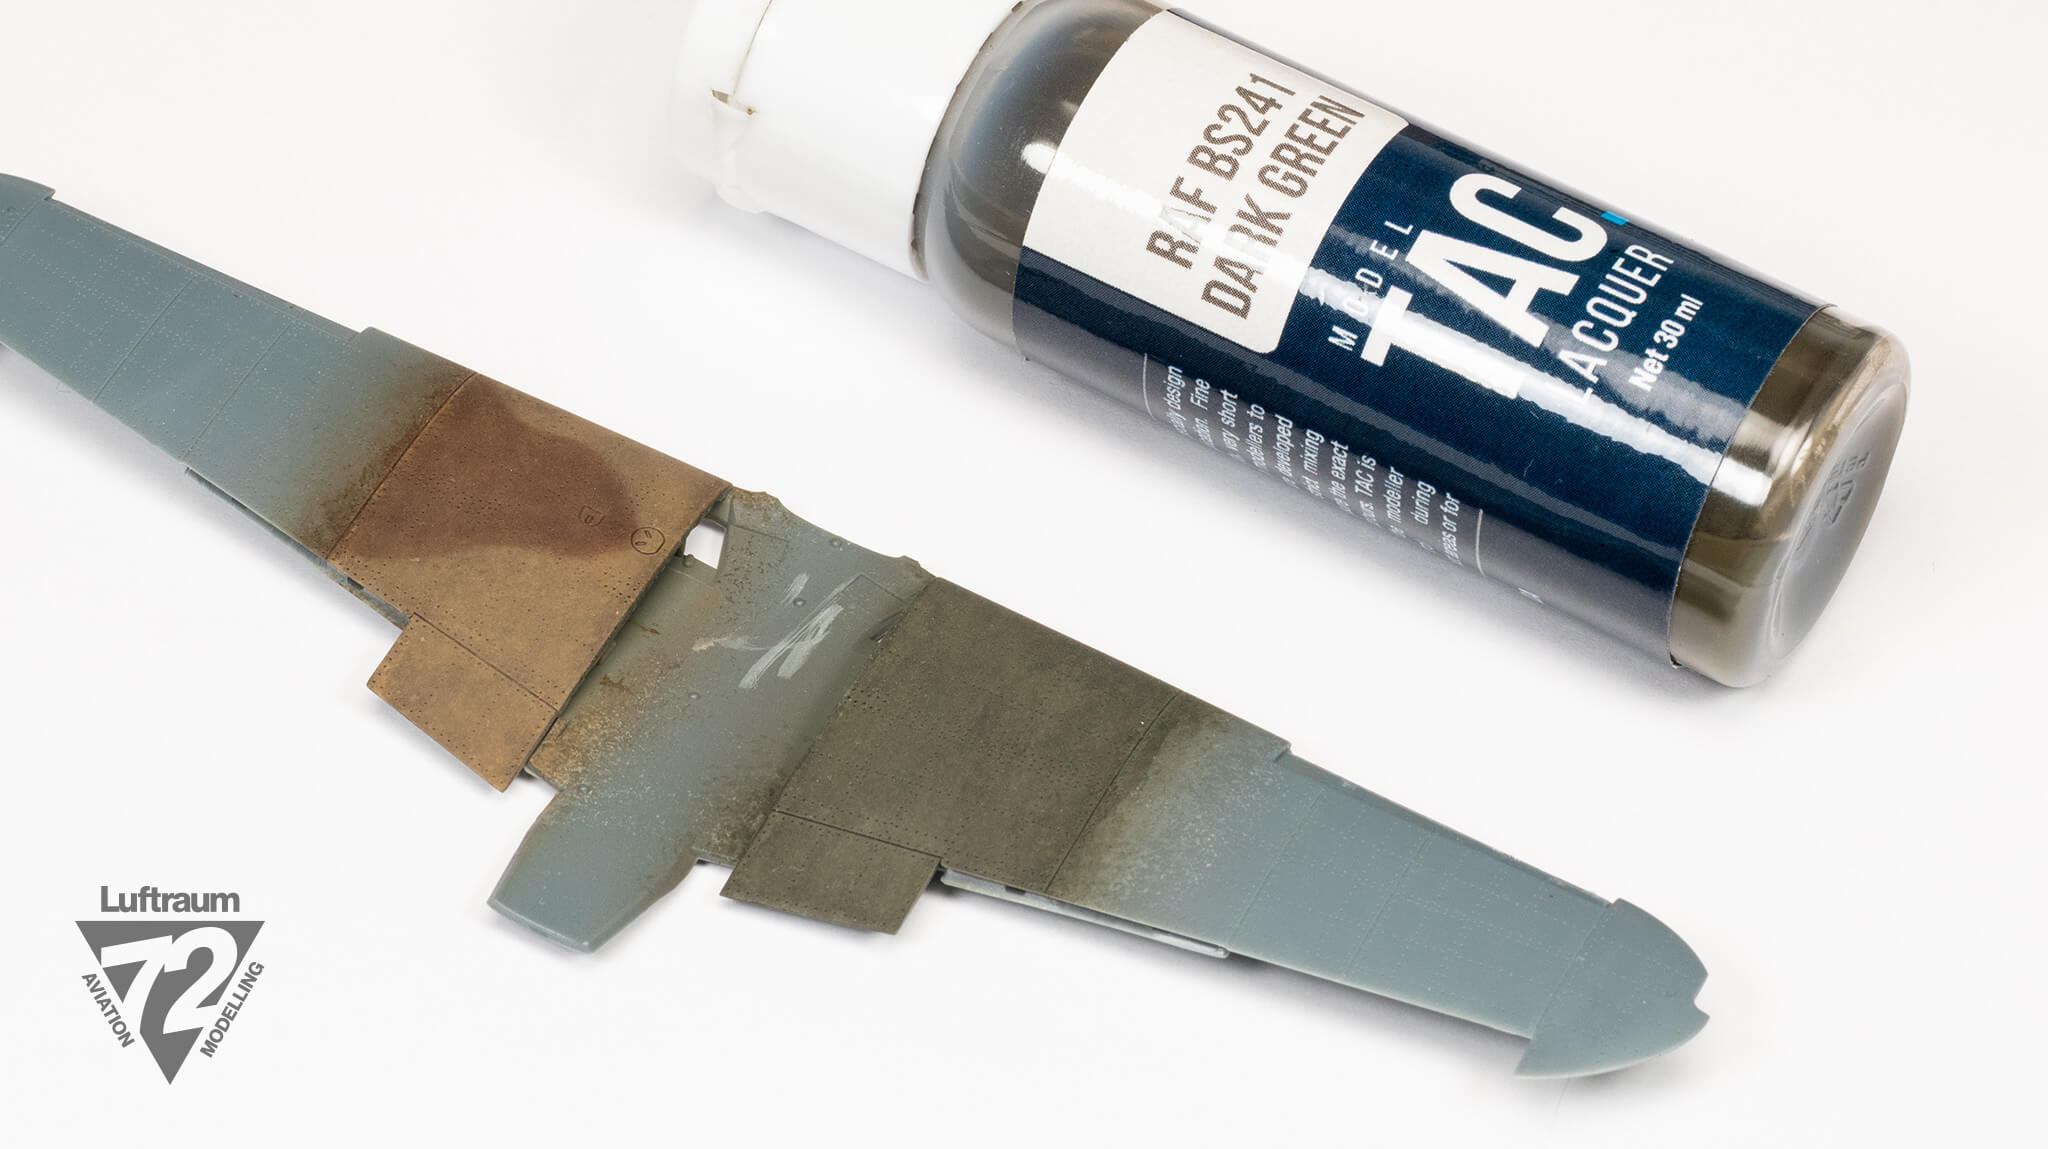
More recently, I had an Eduard Spitfire Mk.IXe build that had stalled at the wing-root wear stage, and needing to get past the mental block of how to deal with it, I had the thought to try pigment from a metallizer paint which is meant to provide a polished effect when burnished. If I could convert it to a dry pigment, it would give me more control, more workable range, and an option to remove it that I didn’t have with the earlier wet application.
The Seafire is shown immediately below followed by two pics of the Spitfire.
Materials
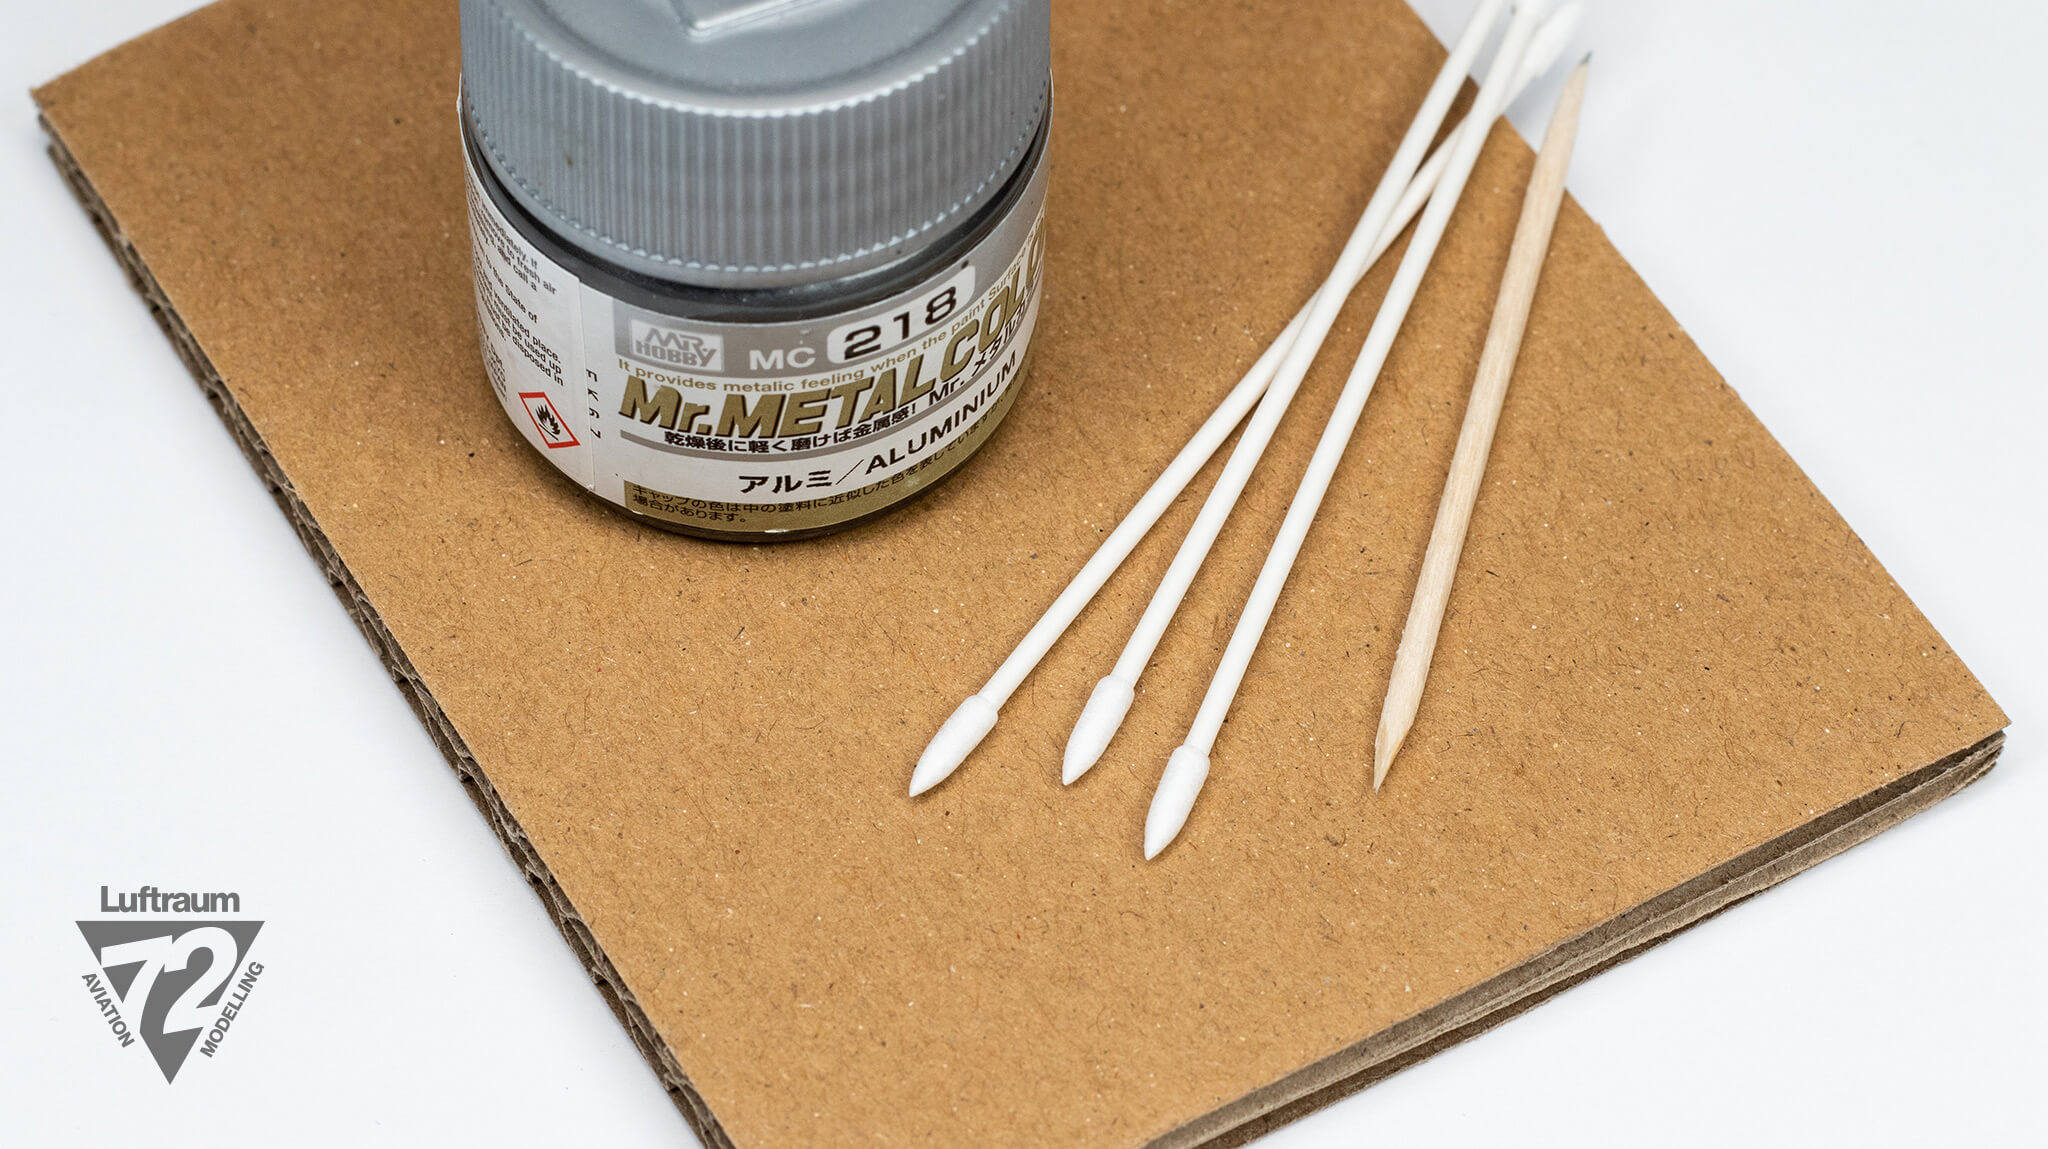
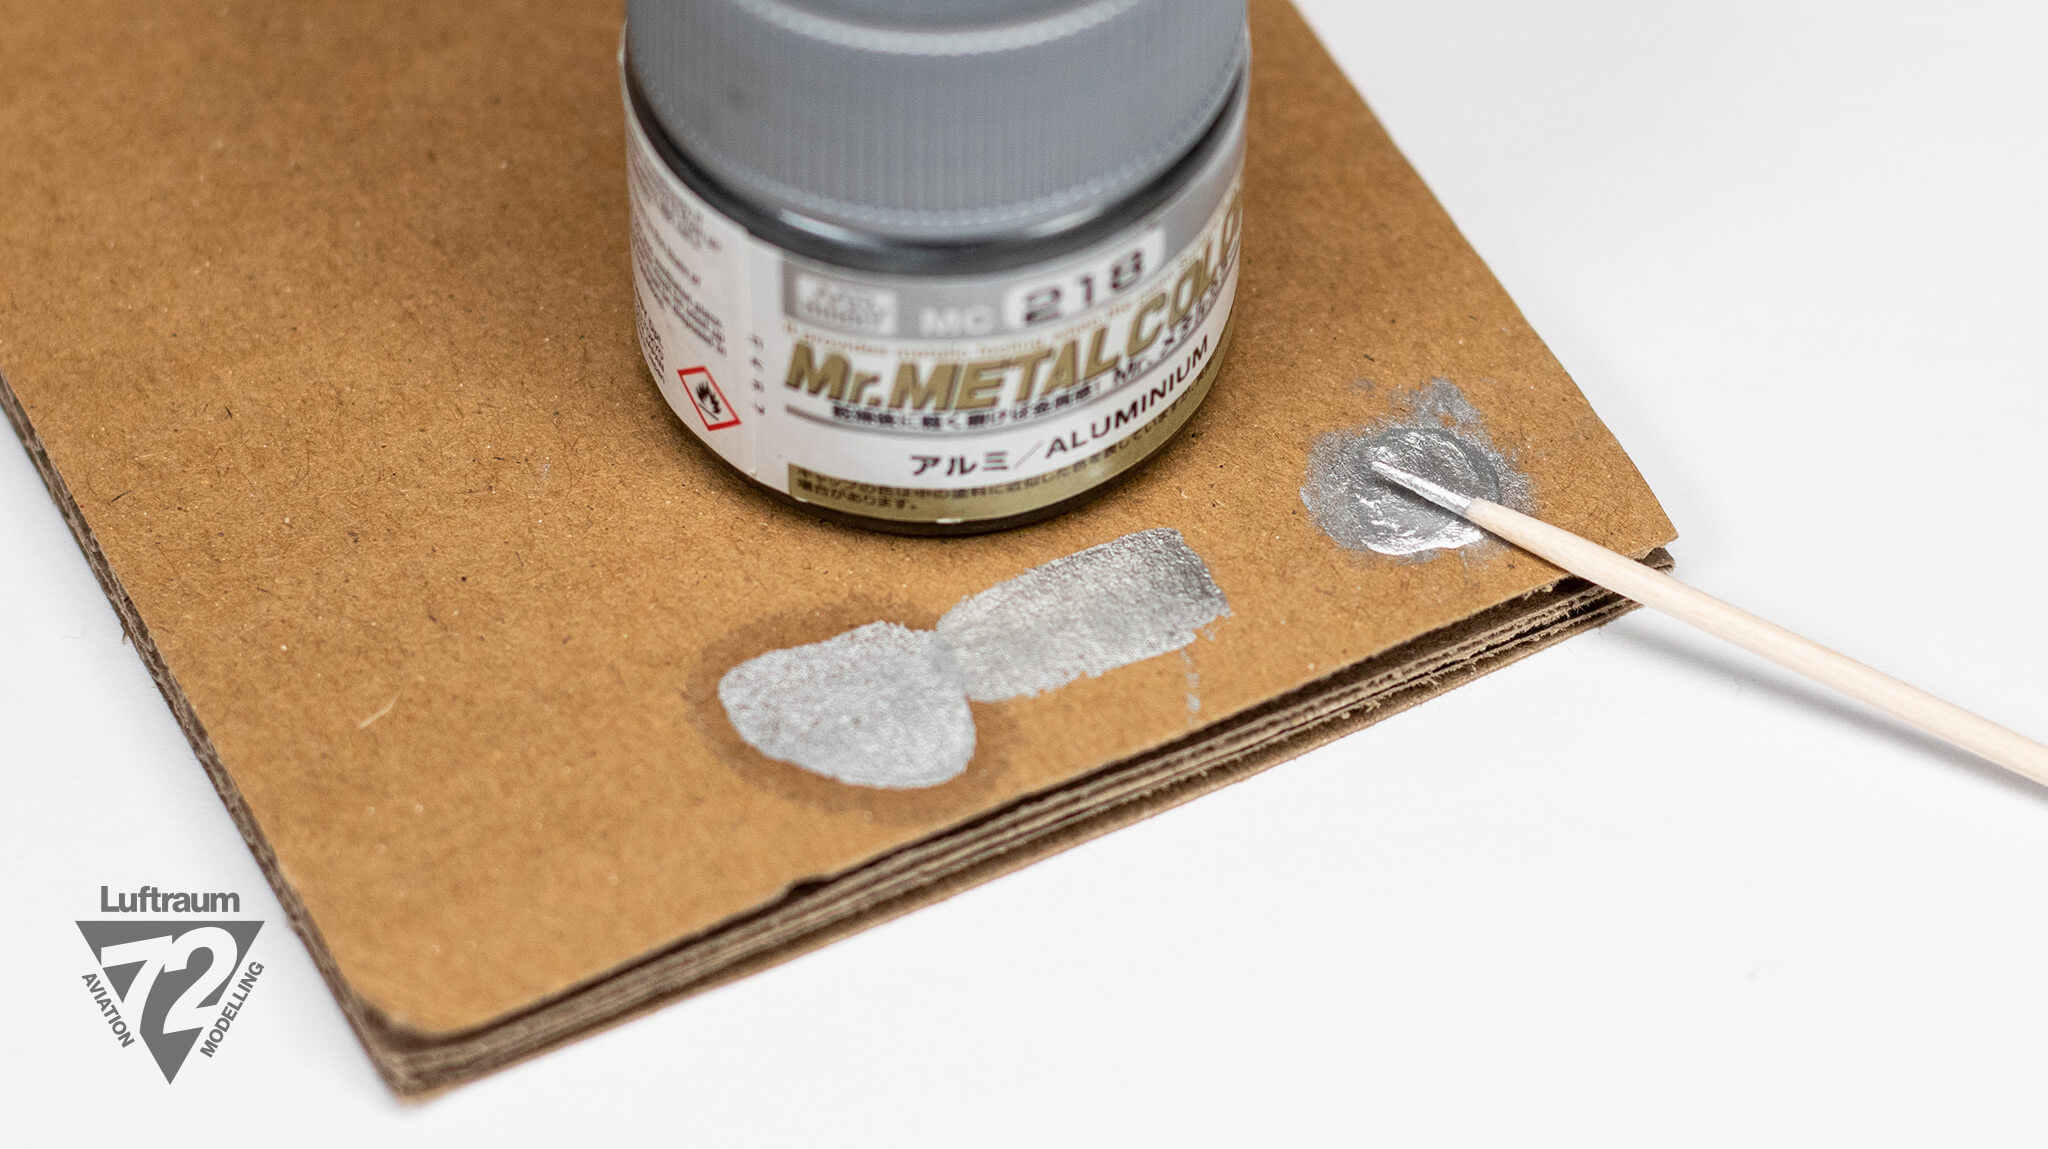
Mr. Metal Color — A buffing-style metallic lacquer, Mr. Metal Color — in this case MC218 Aluminum — was selected to provide a polished effect on the most heavily worn areas. Other buffing metallics would likely also work as might some silver pigments.
Cotton Hobby Swabs — Tightly-wound, high-quality swabs of the pointed type are used for the application and burnishing. I use the Tamiya Craft Cotton Swab Triangular, Extra Small (87105) or Anyz Type 1 Cotton Swabs (AN009).
Toothpick — Simple round toothpick, shaved to a narrow chisel-shape, and soaked briefly in water.
Cardboard — Clean, card stock or corrugated cardboard is used to absorb the carrier from the Mr. Metal Color, similar to leaching oils.
Step 3
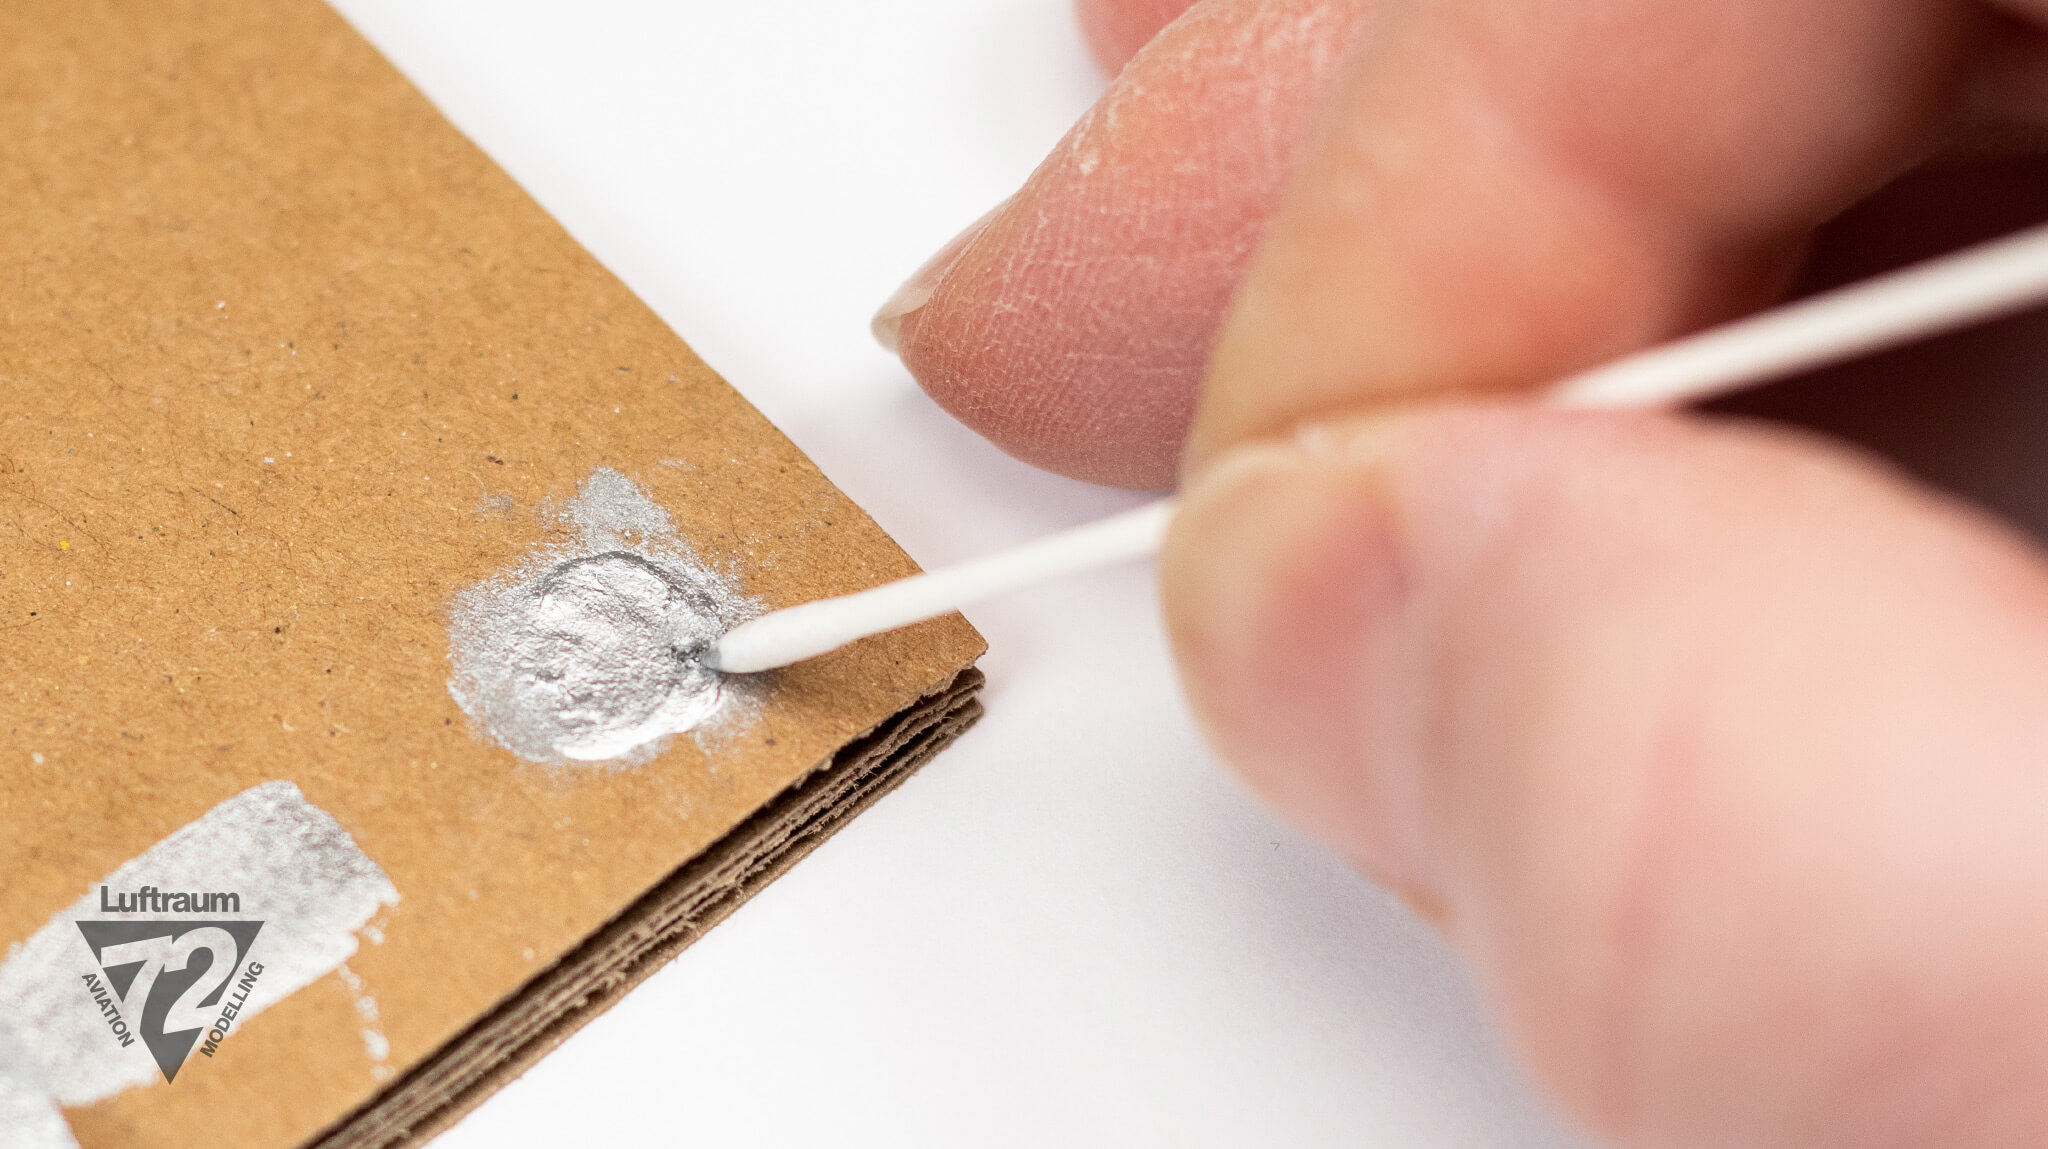
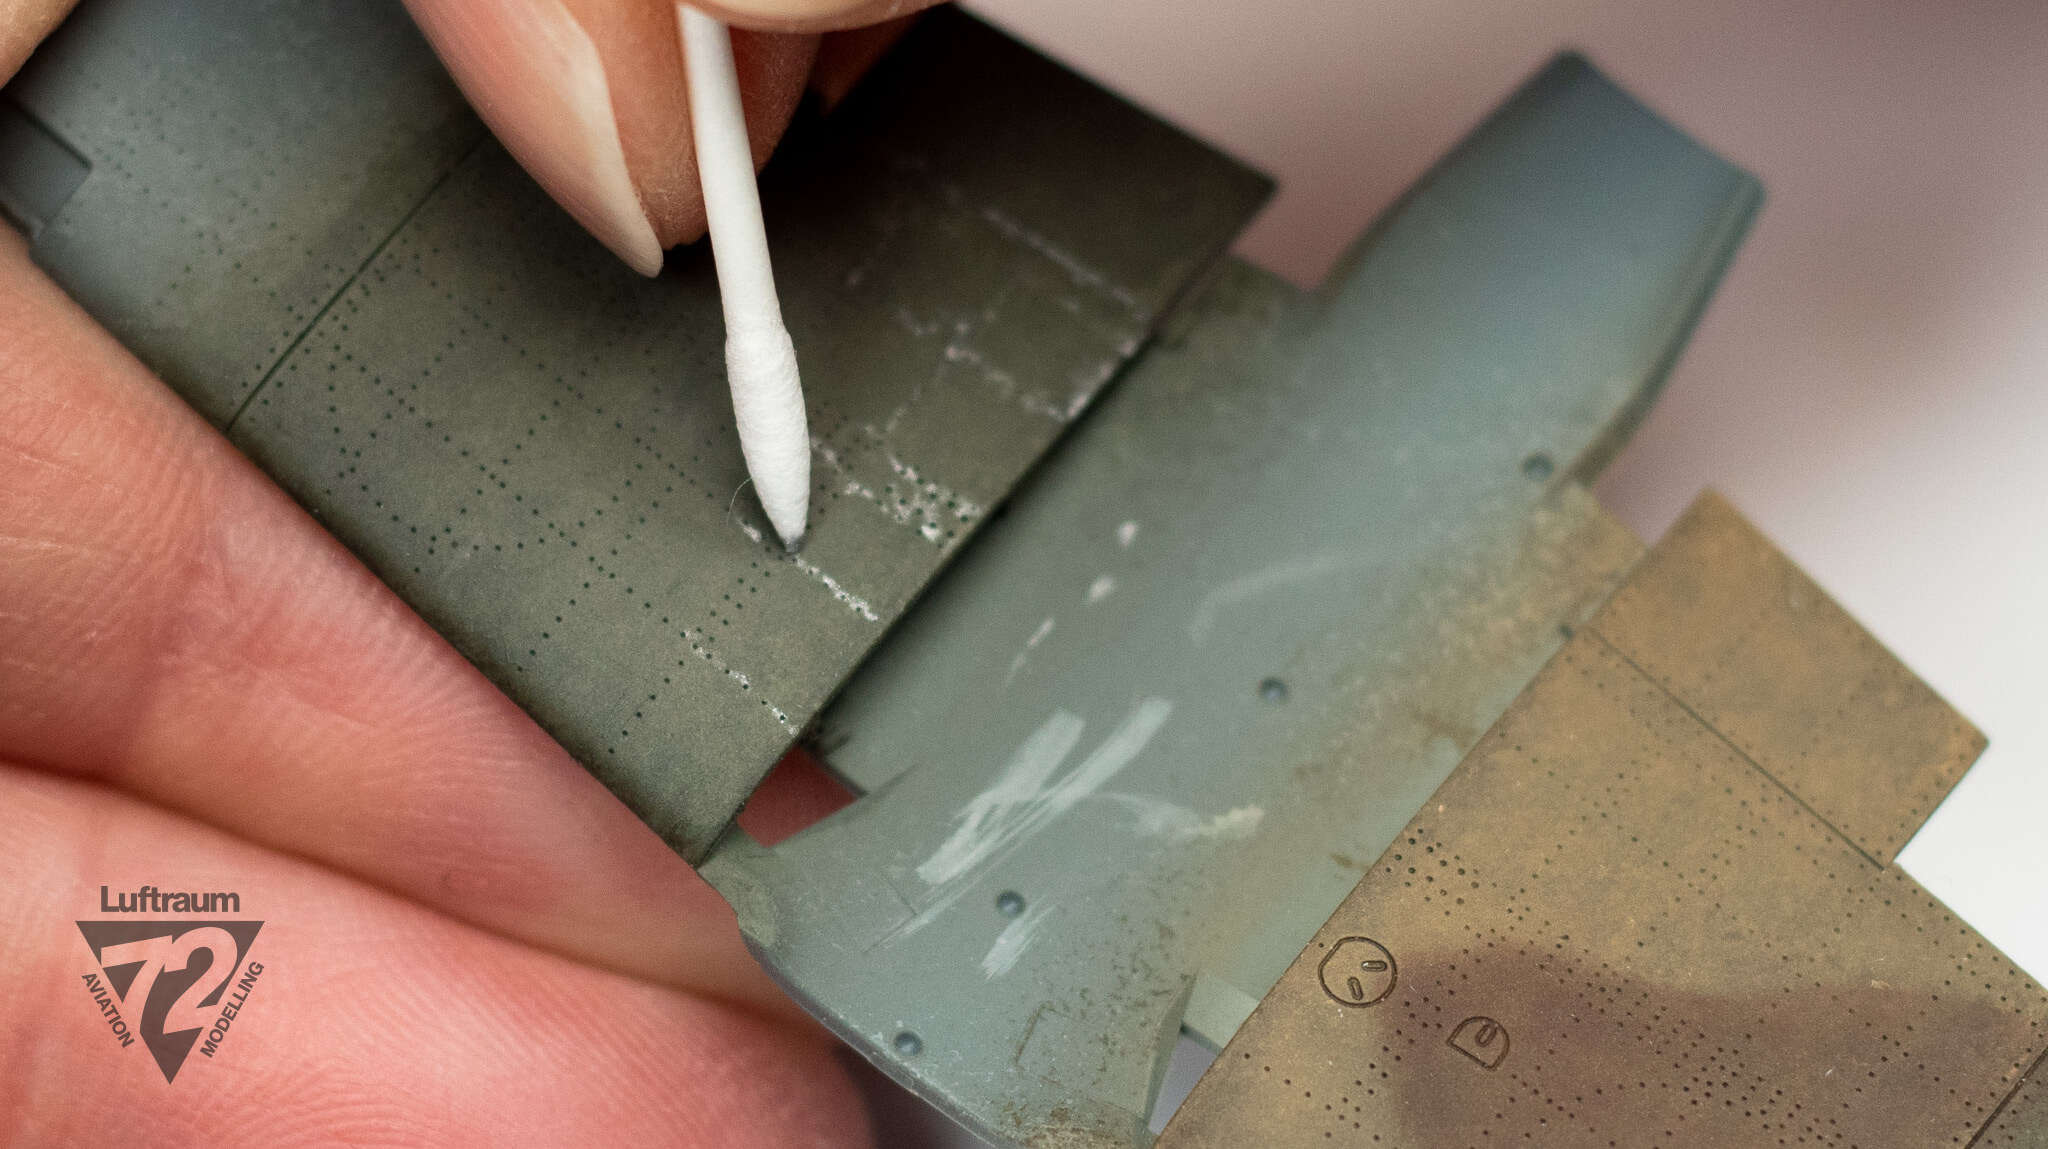
The tip of a pointed swab is used to break up the dried pigment and work some into the swab’s fibres.
The swab is then rubbed into the cardboard to ensure the pigment is broken up fully, and that no lumps will end up on the surface (though they can usually be blown off with a puff of breath).
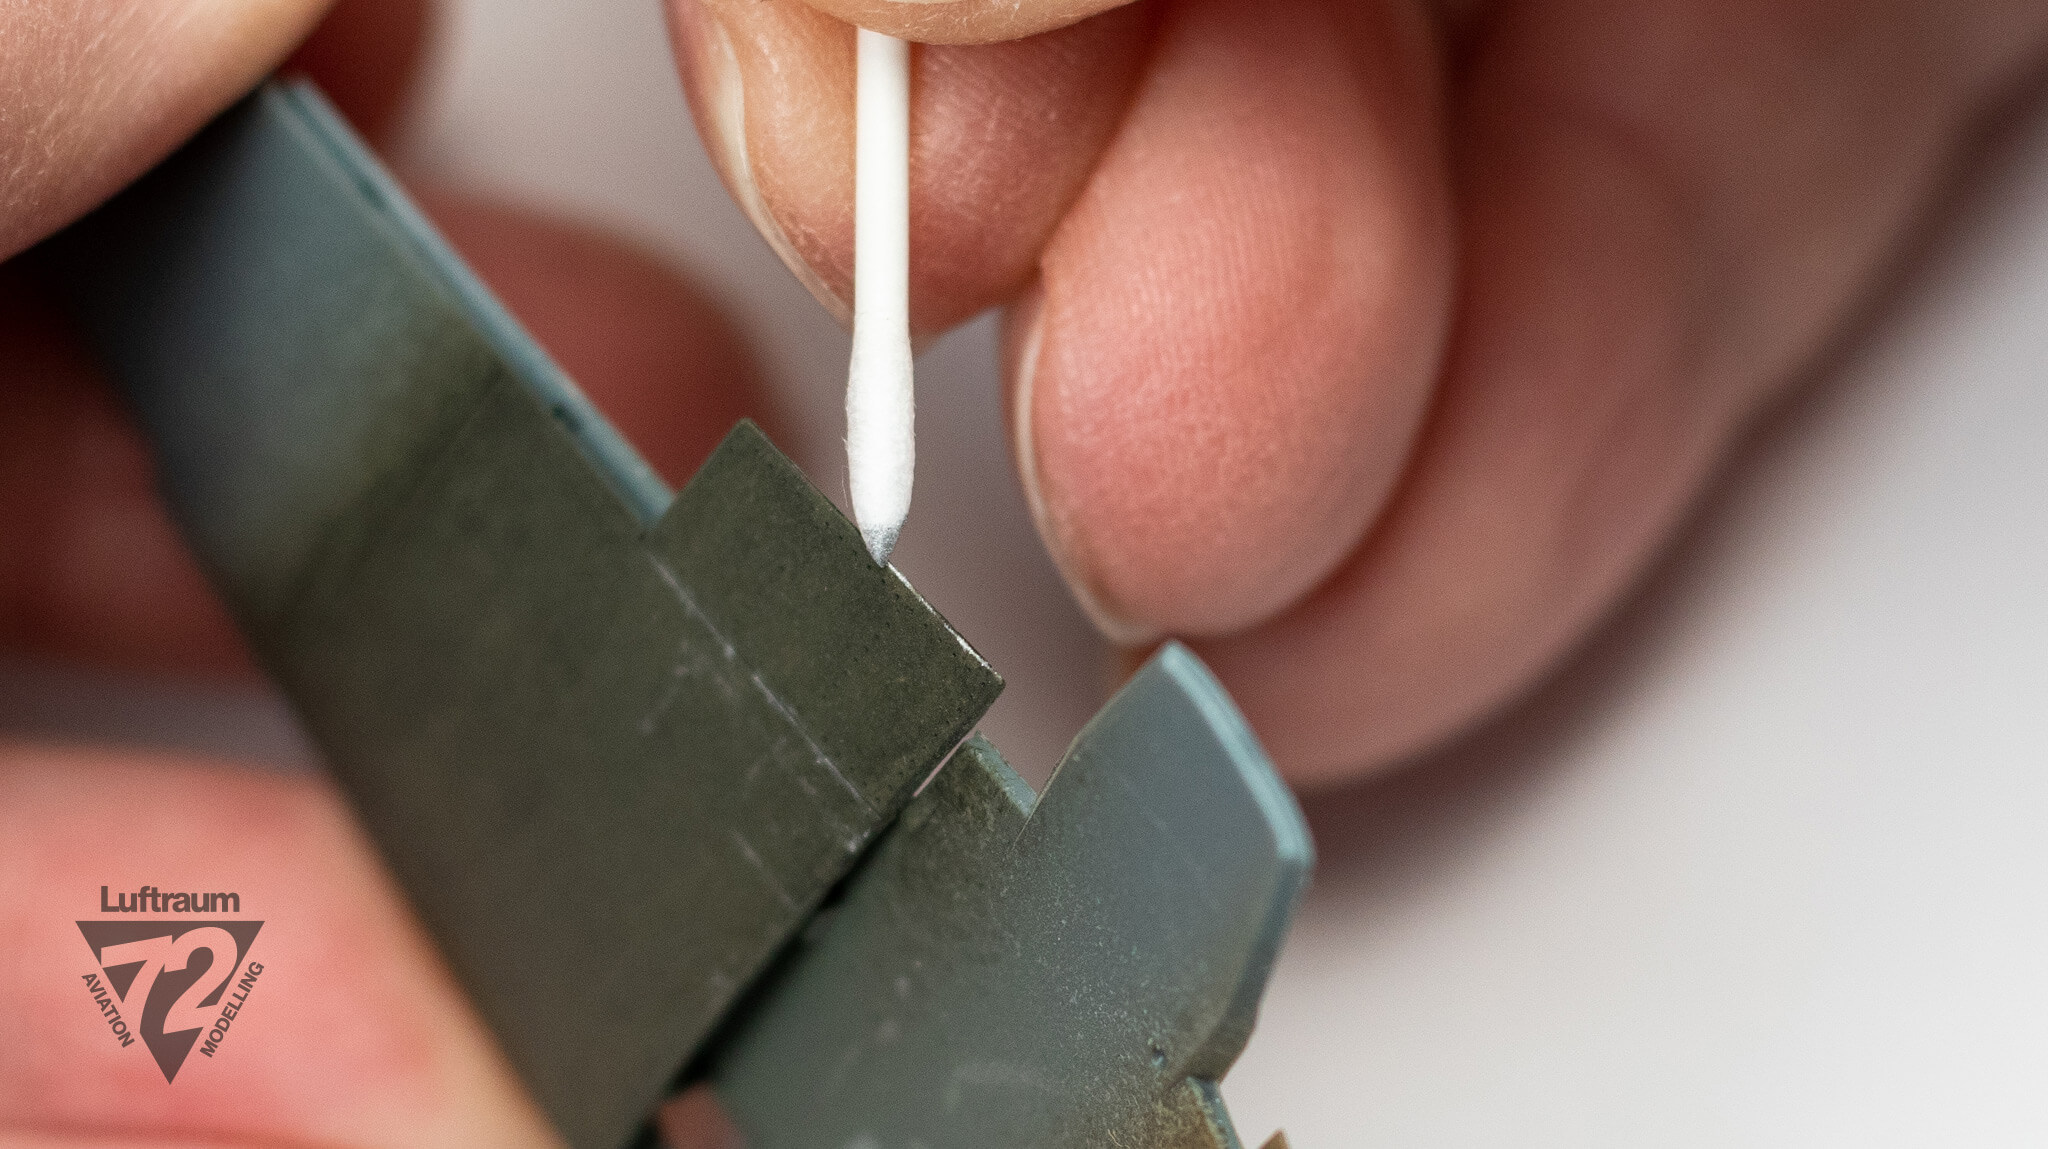
It is crucial in these steps — both at the outset and as further pigment loads are applied — to work with the side of the swab to preserve the point. The swab will inevitably ‘dull’ as pigment is applied to the model’s surface, but this will help prolong it’s shape.
Step 4
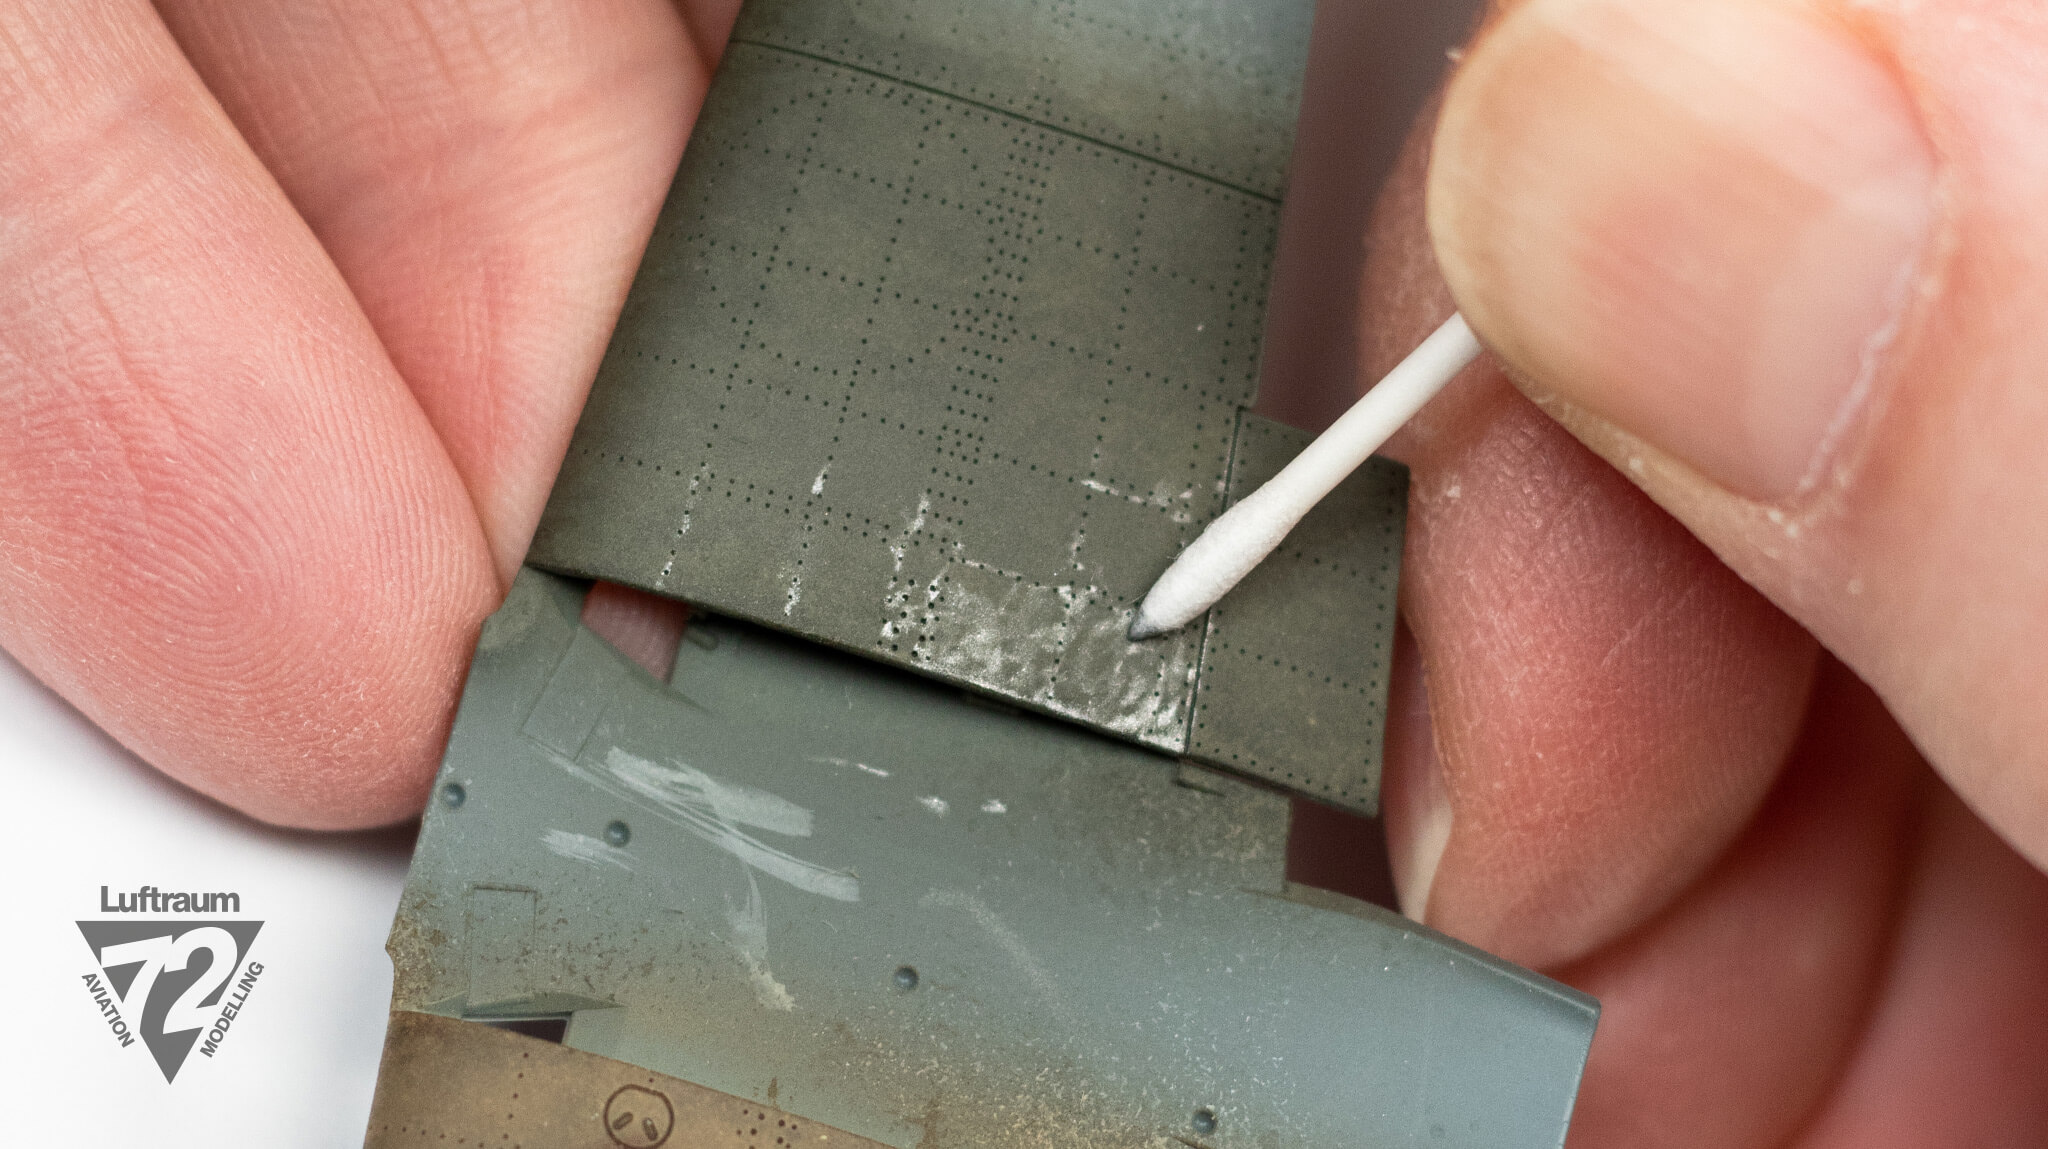
Working with just the edge of the swab’s point, begin drawing the wear pattern on the surface, following references as to where abrasion occurs. While my demo wing is from a 109, I’m being generic in my pattern and not specifically following any 109 references.
Don’t forget wear can also include the trailing edges of wings where ground crews push the aircraft (though not usually on flaps as I’ve done here)
Step 5
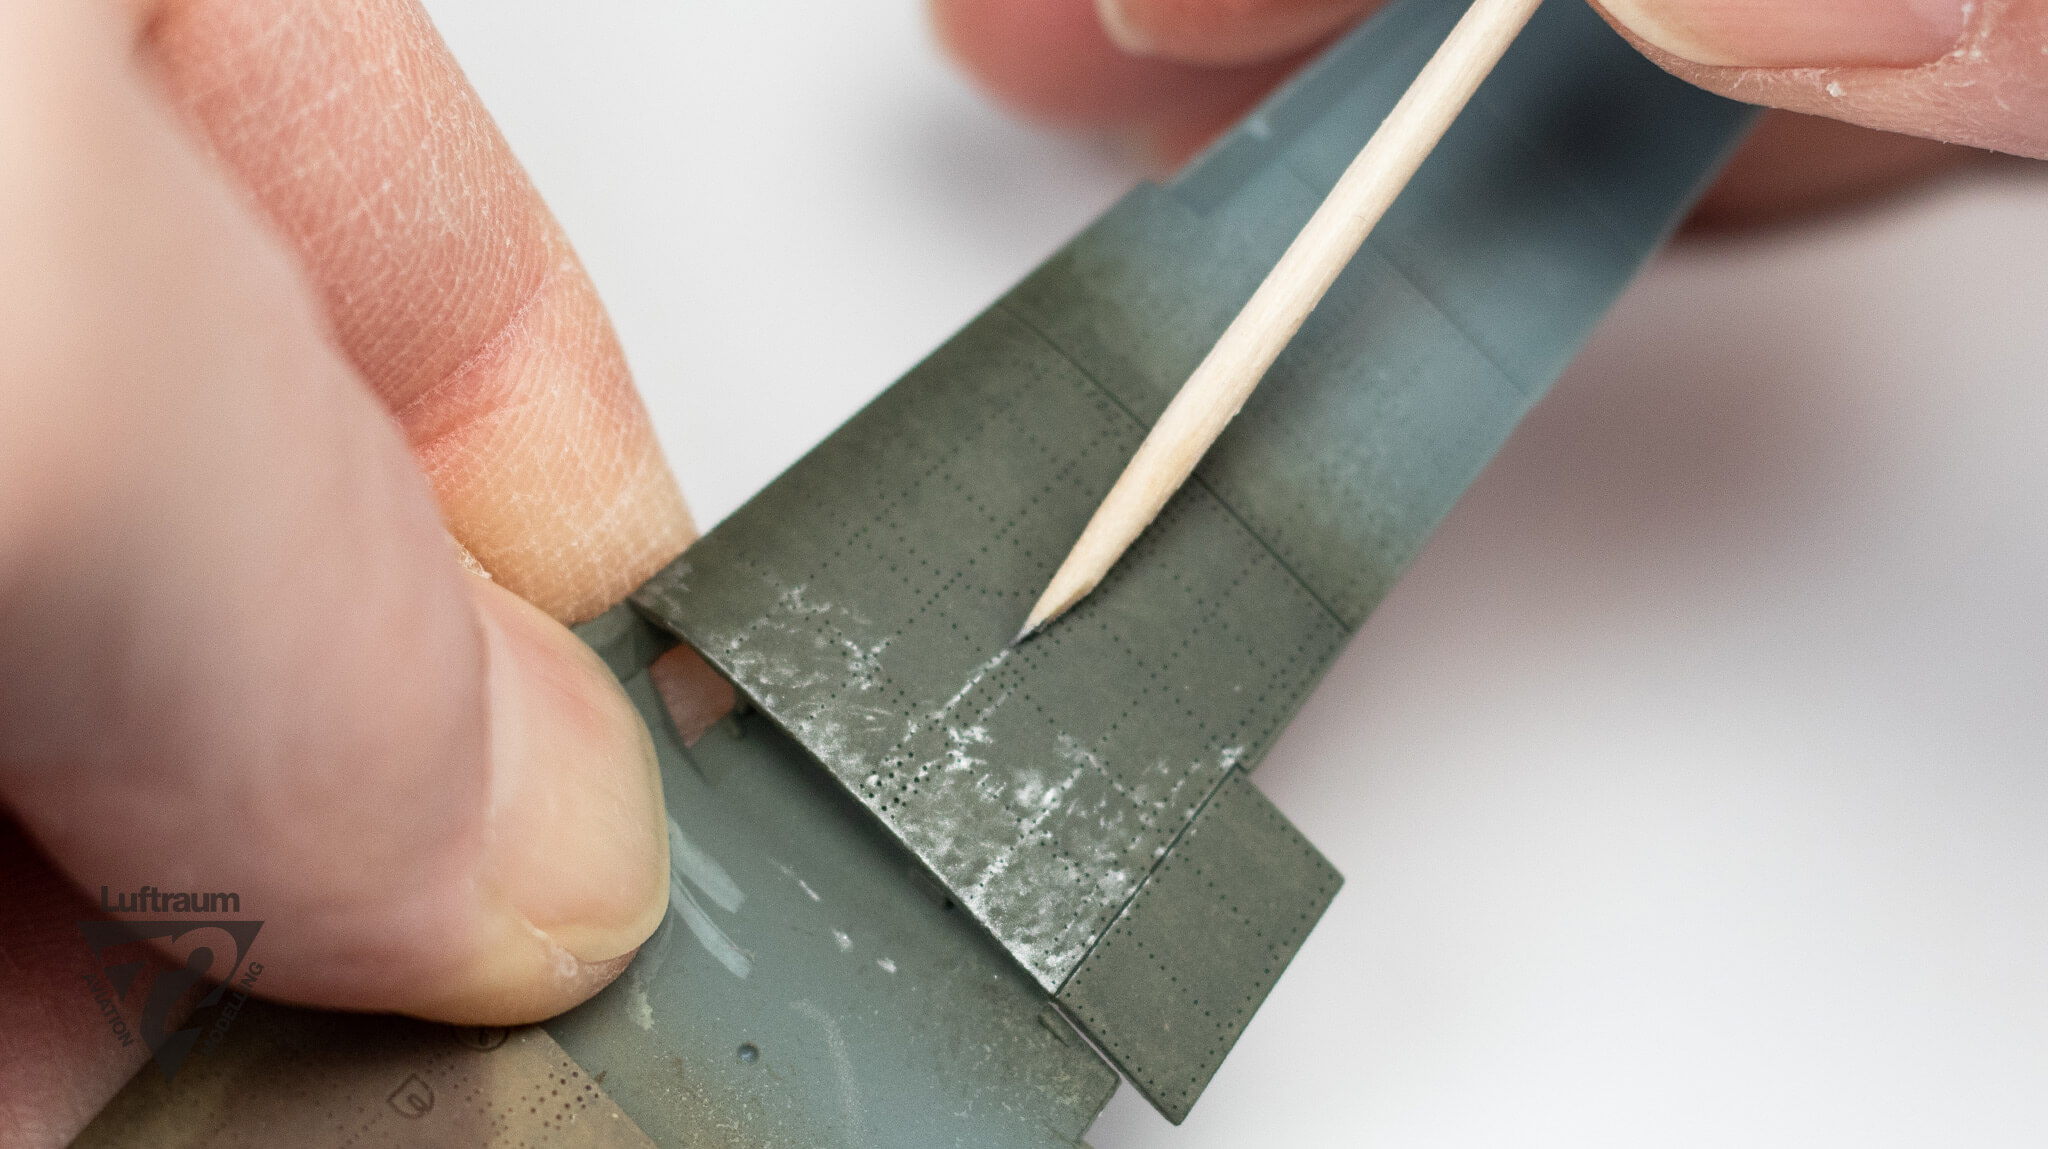
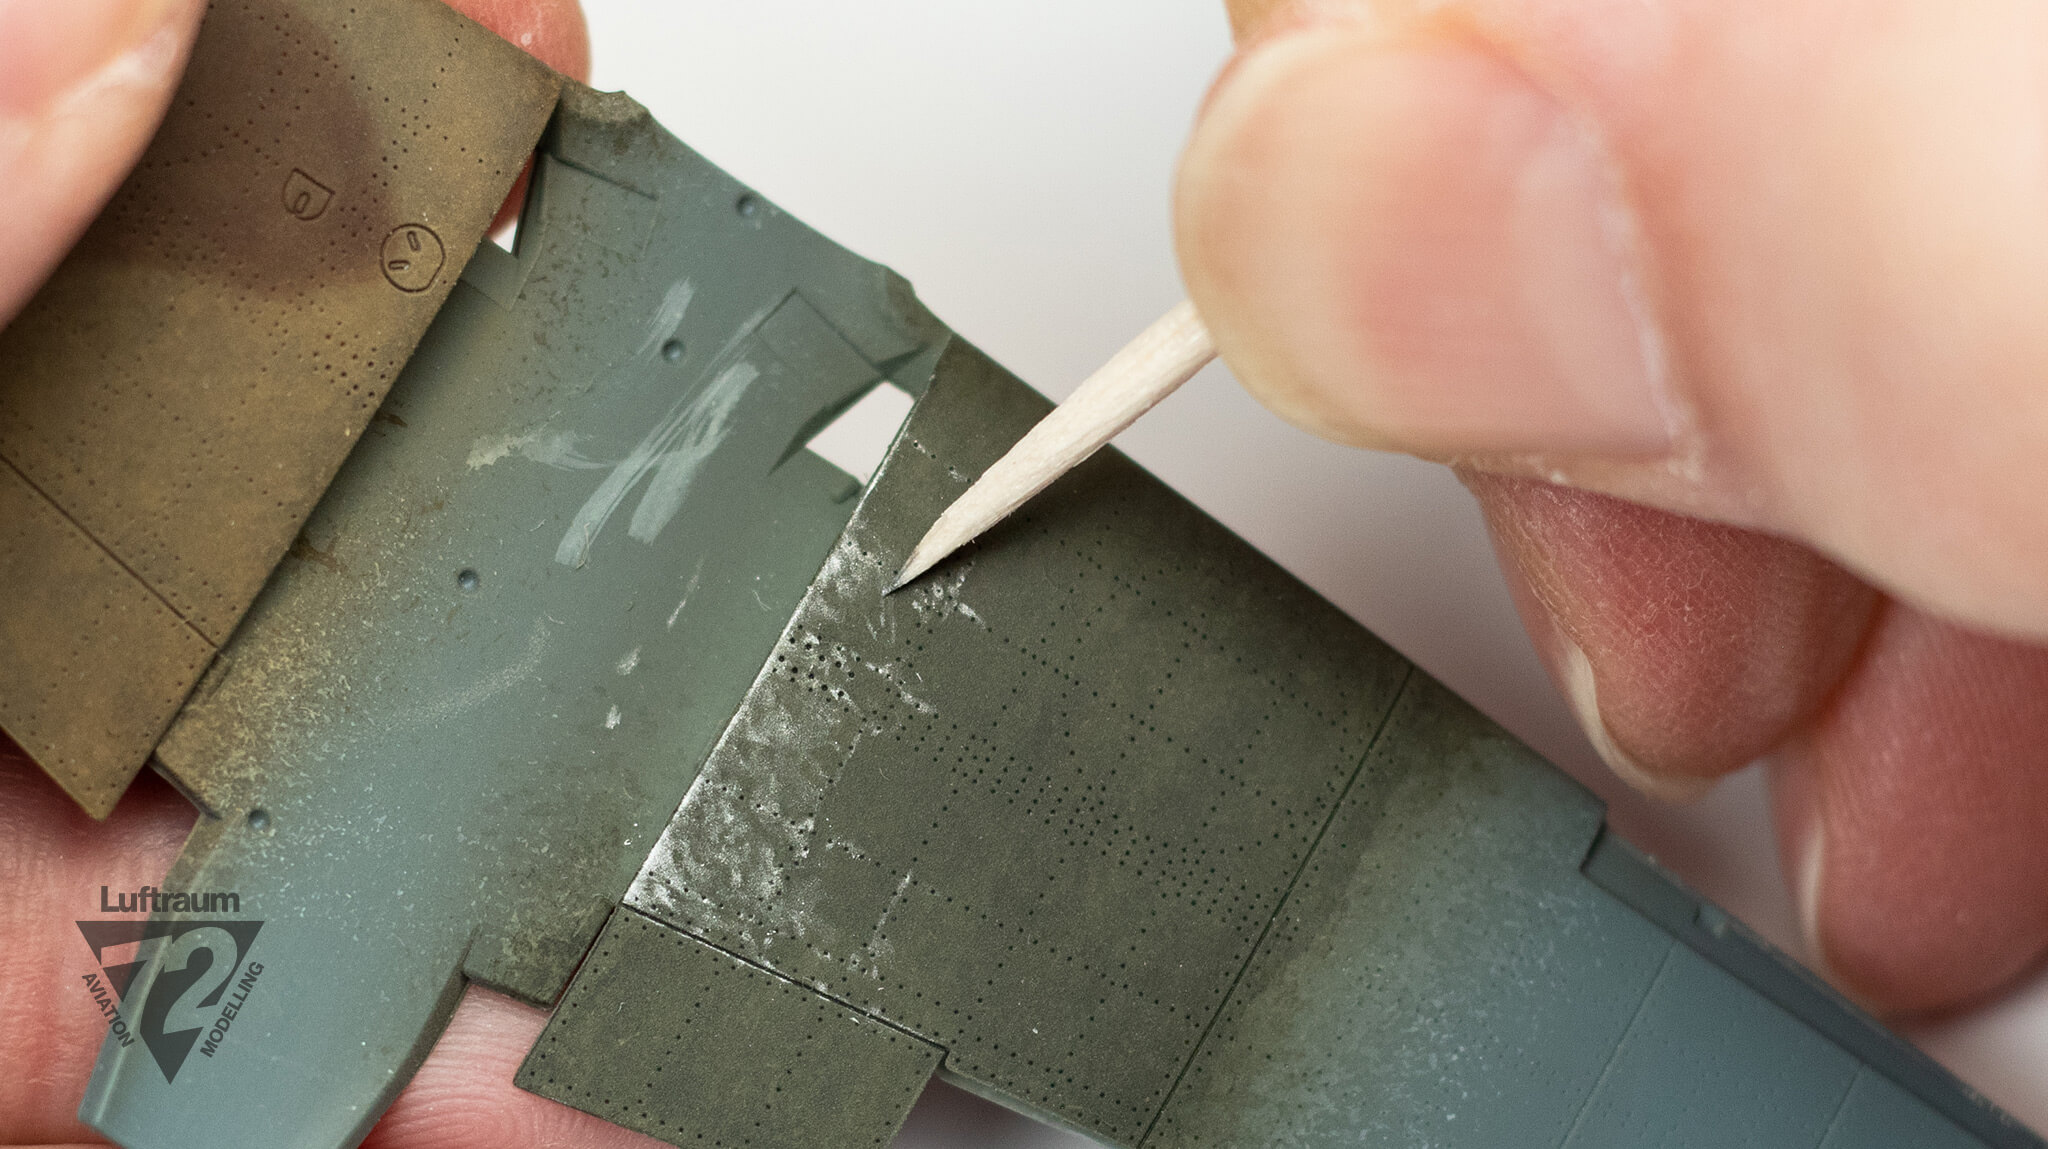
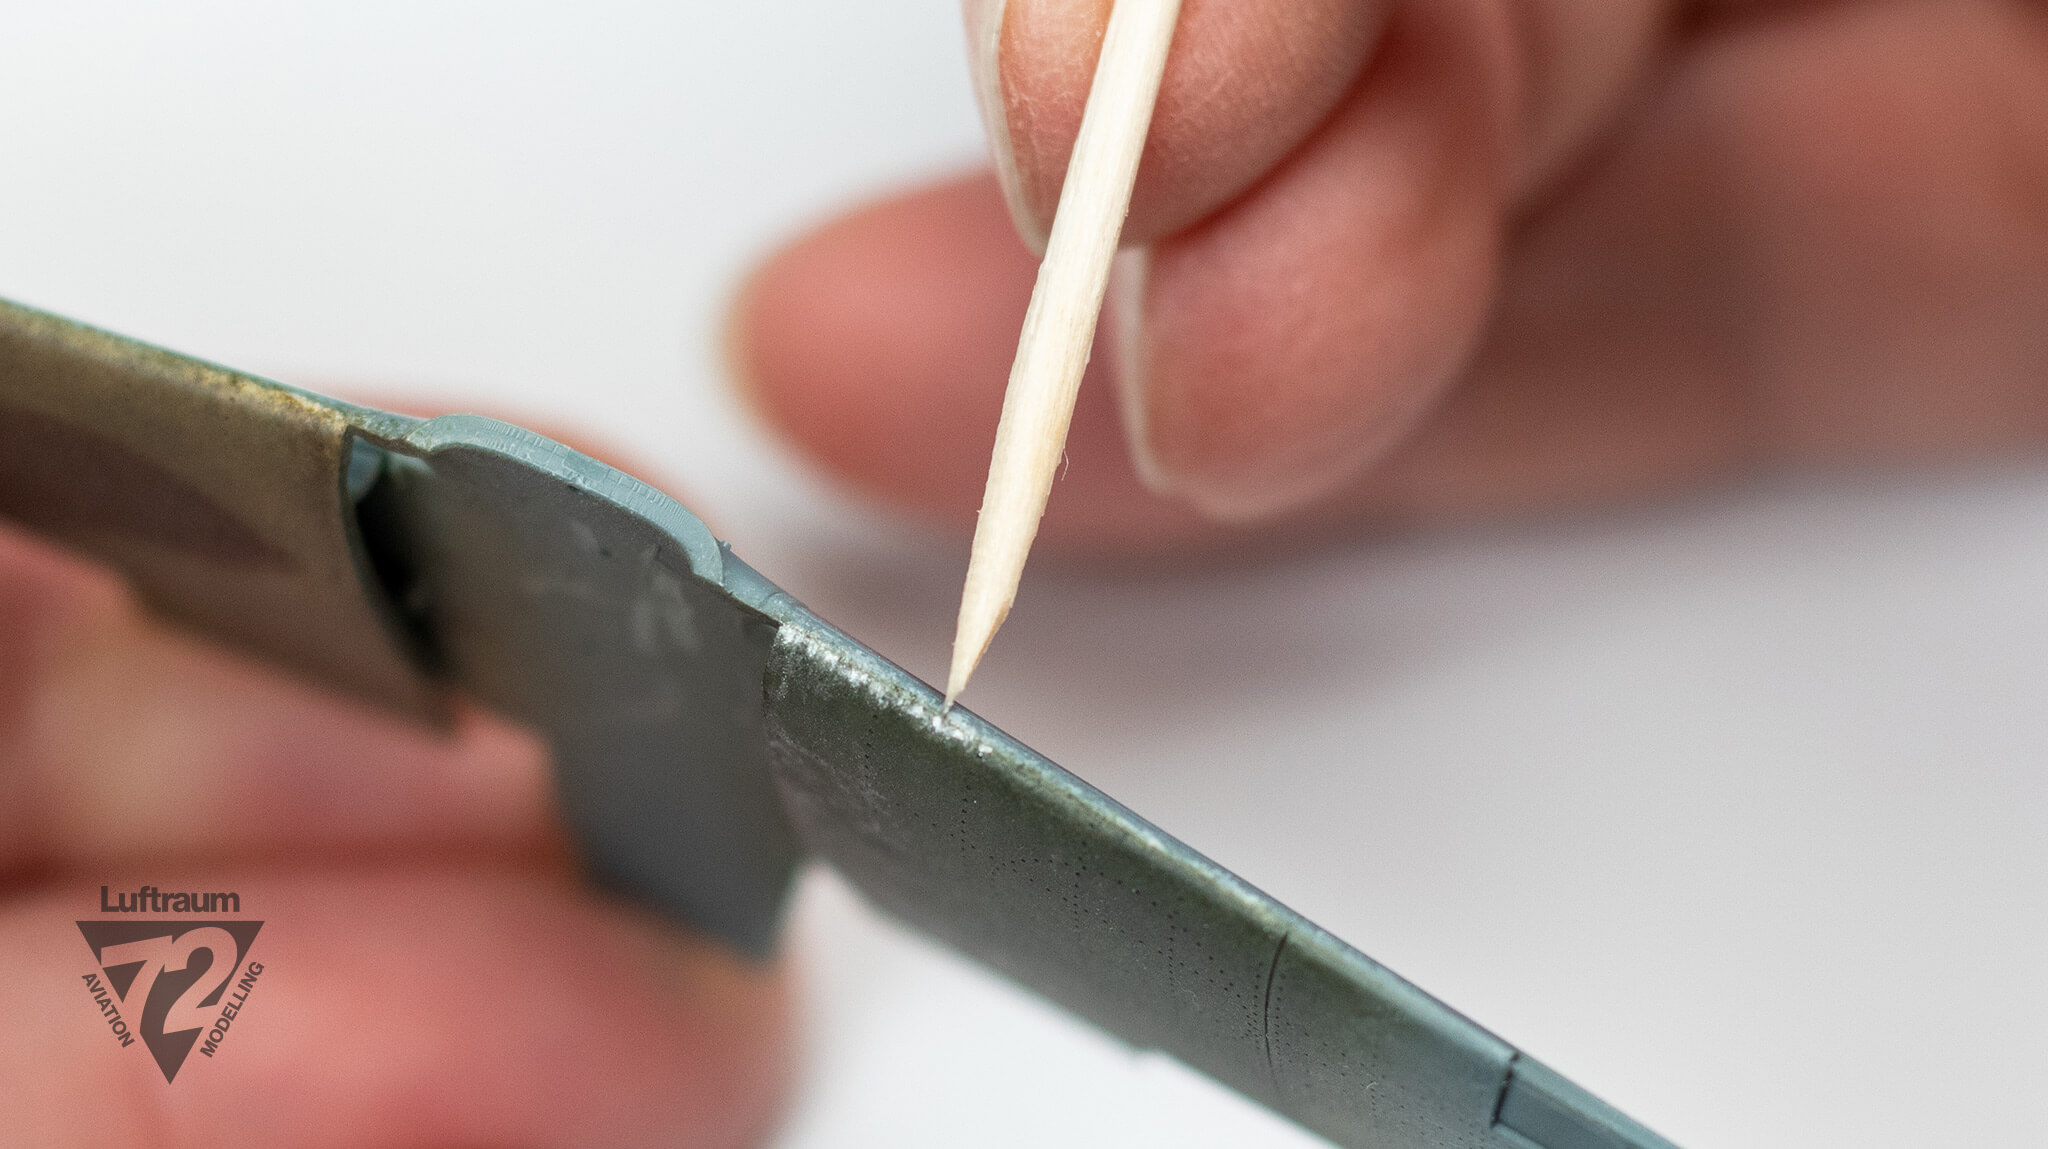
For an added sharpness in the wear effects, or to create scratches, a toothpick shaped to a chisel profile is rigid enough to maintain an edge, while porous enough to grip a small amount of pigment.
To ensure the wood won’t end up scratching the surface as you work, soak the point for a few minutes in water to soften the fibres and impart some give.
Step 6
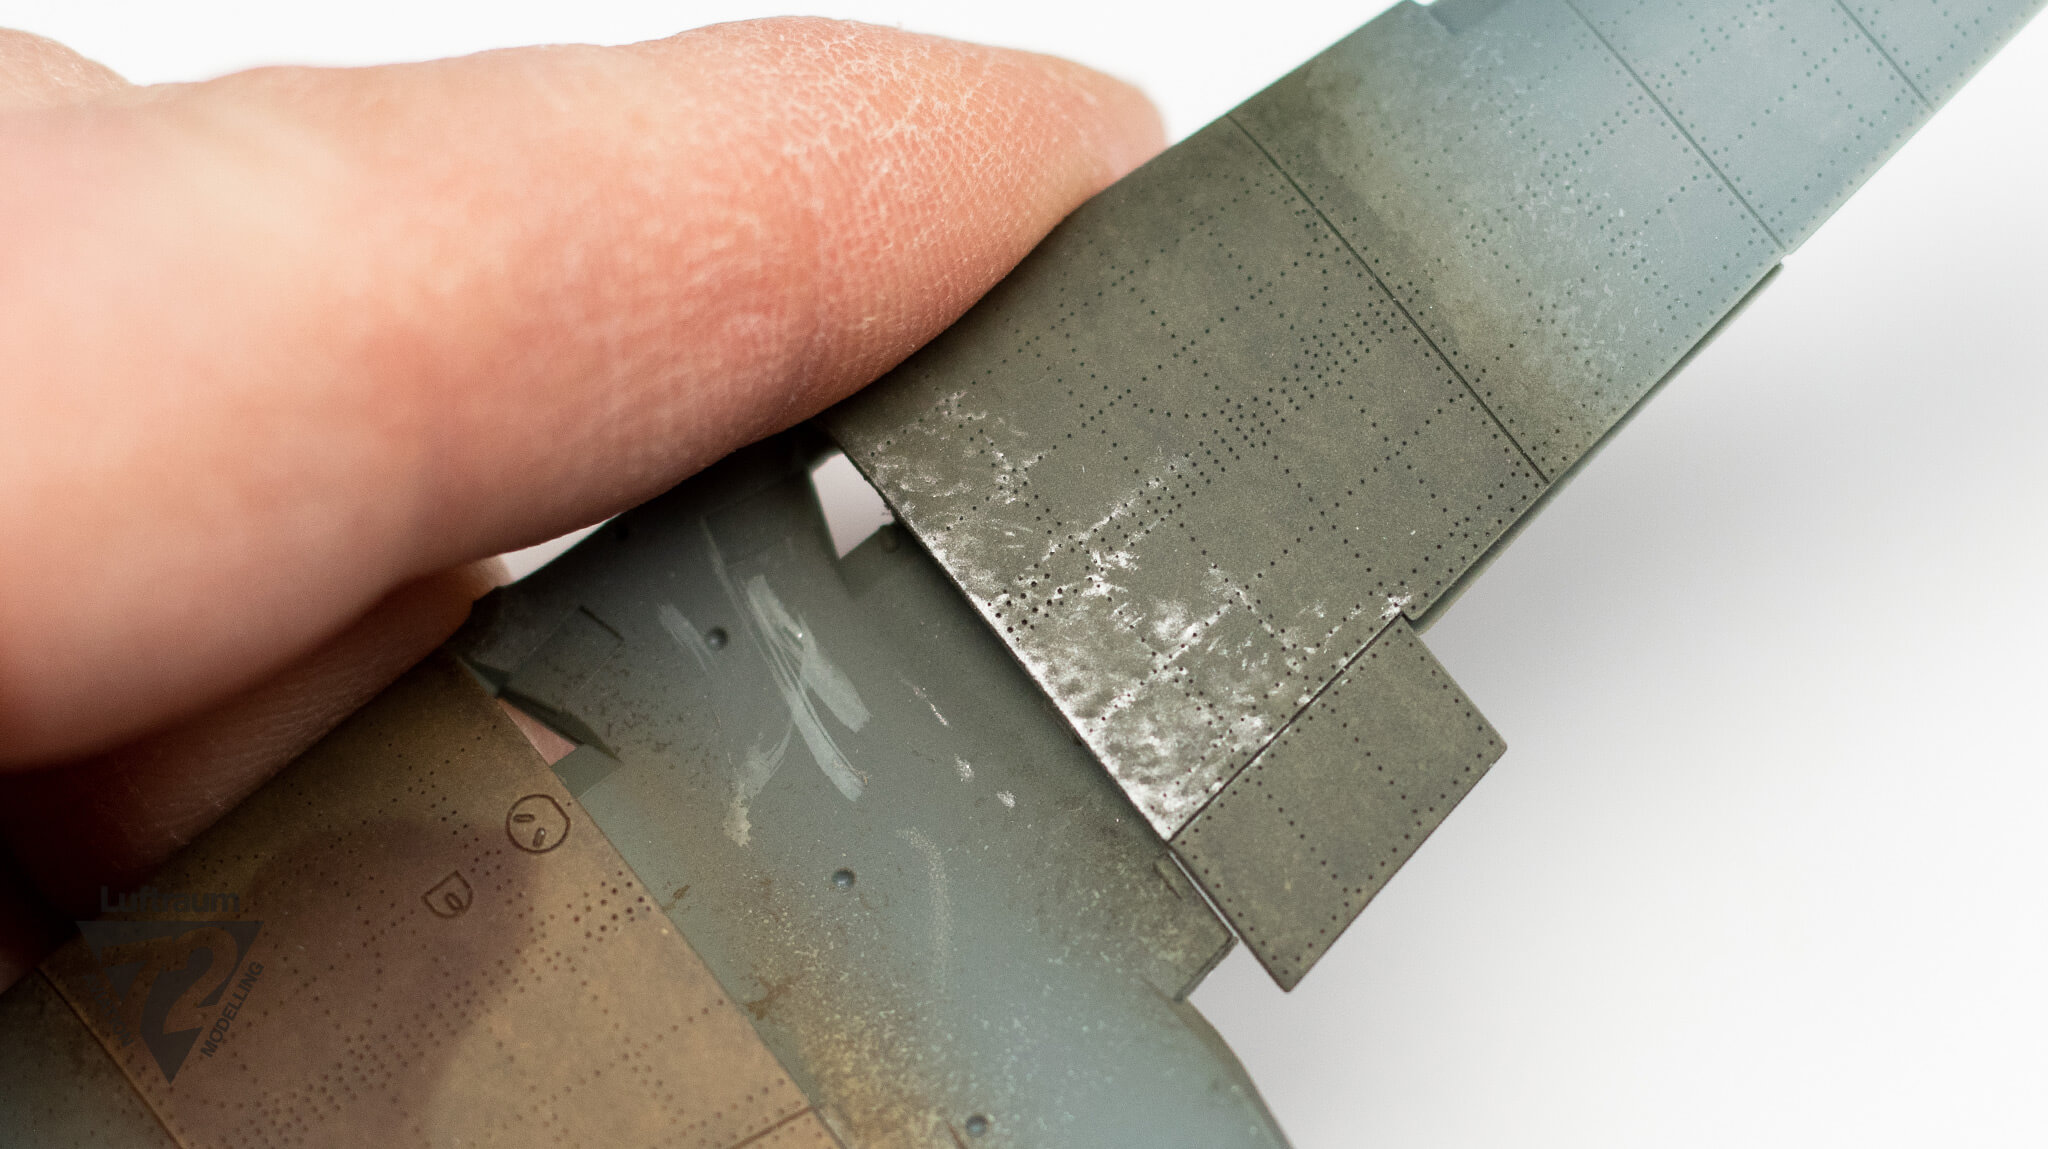
The panels between the rivet lines were treated to a random marbling to convey the abrasion of an uneven surface from either stressed-skin, or from repeated foot traffic contouring the surface level.
To achieve the effect, the swab was relieved of most of the pigment so the effect could start subtle and build up as necessary. The side of the swab was rubbed in a random pattern, allowing pockets of untouched paint. The process was repeated several times, with each pass applying less and less pigment, building to a few highly-burnished high points.
Step 7
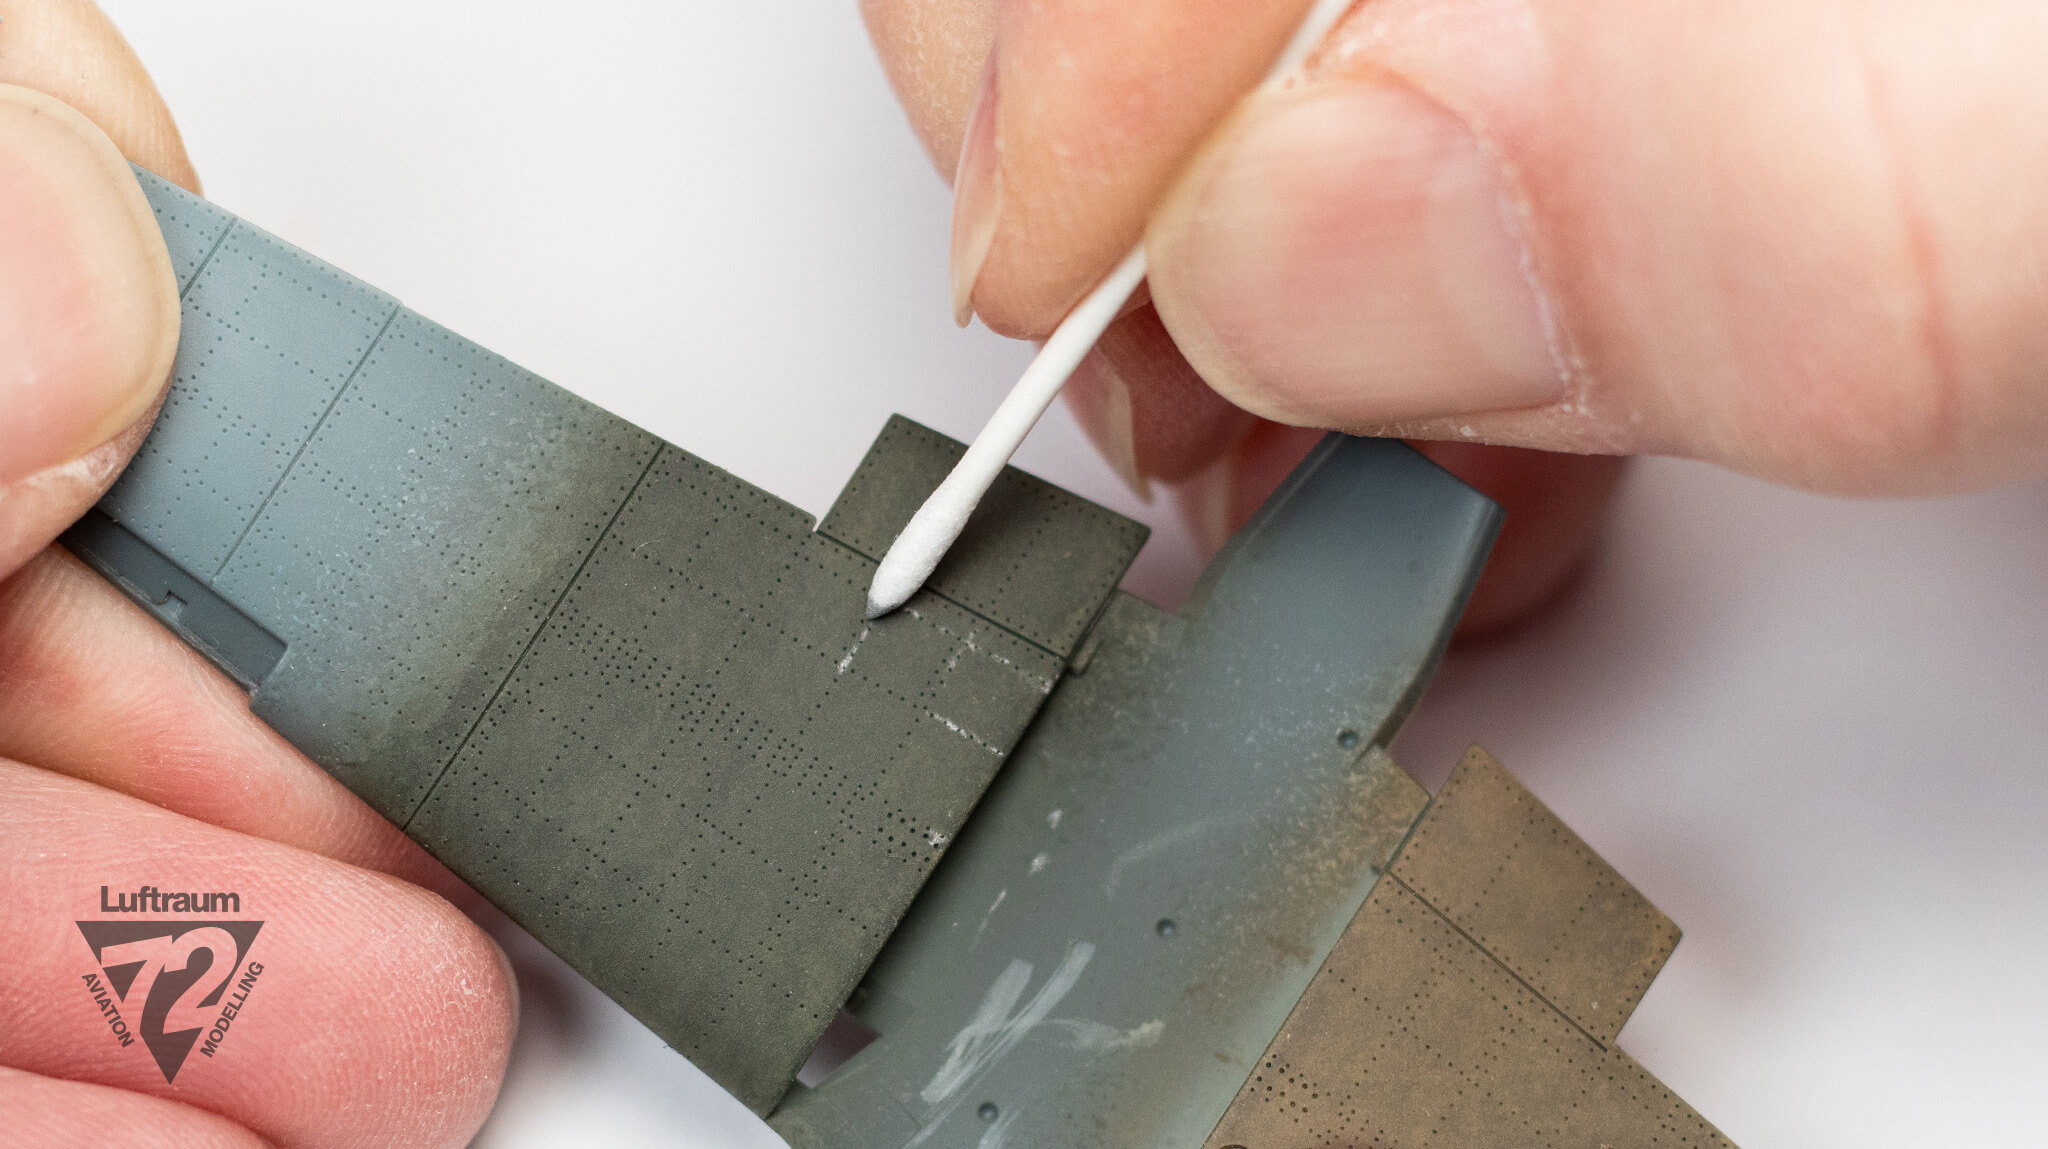
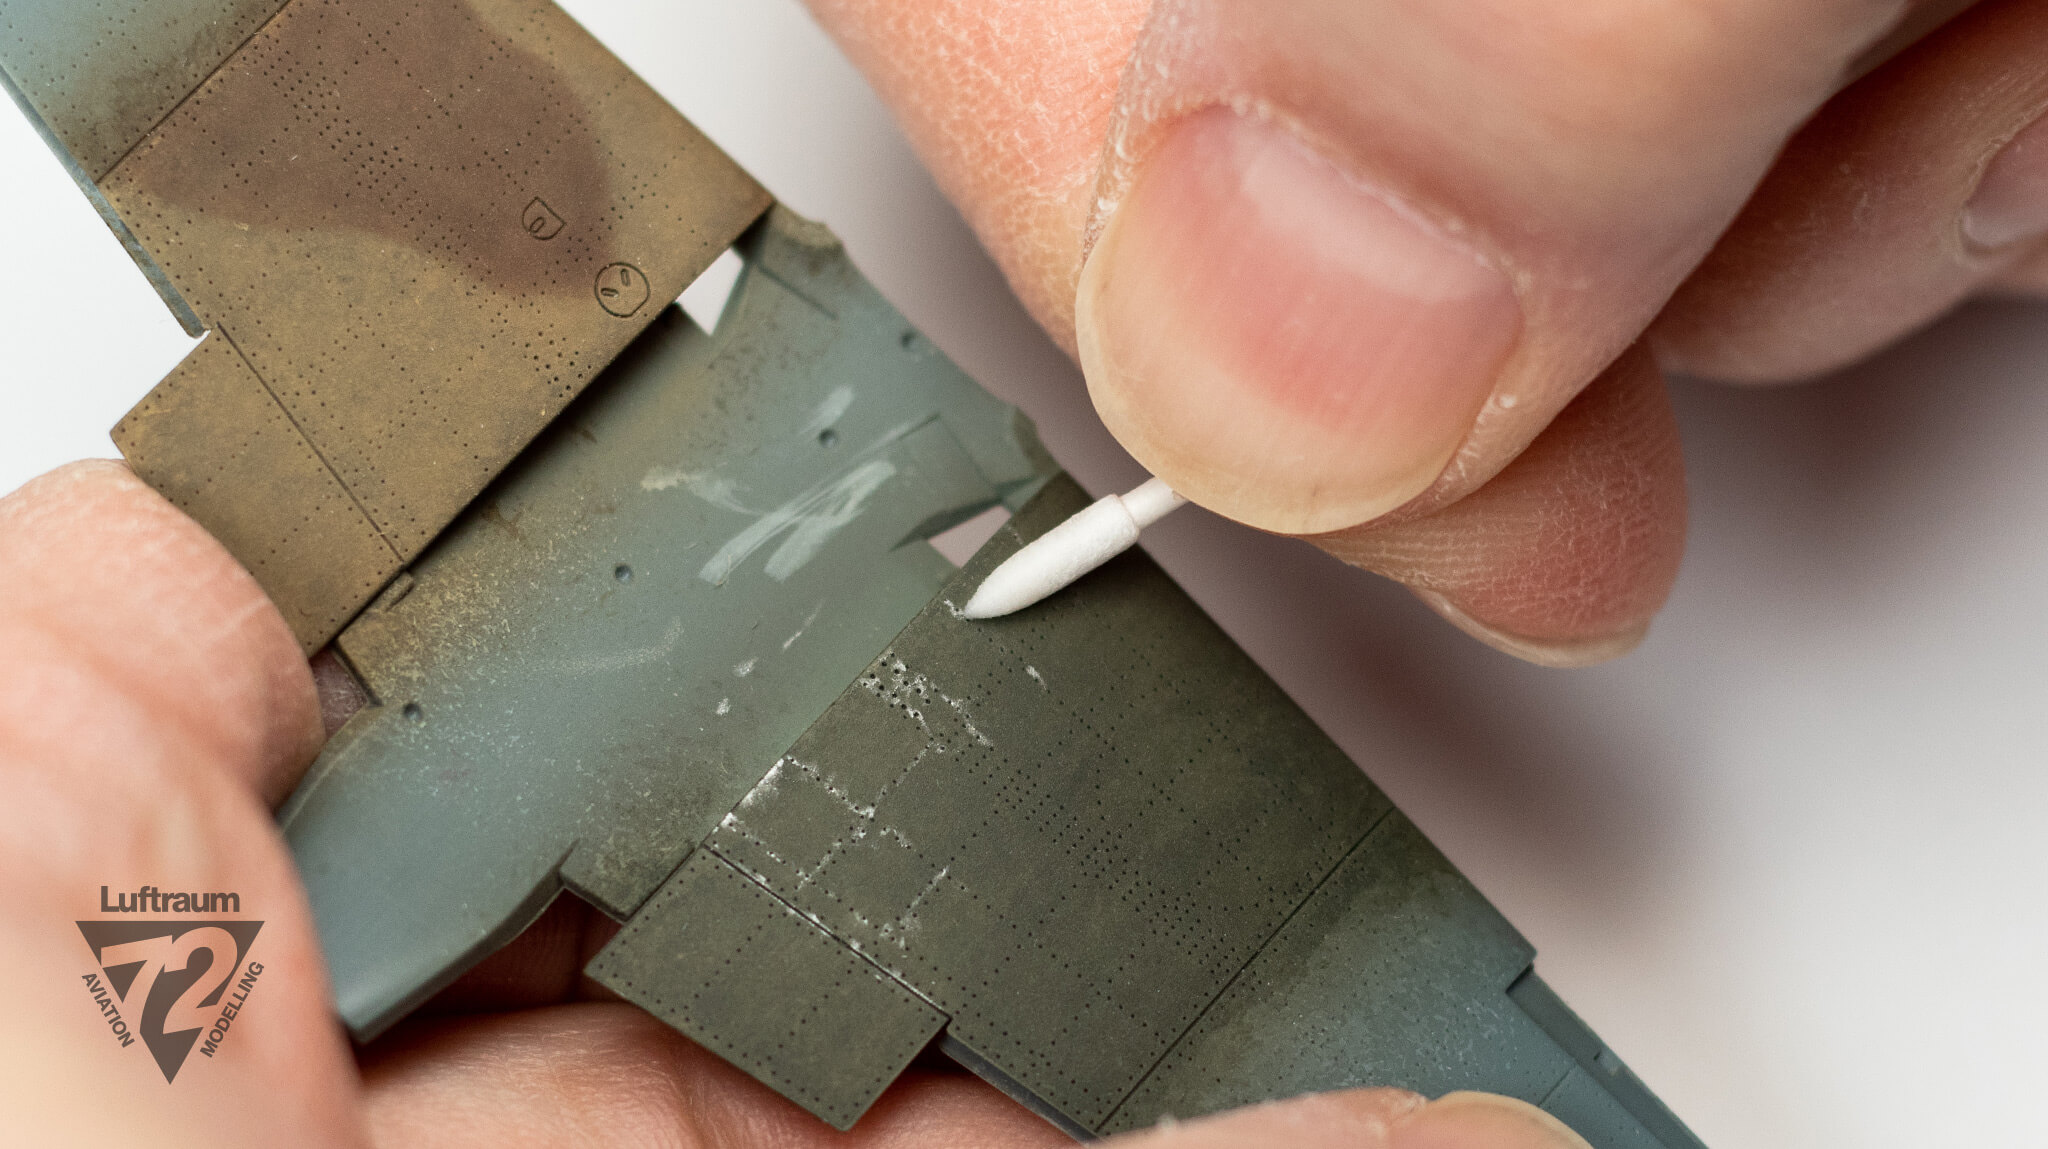
Even a fresh swab can a little coarse for some effects on 1/72. If there’s a need to modify or clean up the effect, much of it can be adjusted or removed easily with either a clean swab or chiseled toothpick moistened with water.
The below photo shows the line shown applied in Step 4, photo 2 being removed.
Like what you see? Learn something new?
If you’ve found this tutorial helpful, and would like to see more in the future, please consider making a small contribution through Buy Me a Coffee. Simple, safe and secure, it’s a great way to say thanks!
