Tamiya
1/72
Includes: Master Model brass cannon and pitot tube, Quickboost exhausts
I bought this kit as my first aircraft build on returning to the hobby a couple years back. I figured a Tamiya kit would be perfect for both remembering forgotten skills, and trying out techniques that had become popular in the decade that I was away… And in that regard it certainly didn’t disappoint.
All that said, it does make writing a build diary all the more challenging when the build has been picked up and put down multiple times, and even placed on hold entirely while I hacked away on a “lesser” kit (the Special Hobby Seafire Mk. 46) when I felt I wasn’t doing the 109 justice. So fair warning if it’s disjointed in parts.
Carrying on…
Dry-fitting
No photos from the dry-fit phase, though do I remember these details well enough. Being Tamiya, fit is great. Being new-tool Tamiya, human intervention will only ruin lead to ruin.
Being used to giving mating surfaces a light swipe with a sanding stick, doing so here without first checking the fit meant that I created the slightest gaps that, otherwise, would have been perfect.
The fit of the wing to fuselage being s precise, when I build my next one, I’m keen to try painting and weathering the wing and fuselage separately, bringing them together once full finished.
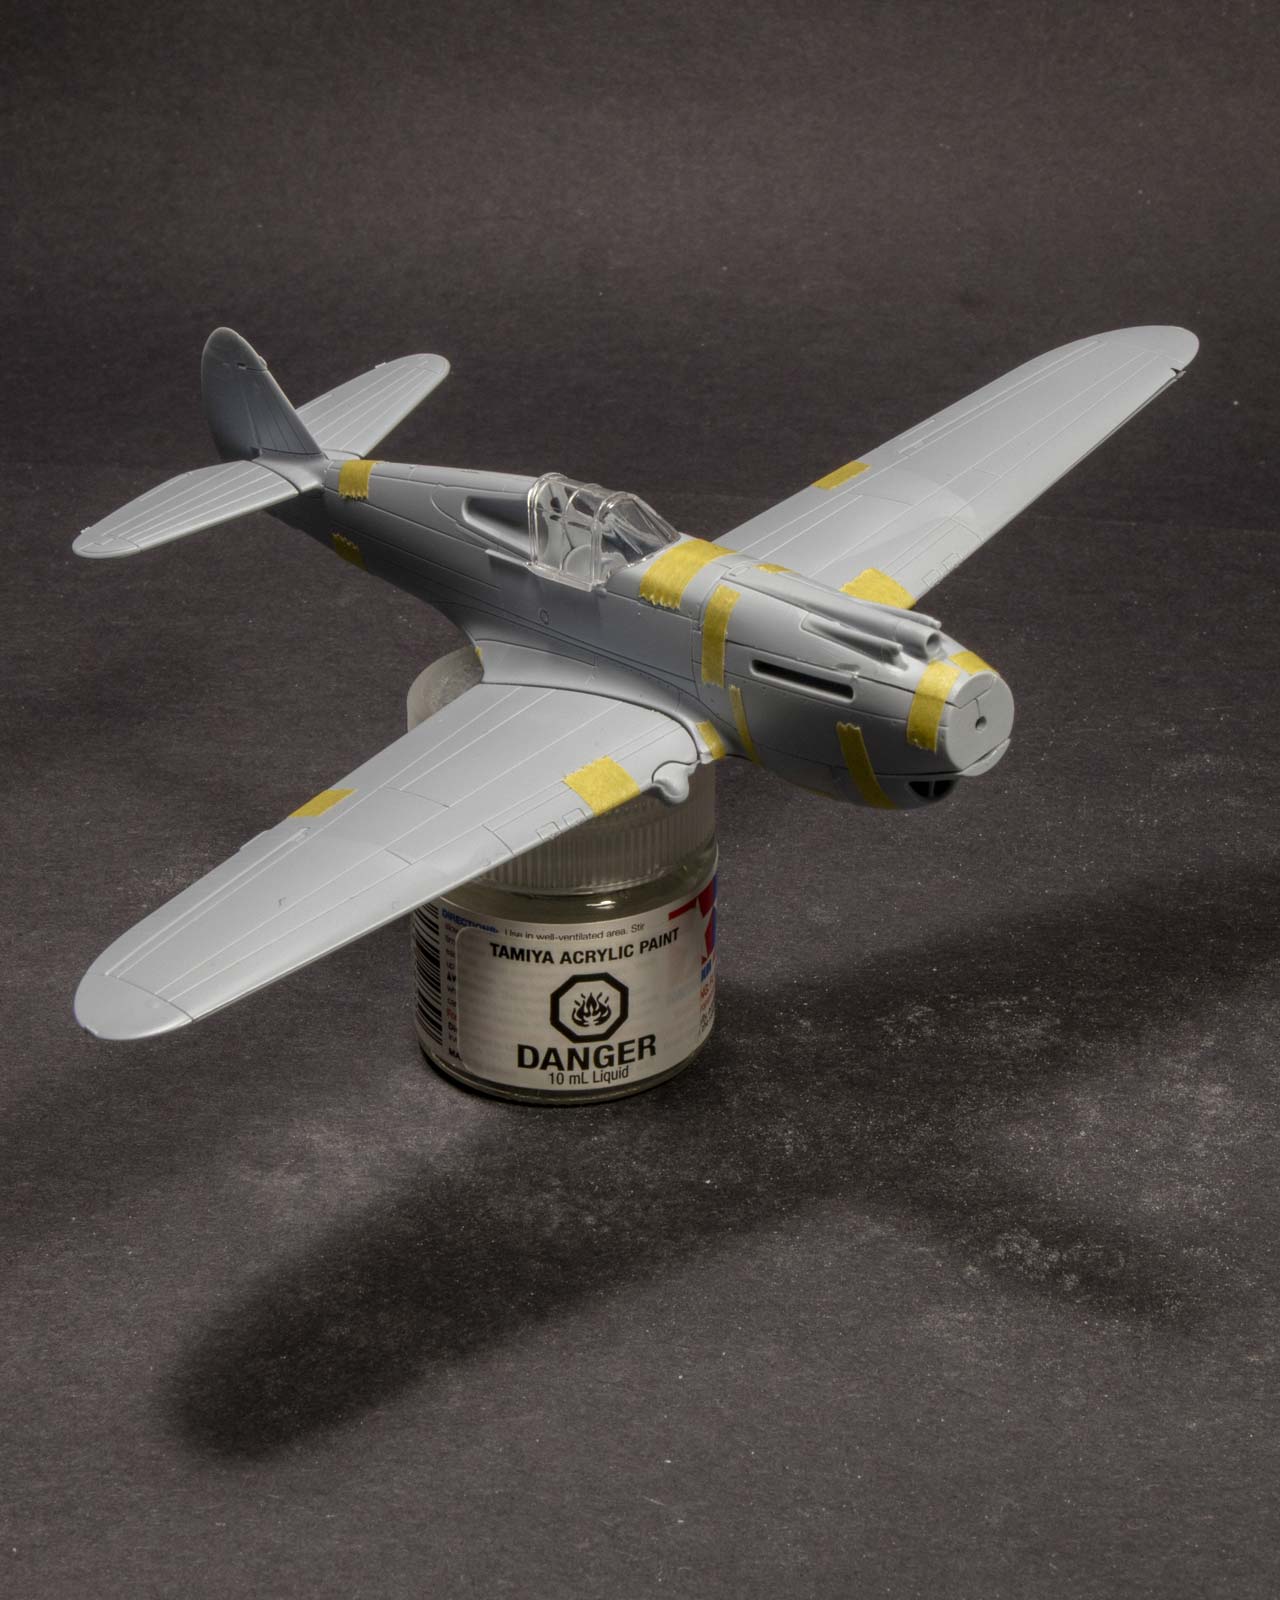
Cockpit
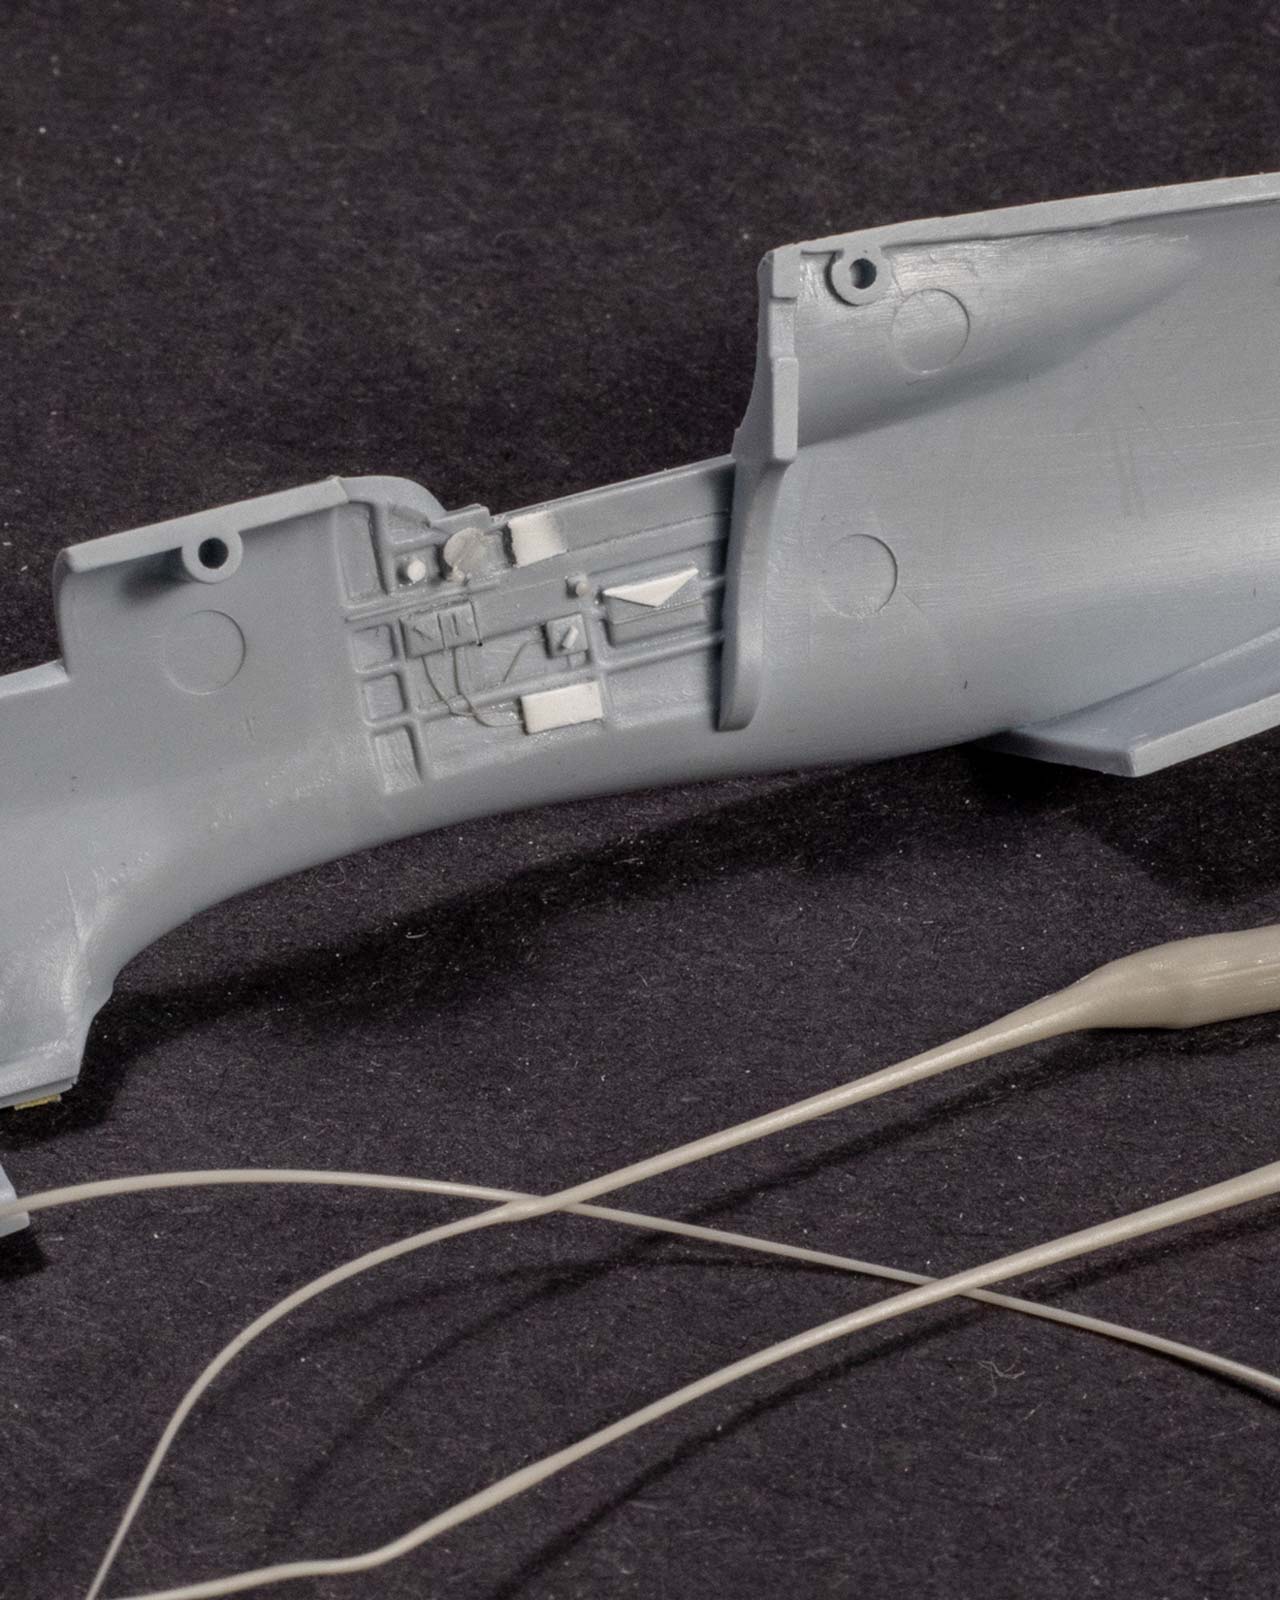
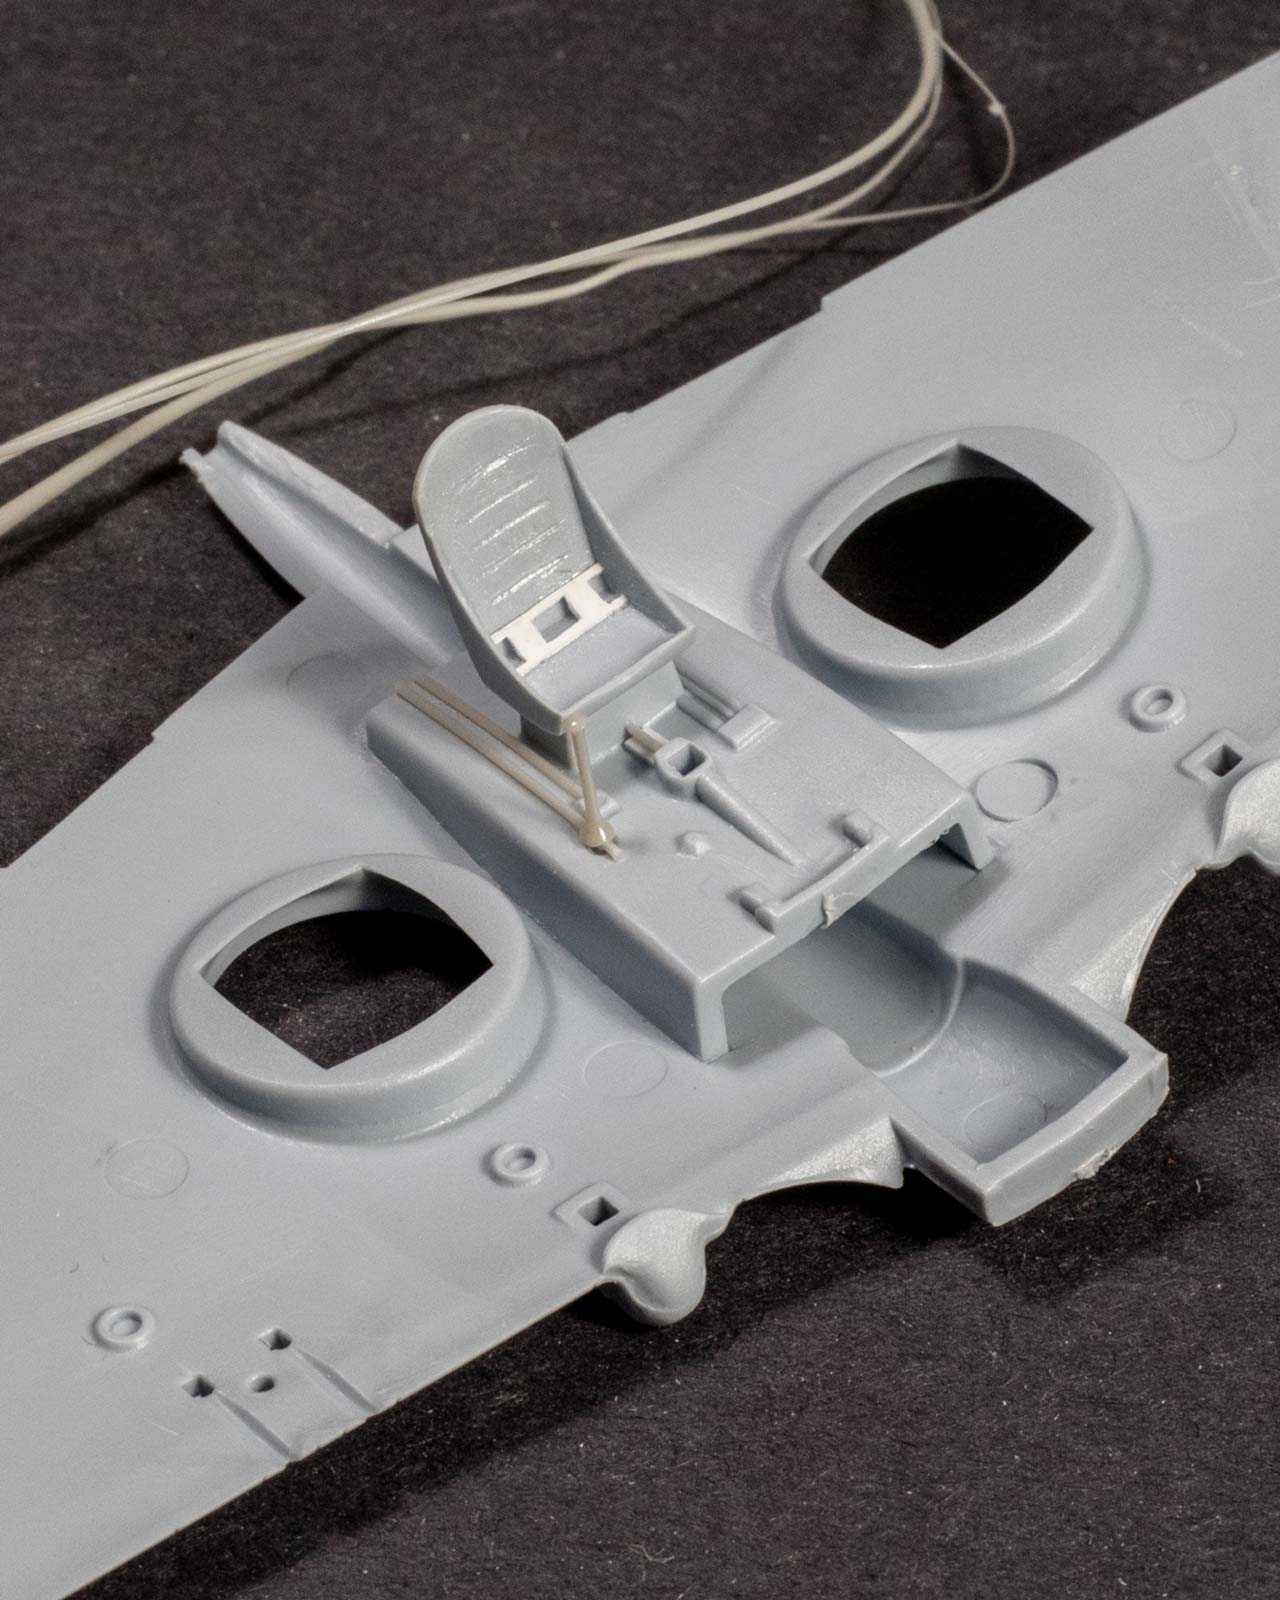
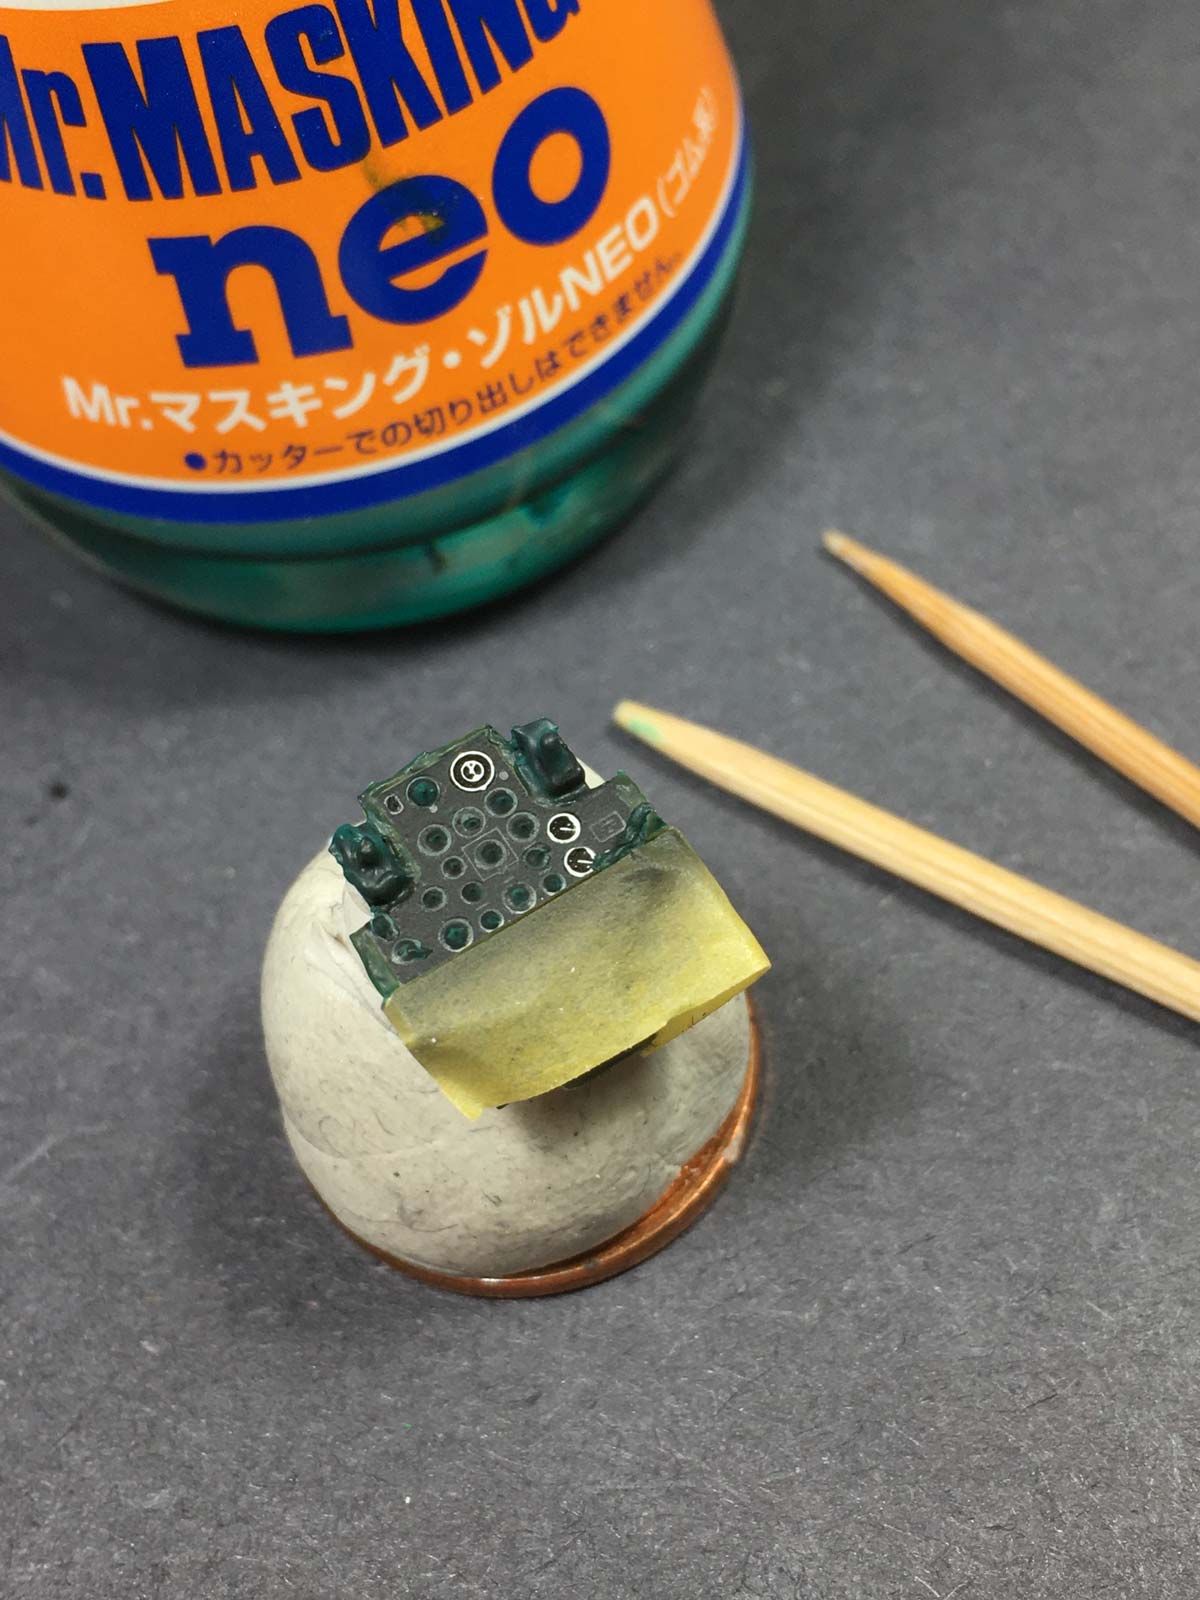
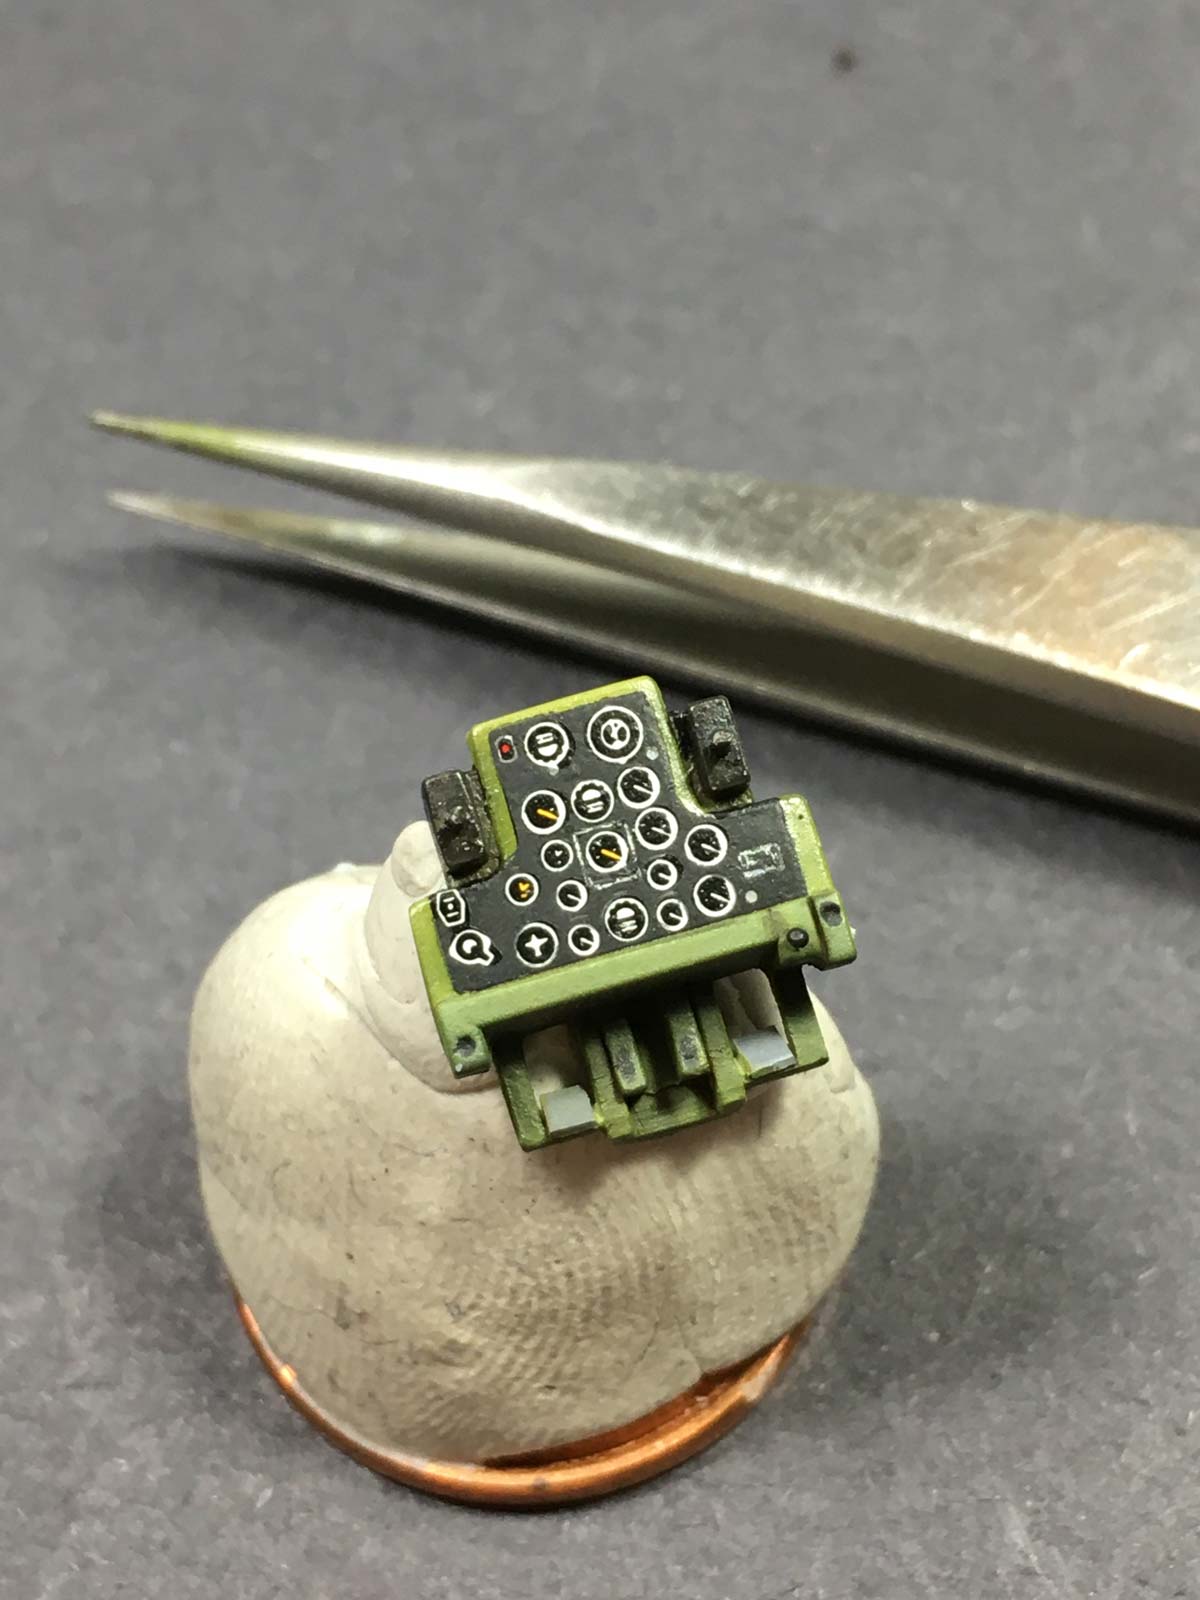
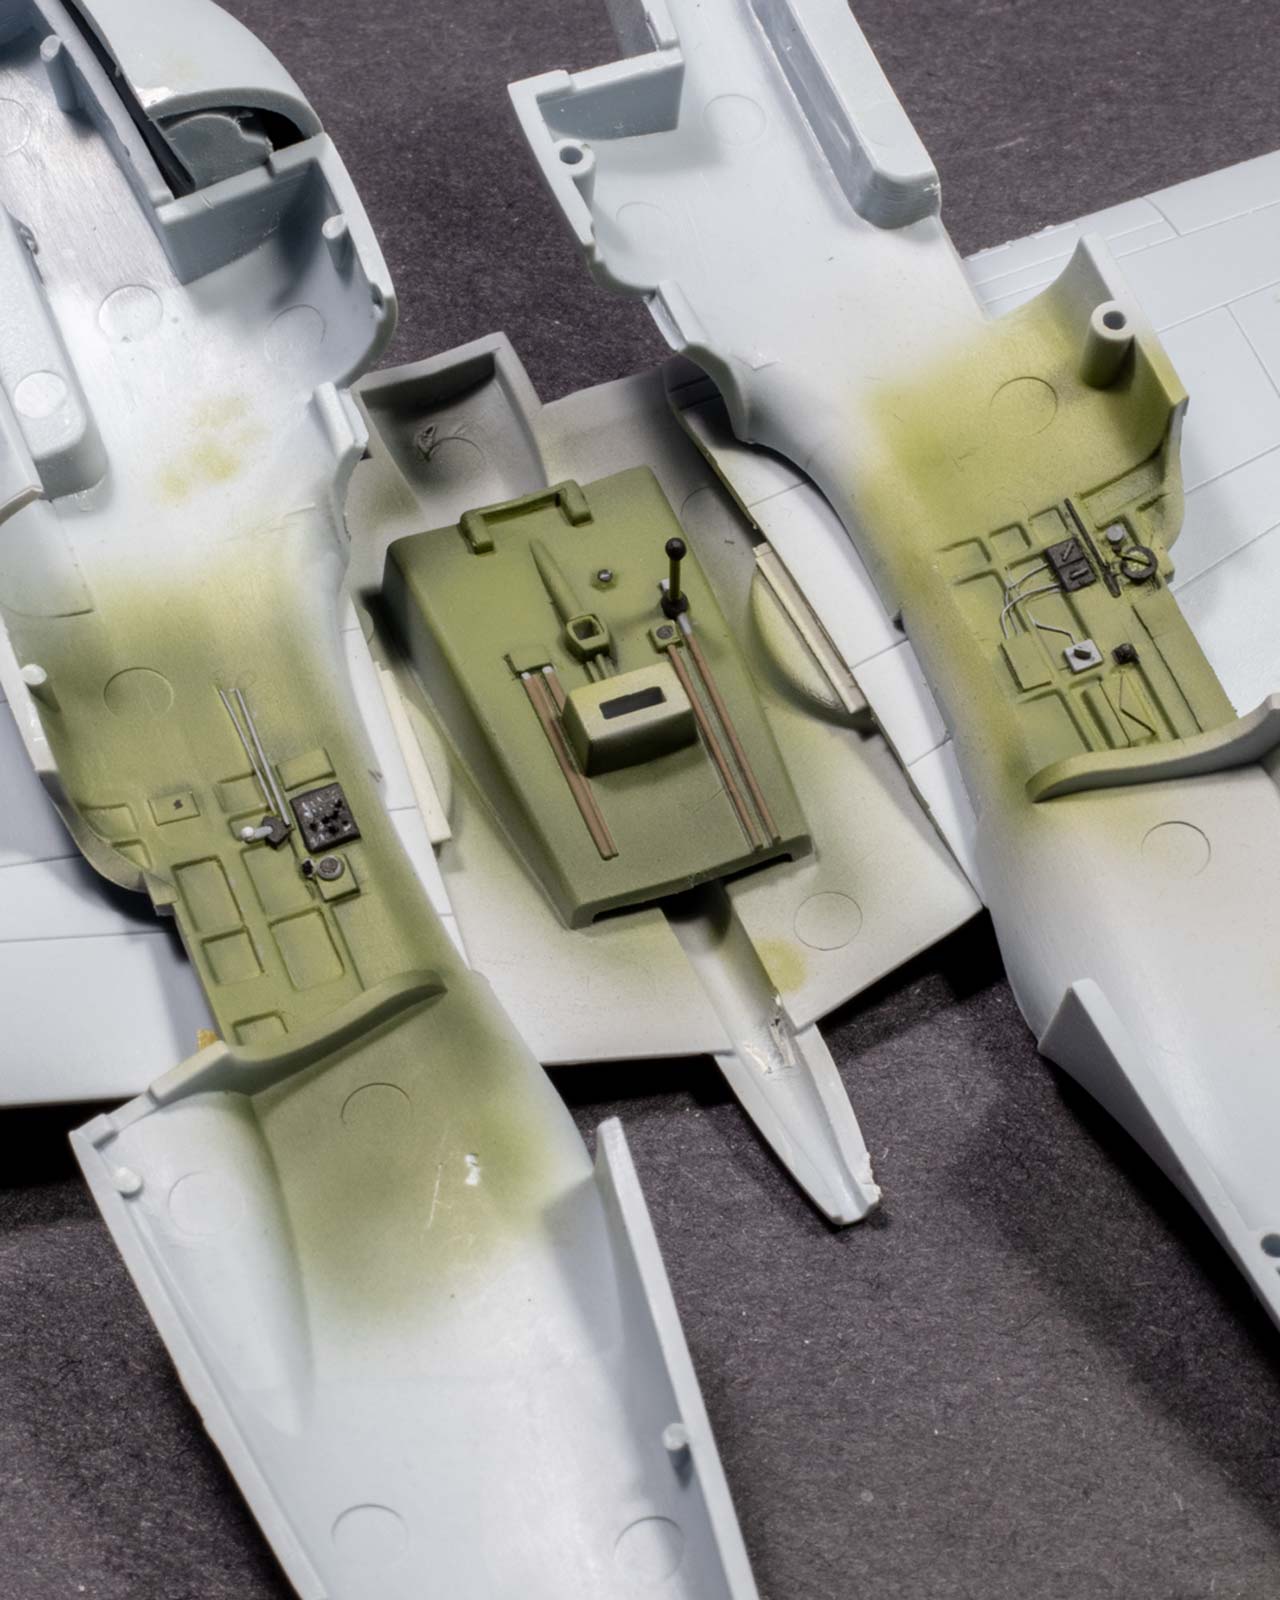
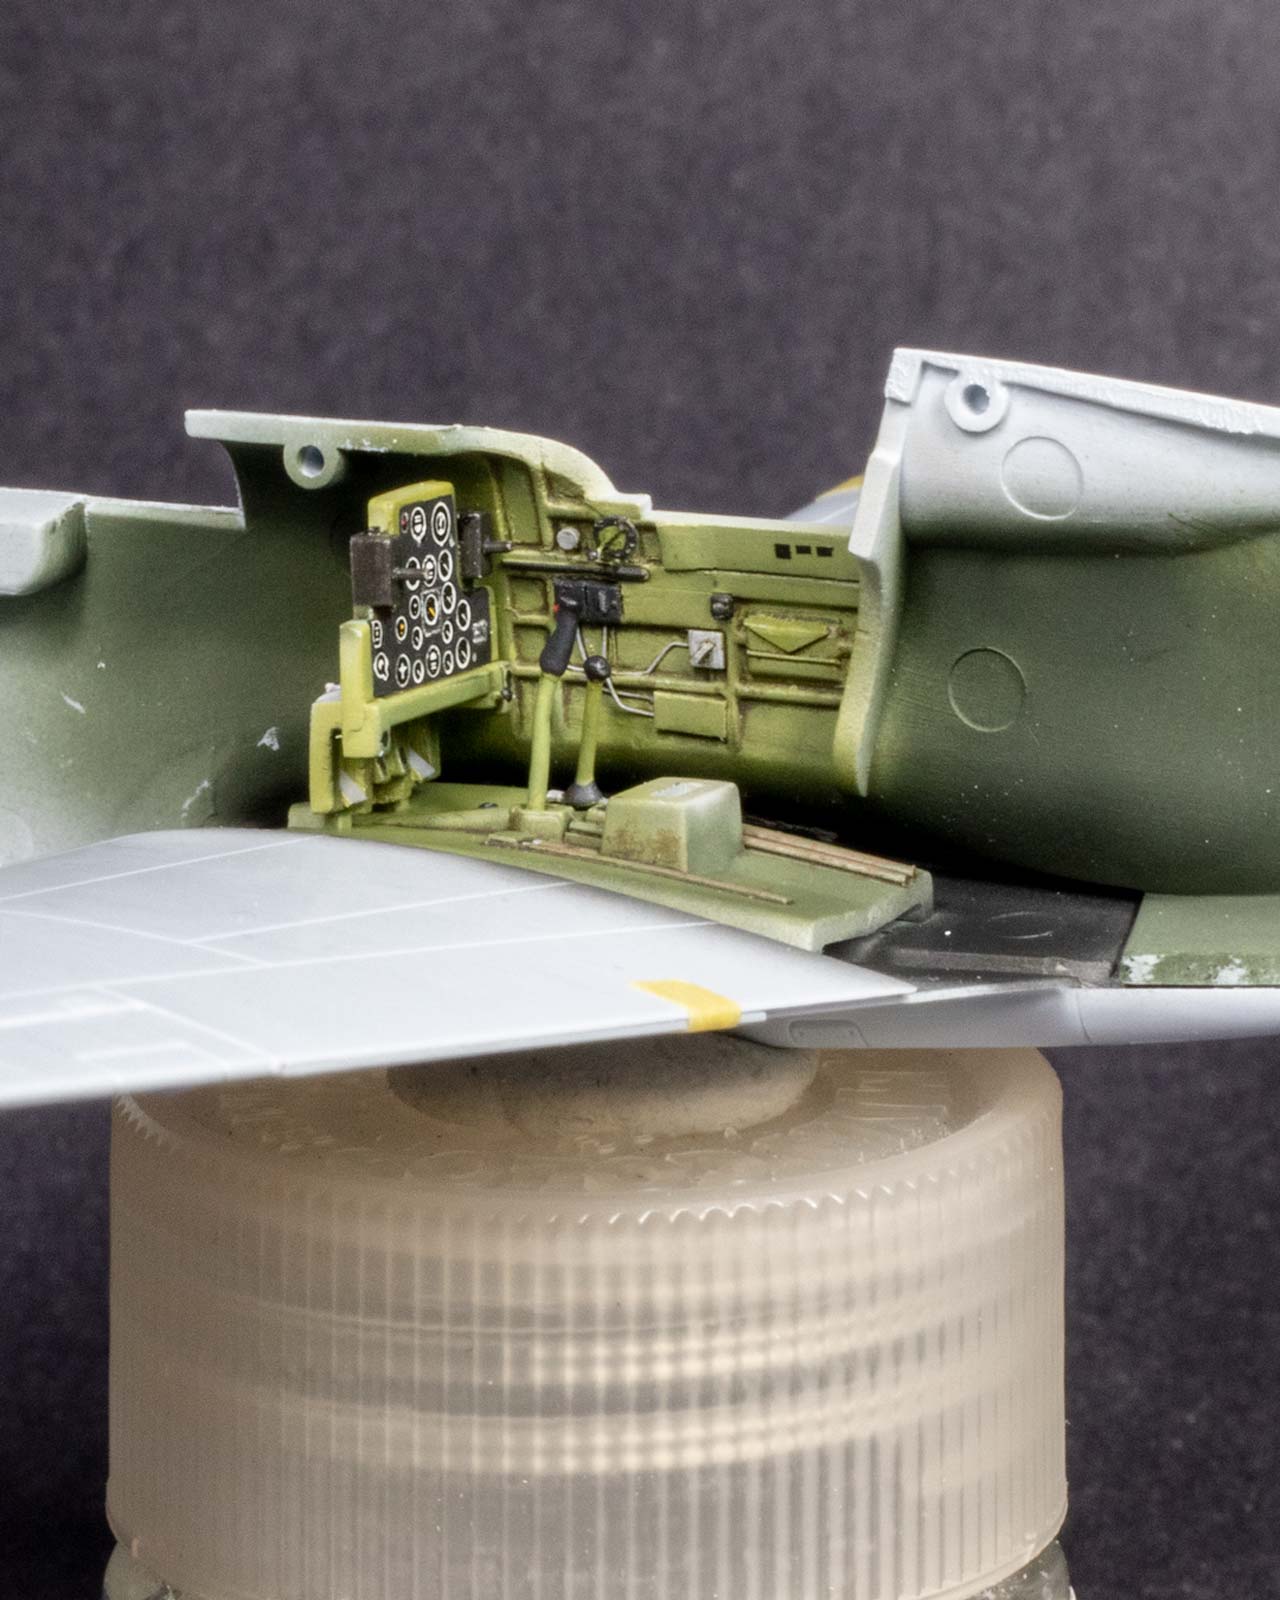
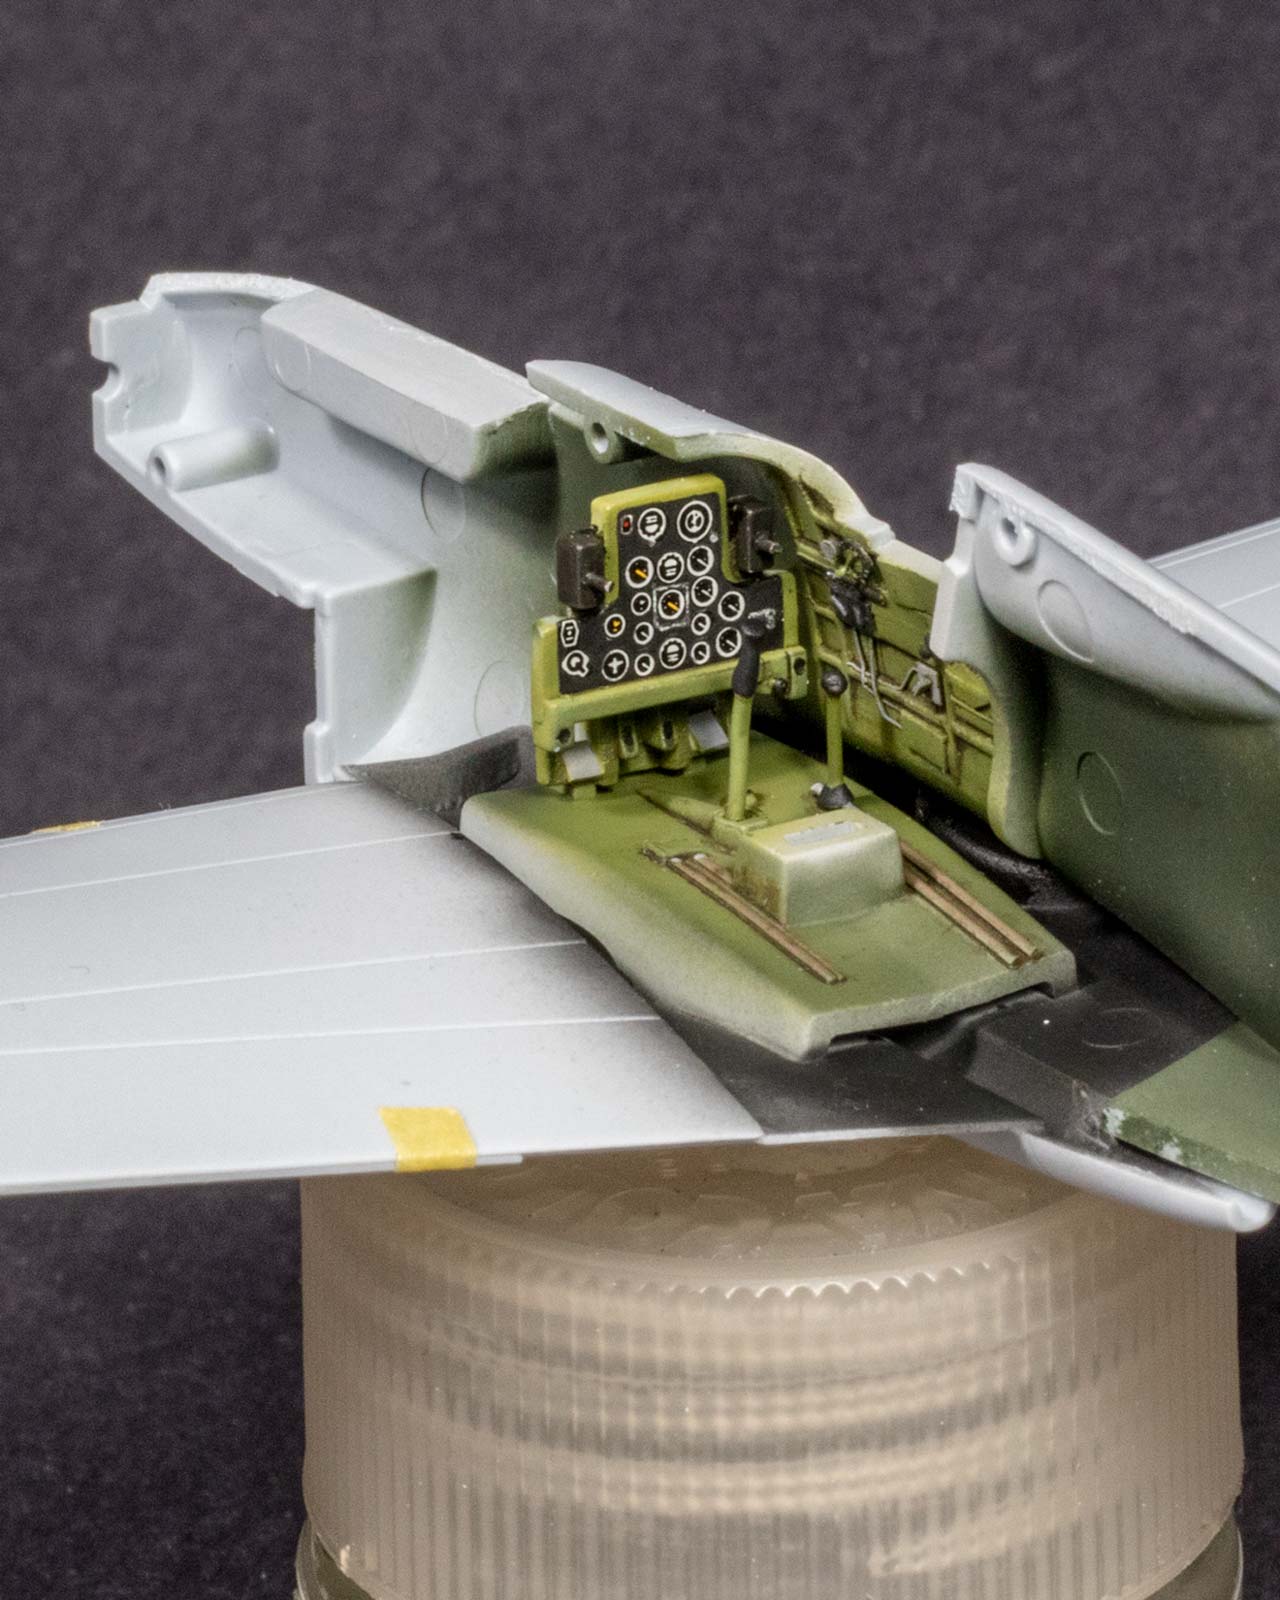
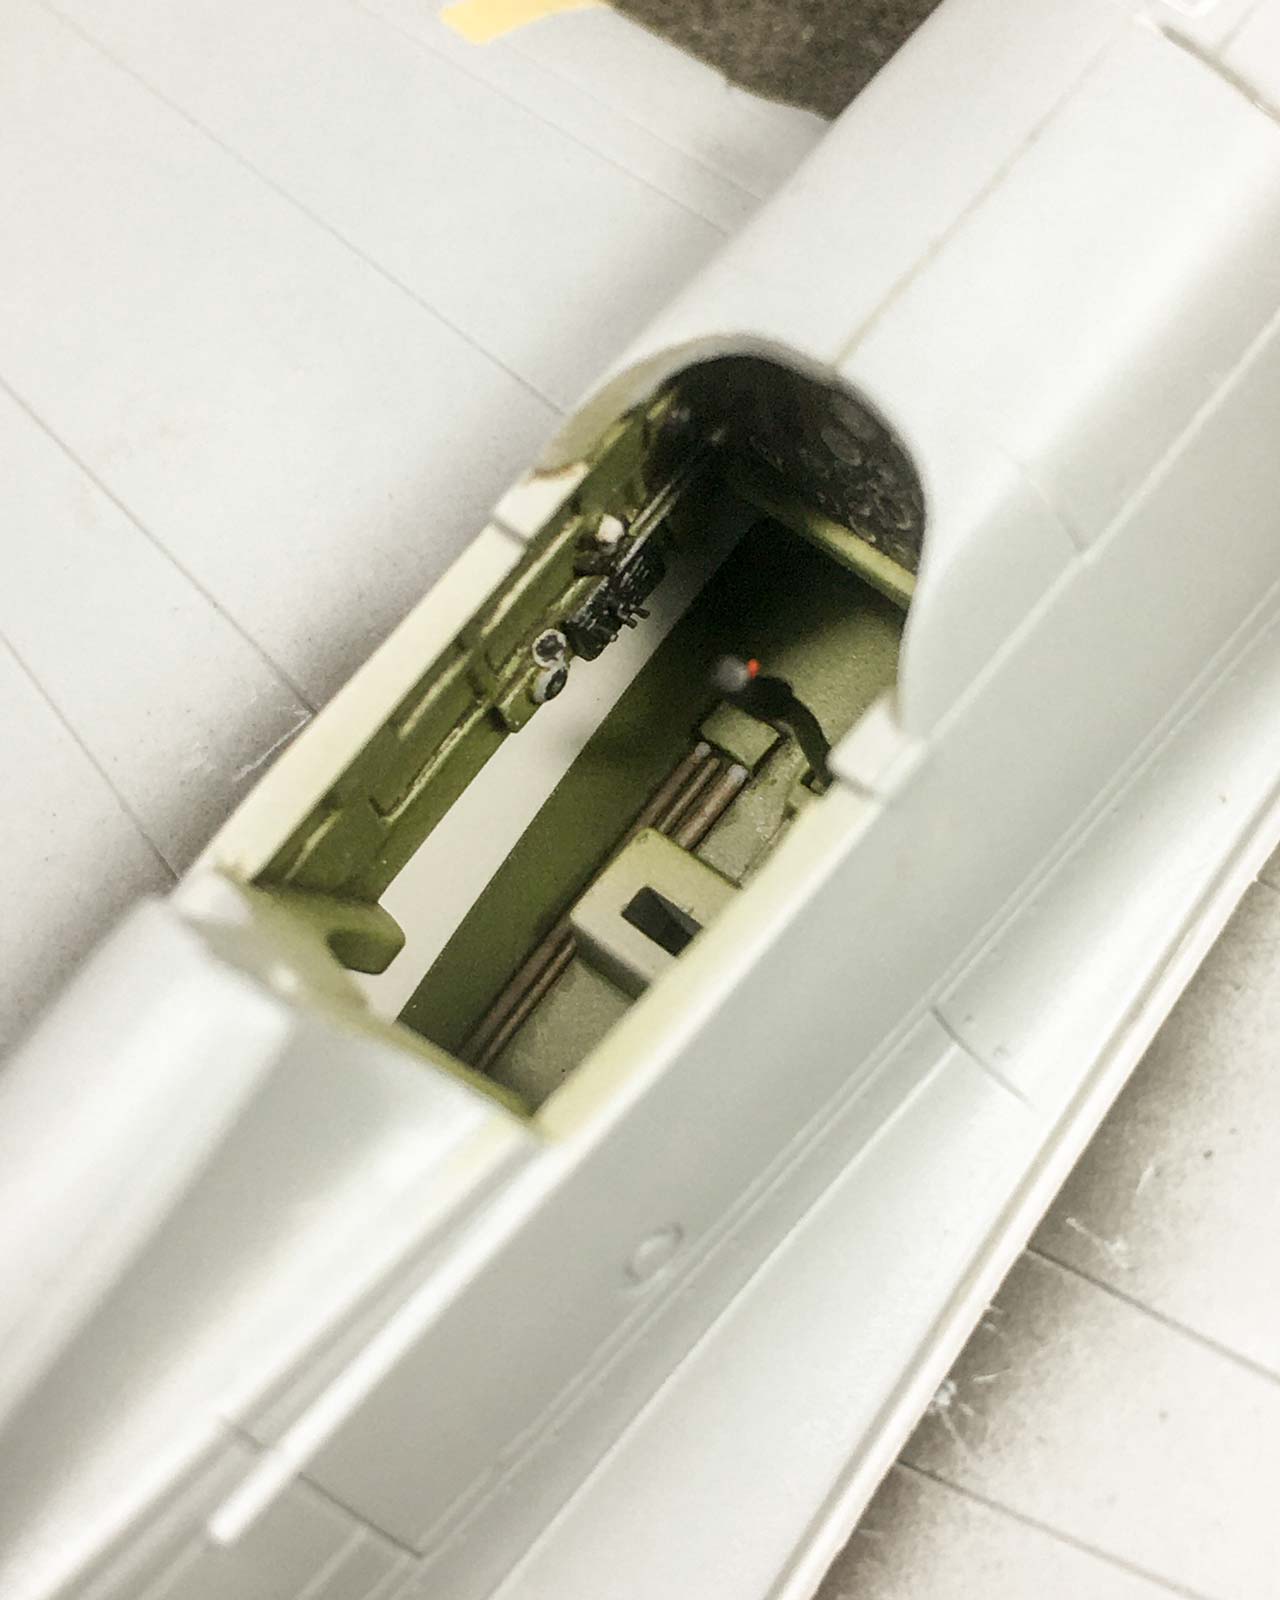
The cockpit is nicely detailed for the scale, though the finished result strikes me as being a bit ‘chunky’ overall. I opted to add a few details, in the form of copper wire and short lengths of brass rod, along with photo etch straps on the rudder pedals.
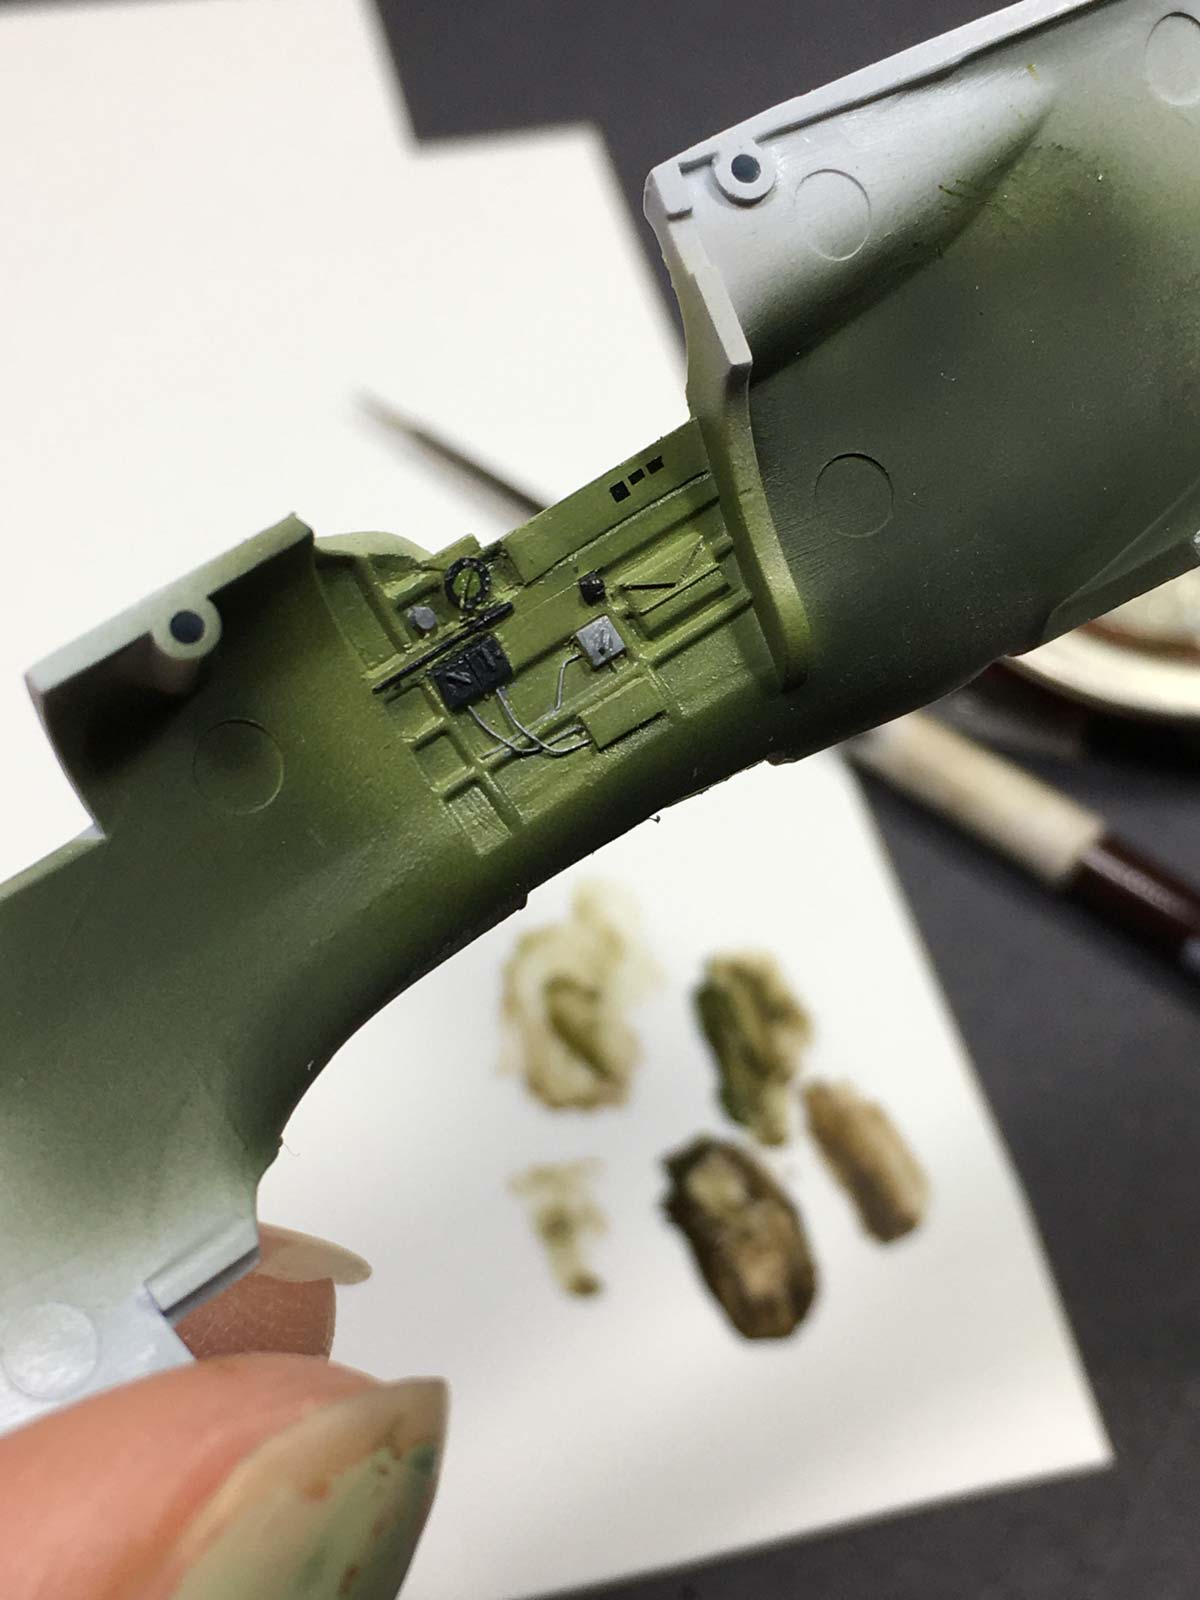
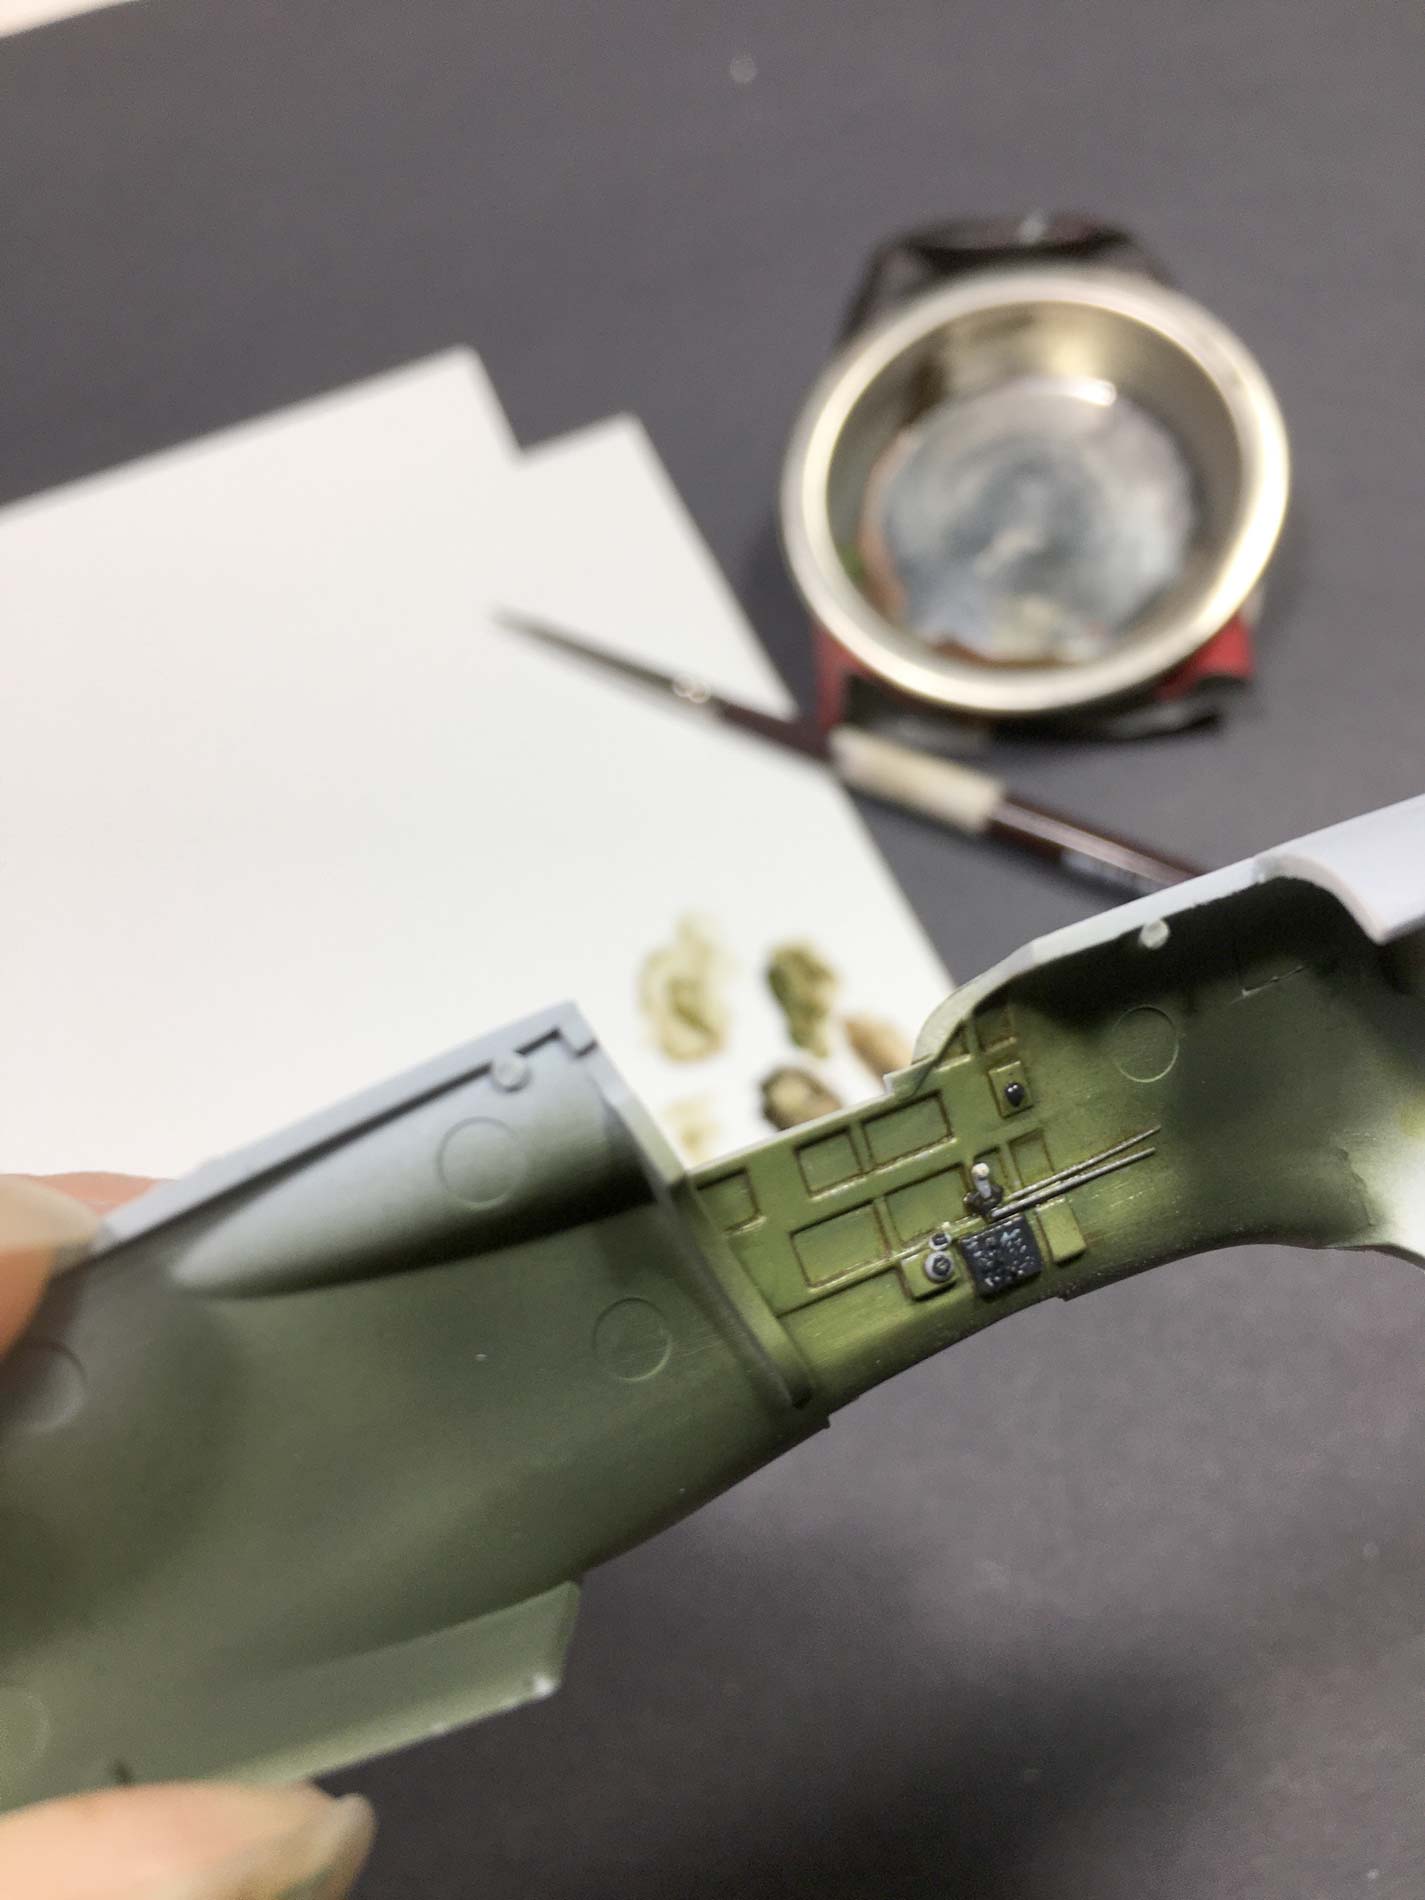
Once assembled, the cockpit was sprayed in AK Real Color RLM 66, lightened with a bit of light grey. Colour details were picked out by brush following references, with depth being added through a pin wash of Raw Umber and Payne’s Grey, while edges, scratches, and wear were done with a light grey oil paint. The final step was to add some earth tone pigments around the cockpit floor.
The one let-down from Tamiya in this area was the out-of-register decal for the instrument panel. This will end up being one of several “regrets” I’ll come to have with aspects of the fit not matching with the final finish.
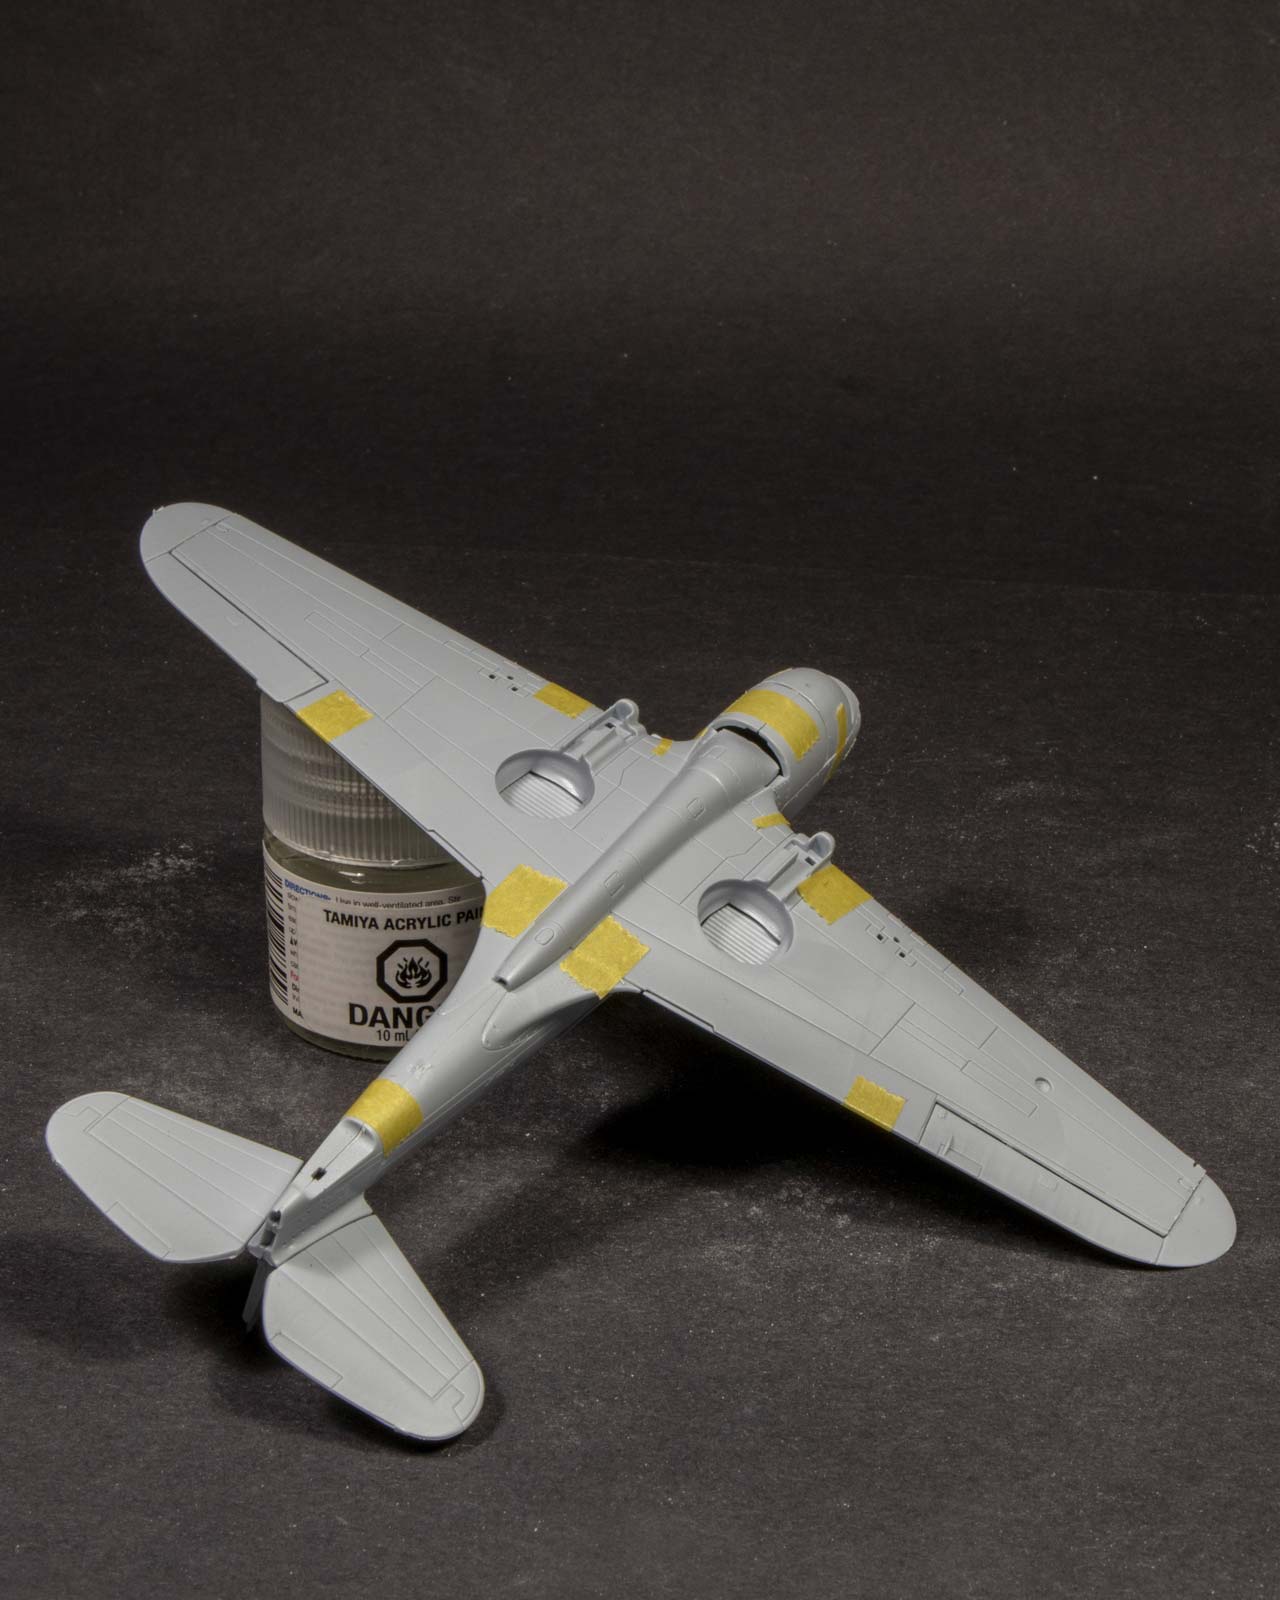
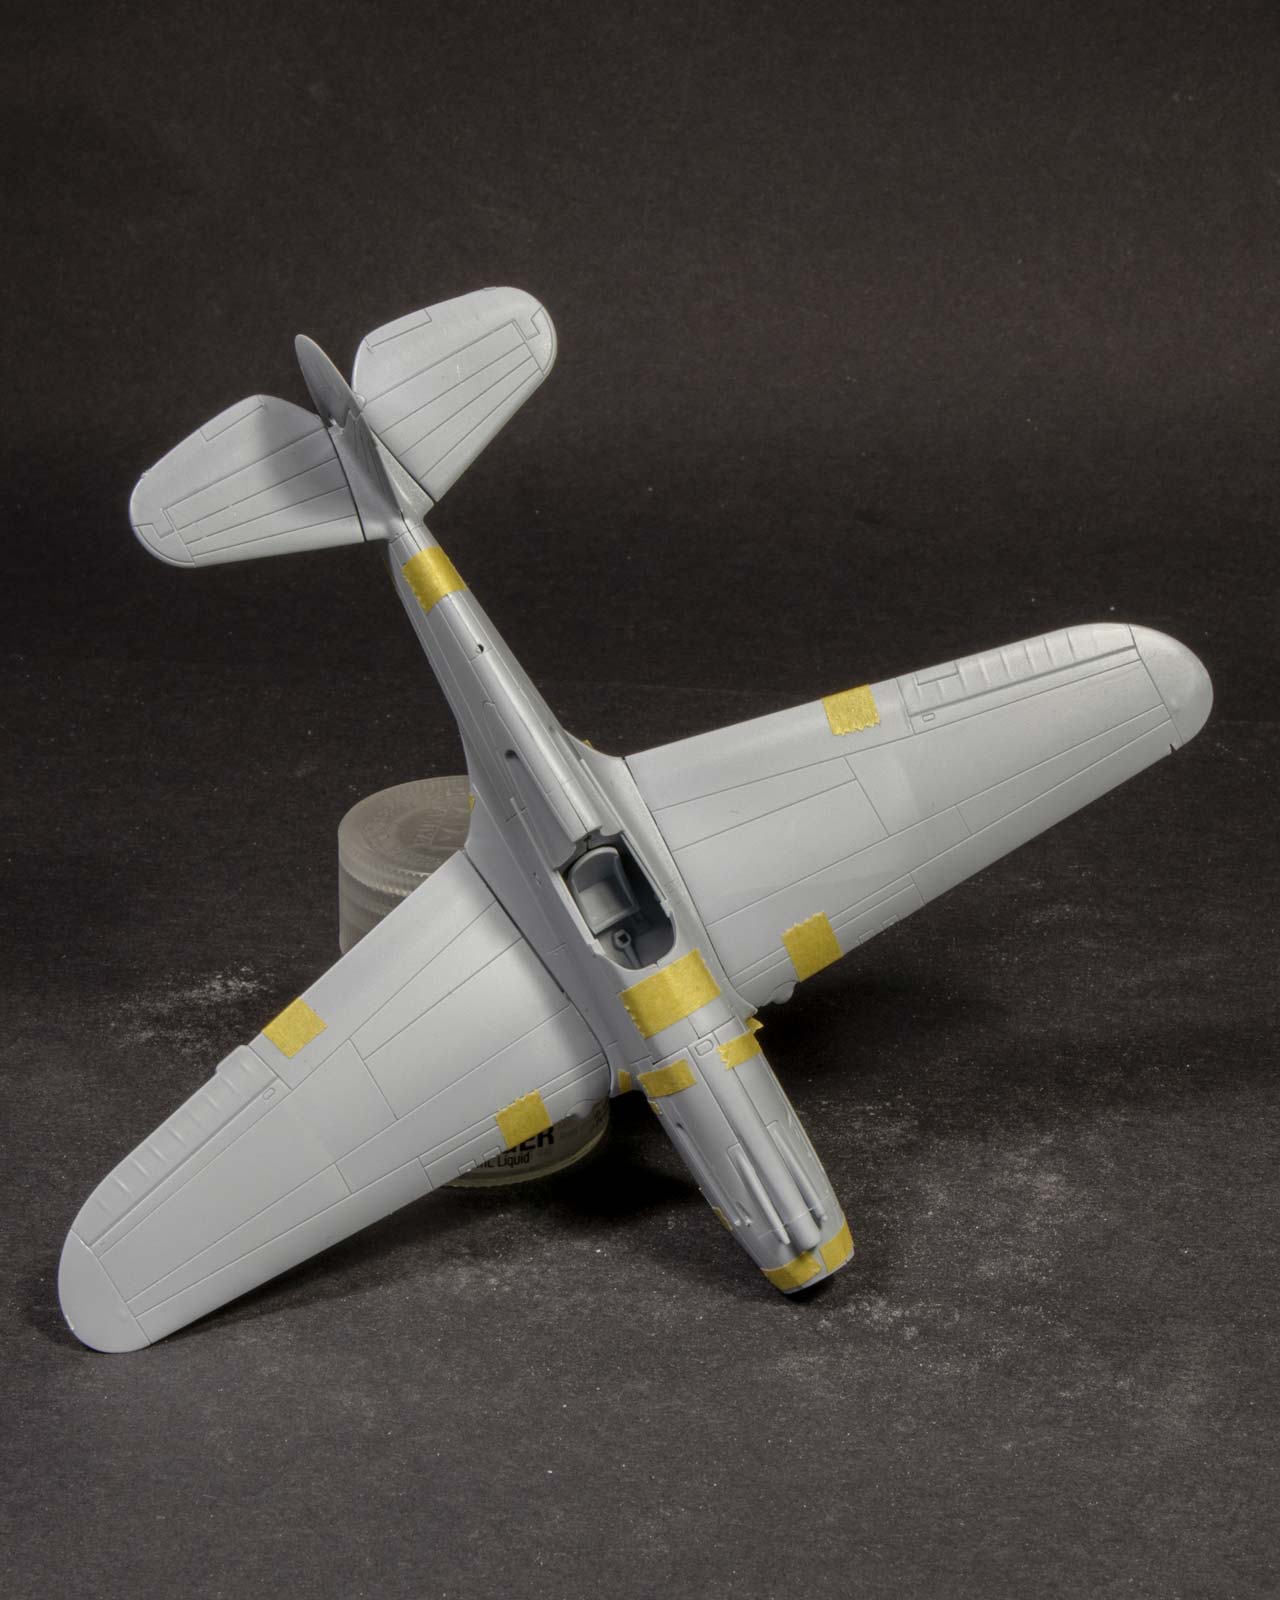
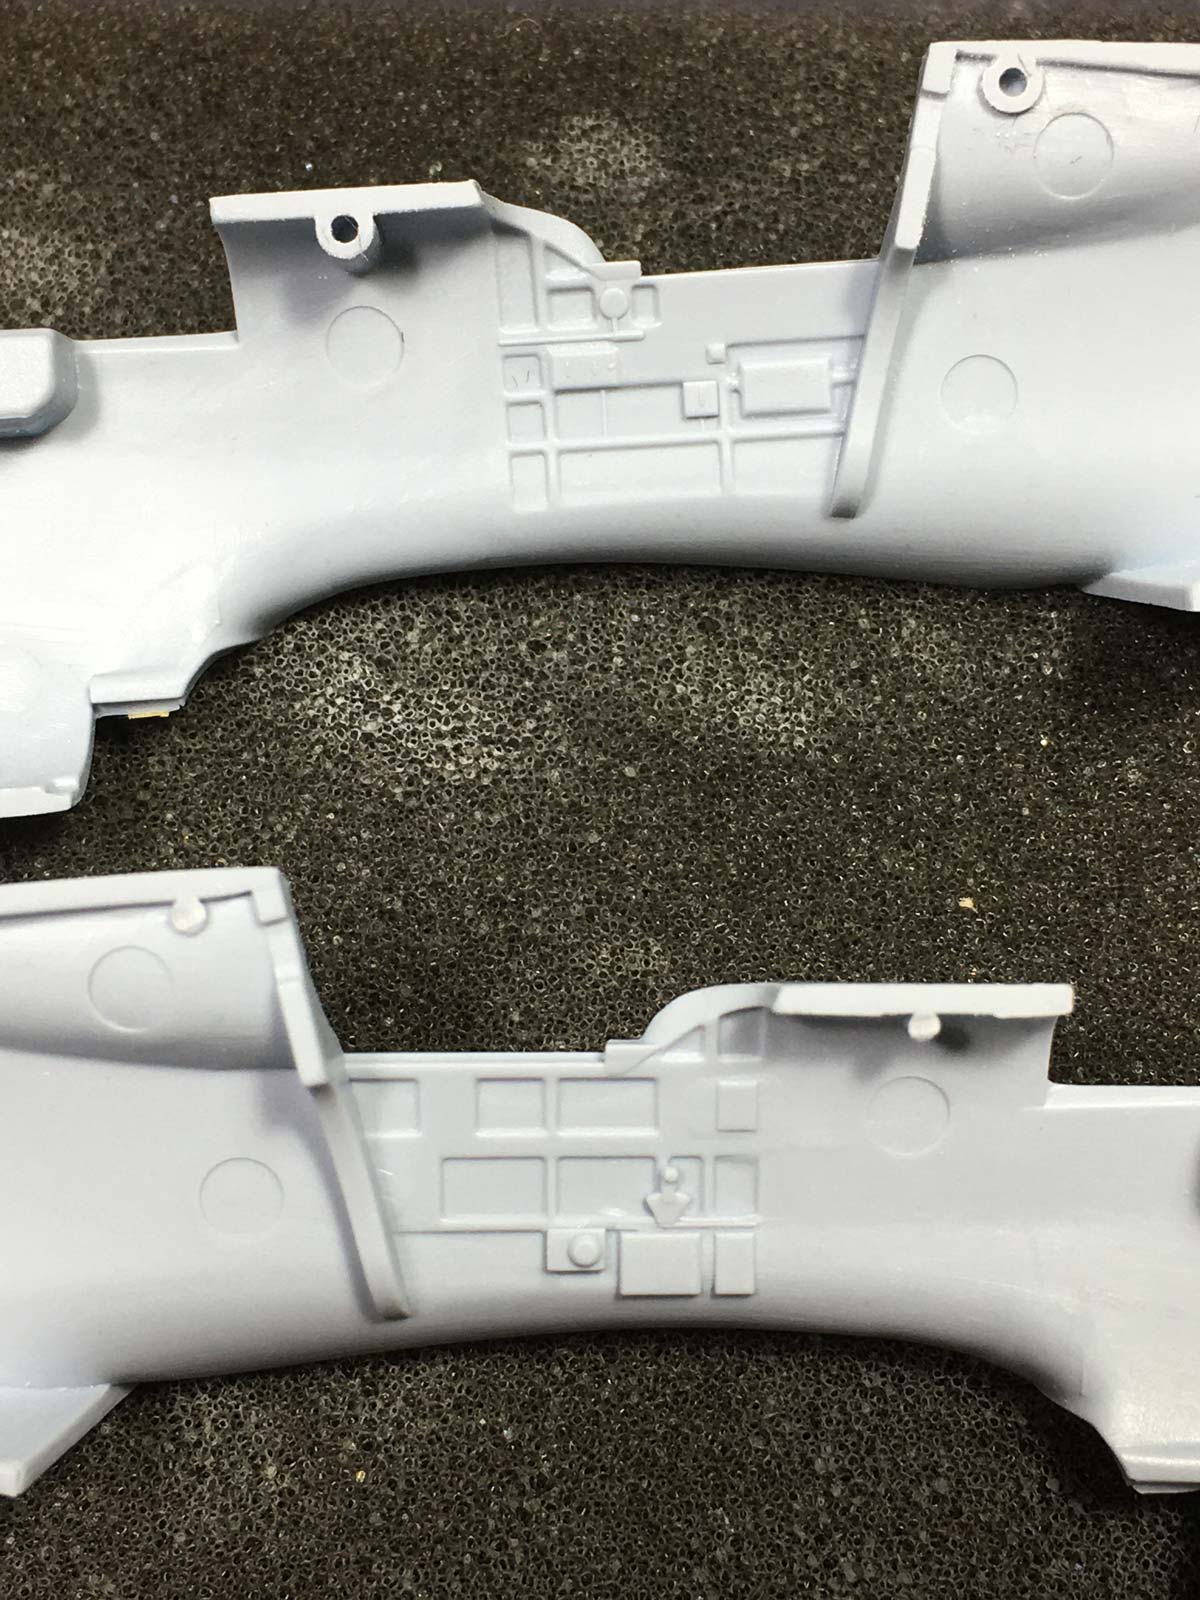
Airframe
As mentioned at the outset, the airframe comes together perfectly, with any glitches in fit being my fault for old habits in pre-emptively giving every mating surface a quick swipe with a sanding stick. Moulding is crisp, panel lines are delicate and sharp, however, in contrast to what we’re seeing form some other manufacturers in 1/72, inclusion of rivets is restrained.
Airframe
Moulding is crisp, panel lines are delicate and sharp, however, in contrast to what we’re seeing form some other manufacturers in 1/72, inclusion of rivets is restrained.
As mentioned at the outset, the airframe comes together perfectly, with any glitches in fit being my fault for old habits in pre-emptively giving every mating surface a quick swipe with a sanding stick. The one seam that really needs any attention is the aft joint between the lower wing and fuselage, and even this is minimal.
I opted to make slight alterations to the airframe The flaps were cut and dropped to add a little visual interest, while the rudder was also given a slight offset. The wheel wells were sprayed RLM 02, and the zippered shrouds sprayed in a natural leather colour. The wing radiator interior likewise received a coat of RLM 02, while the radiators themselves employed a trompe l’ceil effect to represent the grilles. After a coat of Alclad Flat Aluminum, fine mesh from Tameo was held against the radiator face, and Tamiya Rubber Black sprayed through. The effect when seen through a 1.5mm gap is sufficiently convincing. Subtle silver chipping was added to raised detail in the wheel wells, before both they and the radiators shrouds were weathered with Raw Umber, Dark Mud, and Earth oil paints.
Navigation lights were molded in on the wing tips, so these were cut away and replaced with shaped off-cuts of clear sprue. The lights on the 1:1 aircraft are coloured bulbs within car shrouds. Once the inside faces of the clear sprue are finished, a small hole being drilled along the inside face and filled with red and green Tamiya before being glued in place.