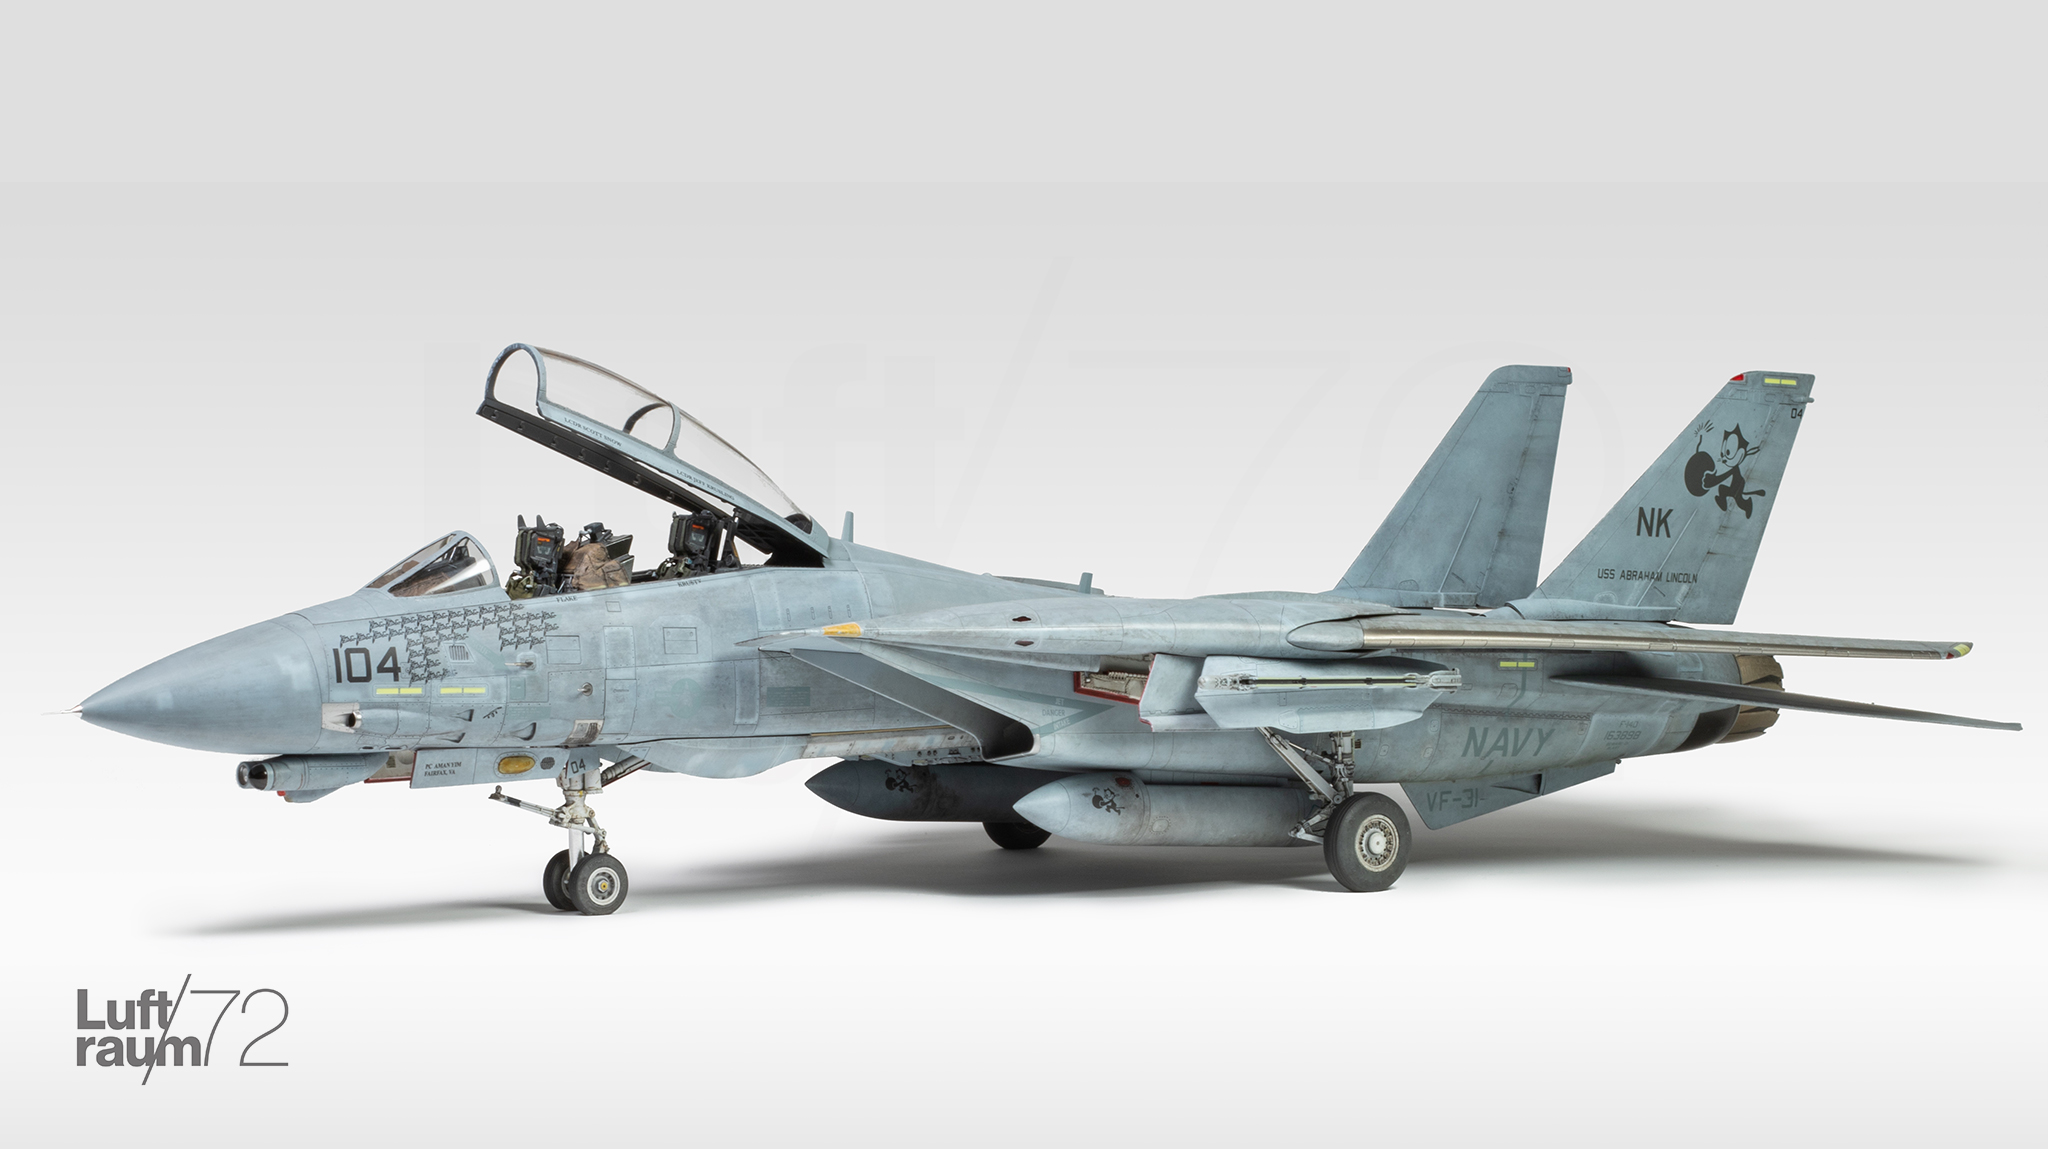
The Layered Ink Patina technique was an approach I developed in search of a pre-paint mottling technique that I could control over the expanse of an aircraft, or even panel to panel, but in its actual application was as organic as possible. After some growing pains over several projects, it finally showed its quality on my Tamiya F-14D (in 1/48 scale) built for my Super Detailing the F-14 Tomcat, and later on my Fine Molds 1/72 F-15J Eagle published in Scale Aviation Vol. 155.
The goal of the following tutorial is to cover the basic Layered Ink Patina process as a starting point, then in subsequent posts, explore some variables and answer some questions that I’ve had over the past several months.
This tutorial best-viewed on tablet/laptop/desktop.
Introduction
The Layered Ink Patina process is based on adding media to a wetted surface, thus allowing it to flow and dry organically. Initially, I had experimentedwith Tamiya acrylics applied over isopropyl alcohol (IPA), and while they worked to a point, their pigment was too coarse and required excessive sanding to be effective. Acrylic inks, on the other with their superfine pigment size and excellent suspension were superbly effective, drying to a resilient, super-thin finish.
The second key to success was the realization that the process was considerably more effective when layered with applications of the camouflage colour, creating better depth and variation in the final effect. I’ve so far used 4 layers for the grey aircraft I’ve done so far, however, in theory any number of layers and ink colours can be used.
The result is an effect that completely surpasses anything I’d been able to achieve with my previous method of pre-painting — airbrush mottling by hand, not with mottle masks. In addition, the time required to complete an airframe to the point of decaling and weathering is a fraction of time I was spending before, so all around it’s been a huge success for me.
Materials
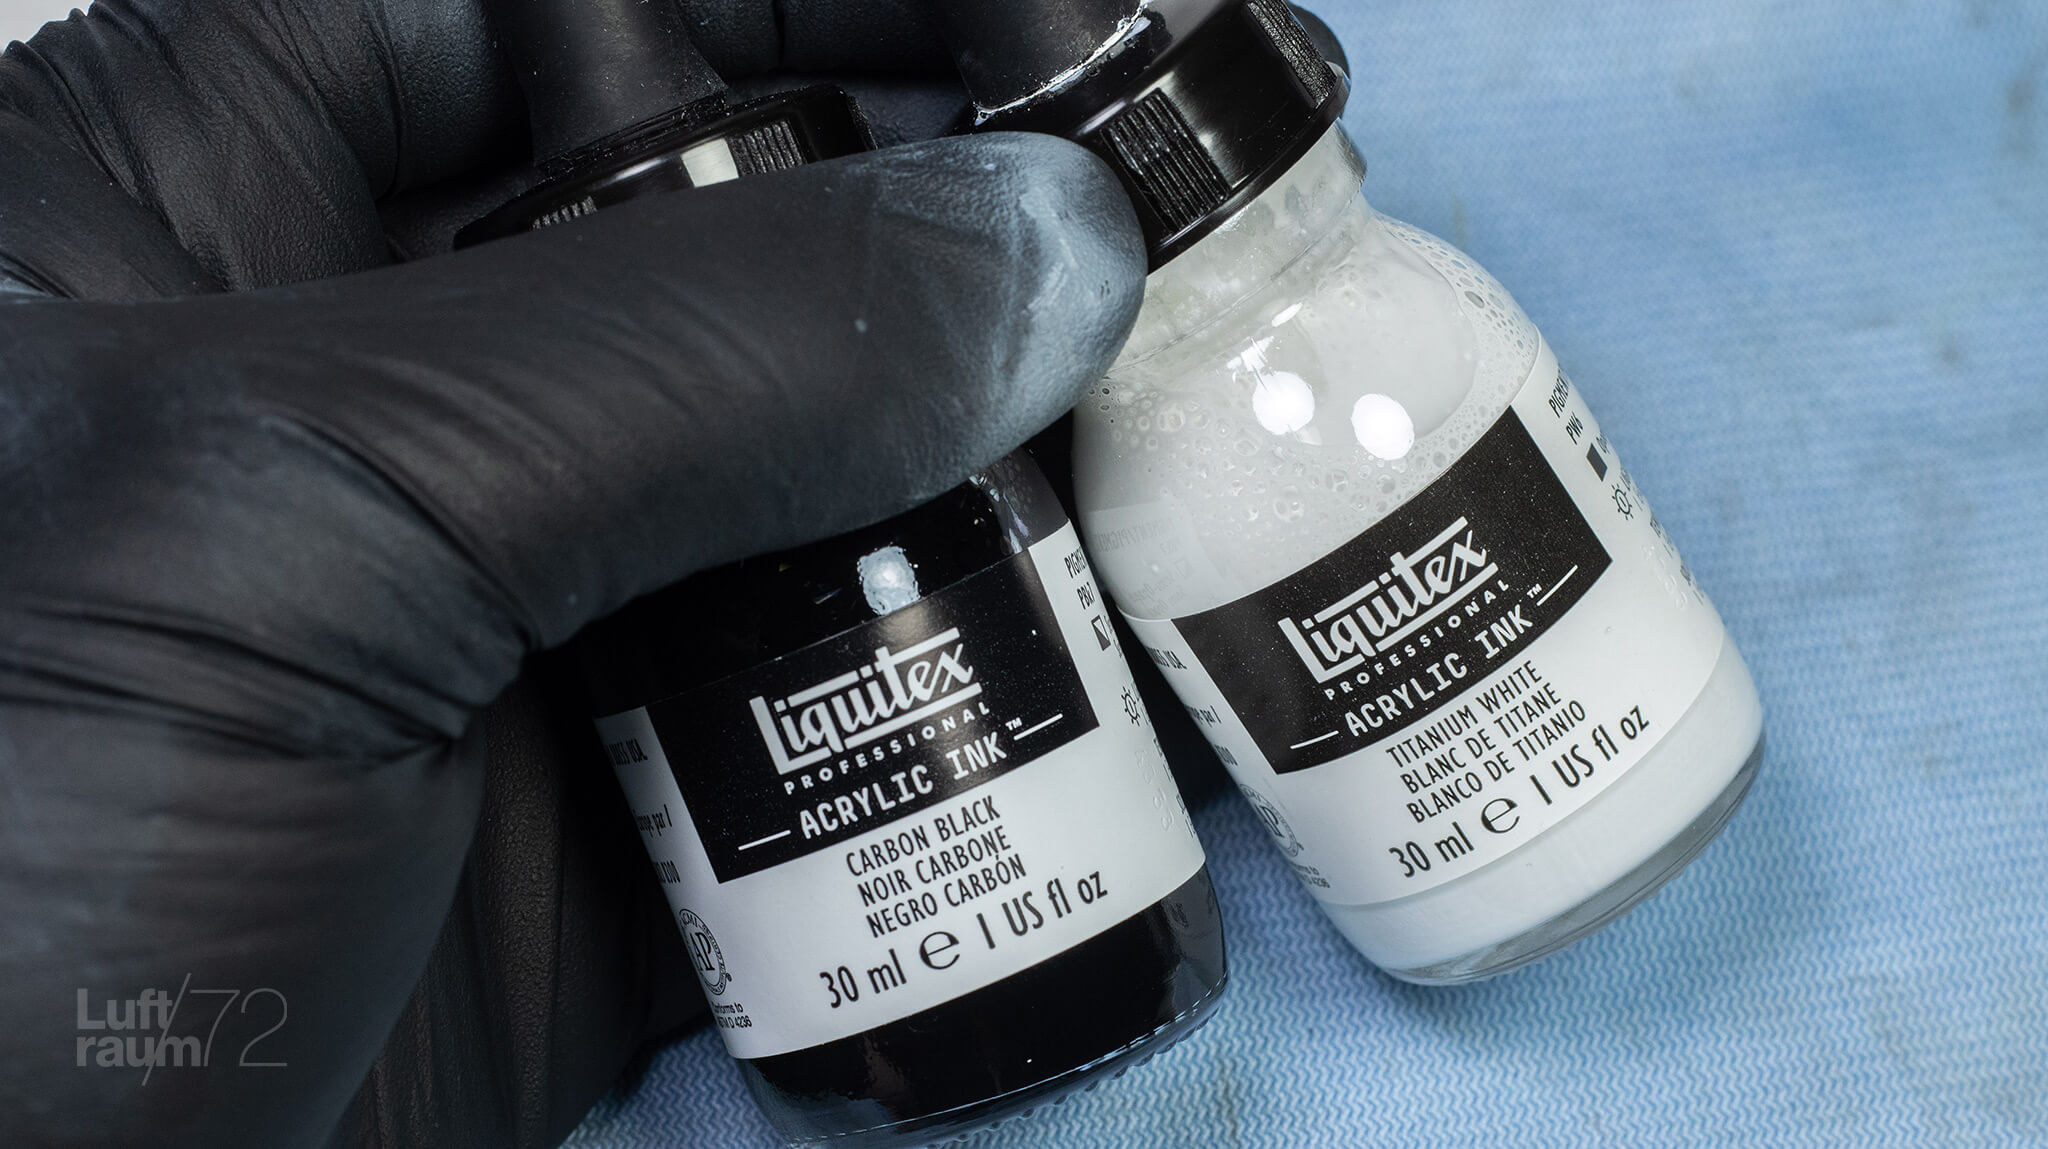
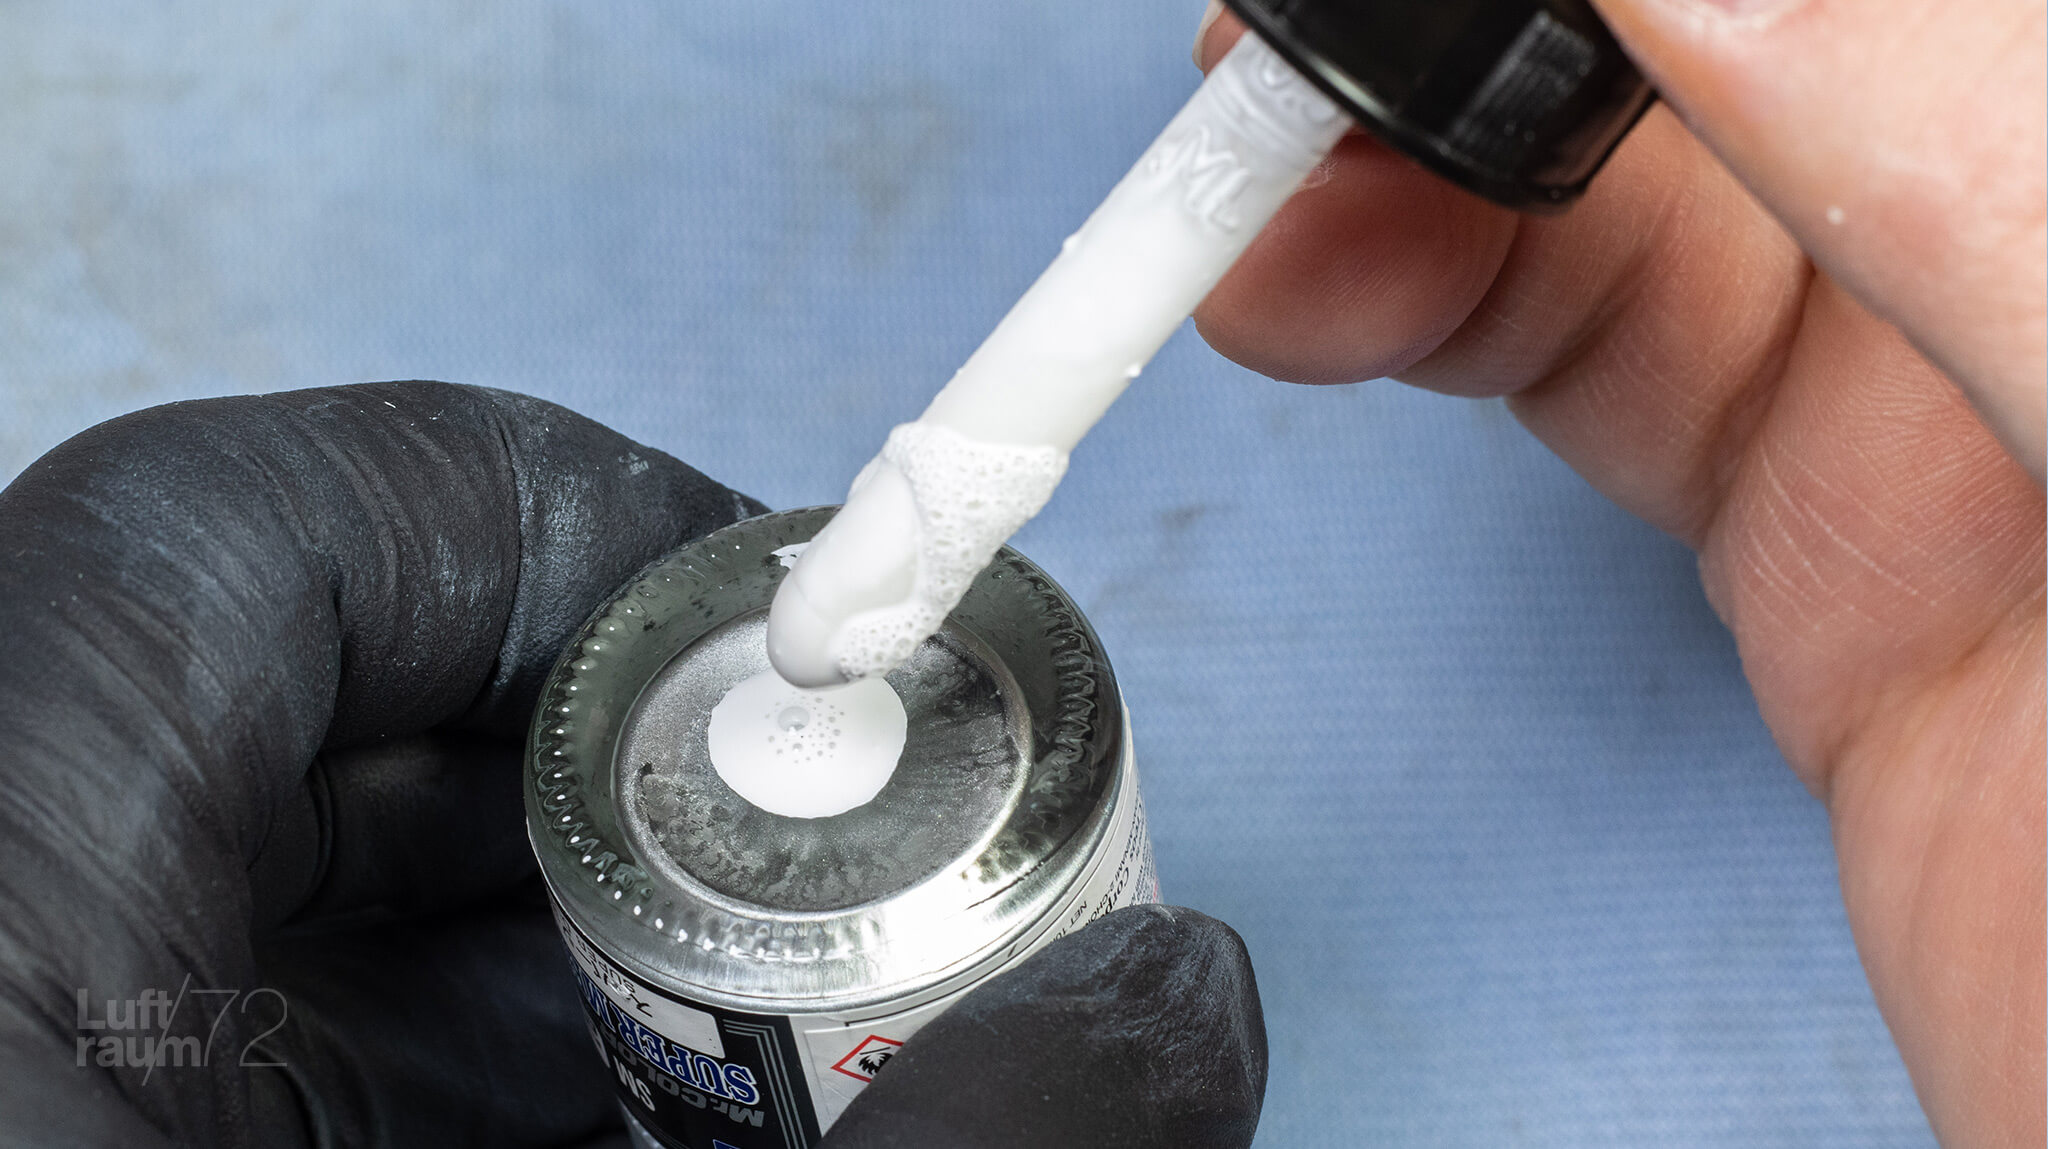
Inks — I have had great success with Liquitex Professional Acrylic Inks, available world-wide, though any acrylic ink should work in principle.
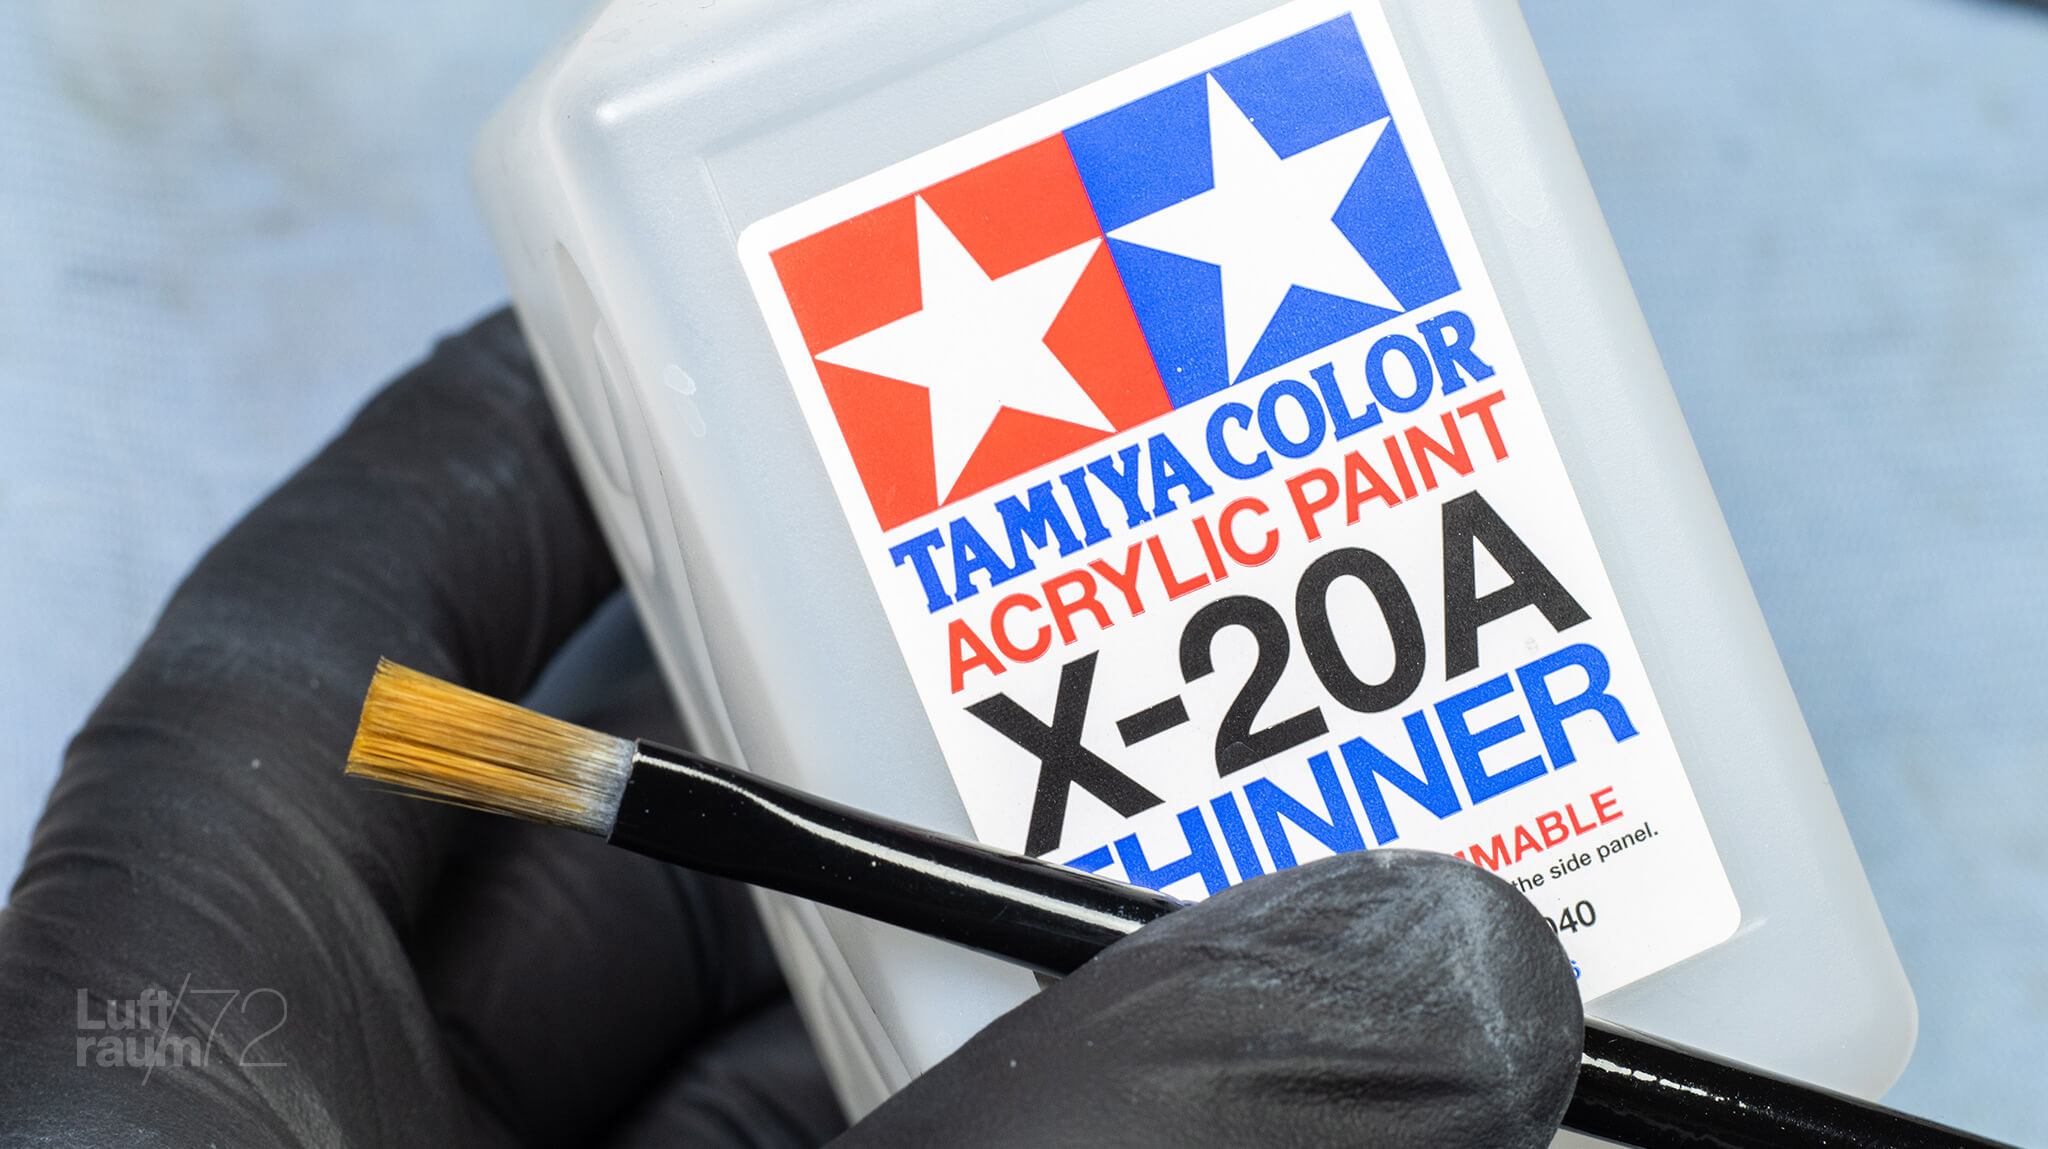
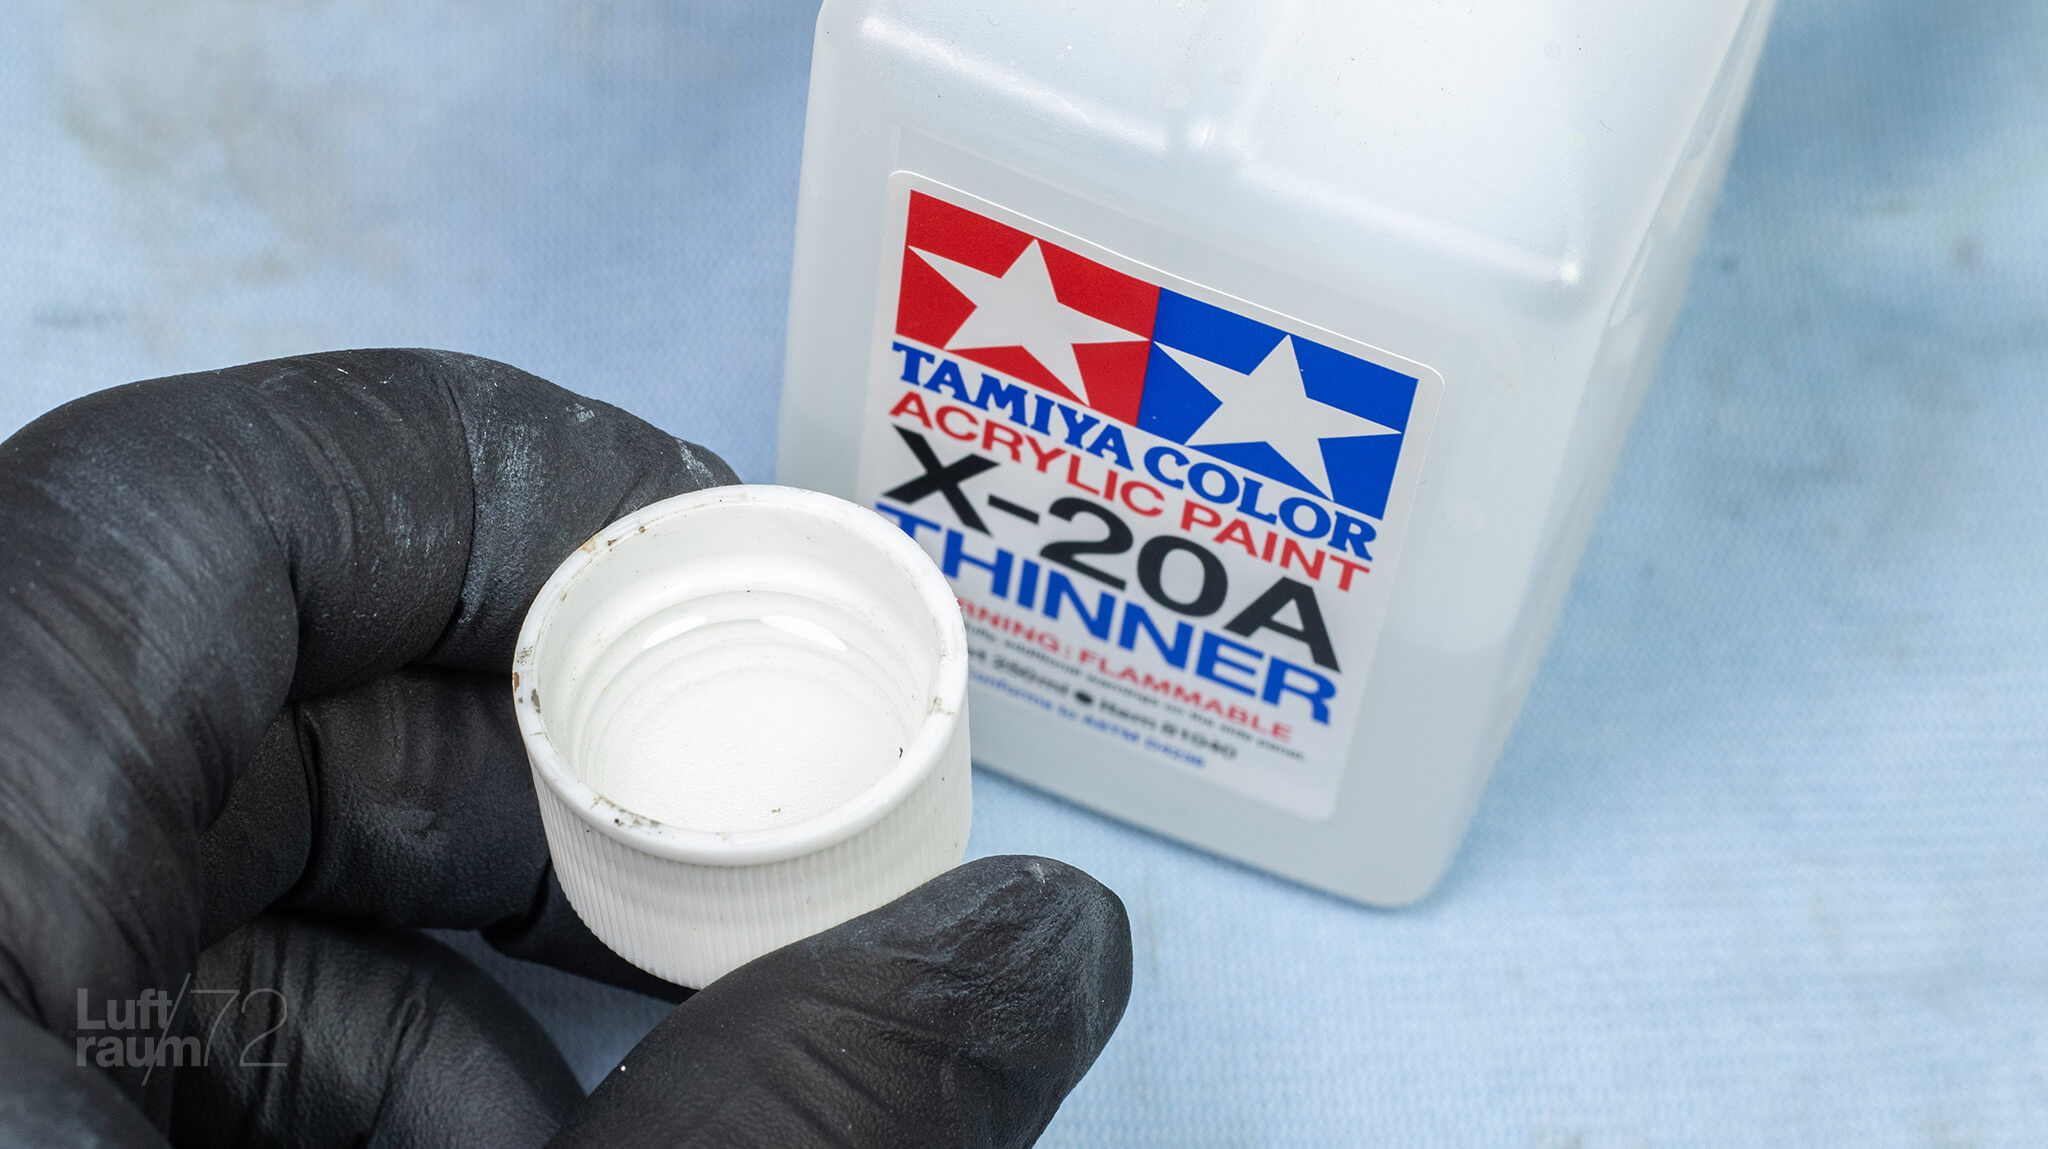
Wetting Agent — So far, I find Tamiya X-20A to be the superior wetting agent as it spreads well and is very effective in breaking surface tension. I have also had varying success with varying grades of IPA (up to about 70-80%), though they do not apply as smoothly as X-20A.
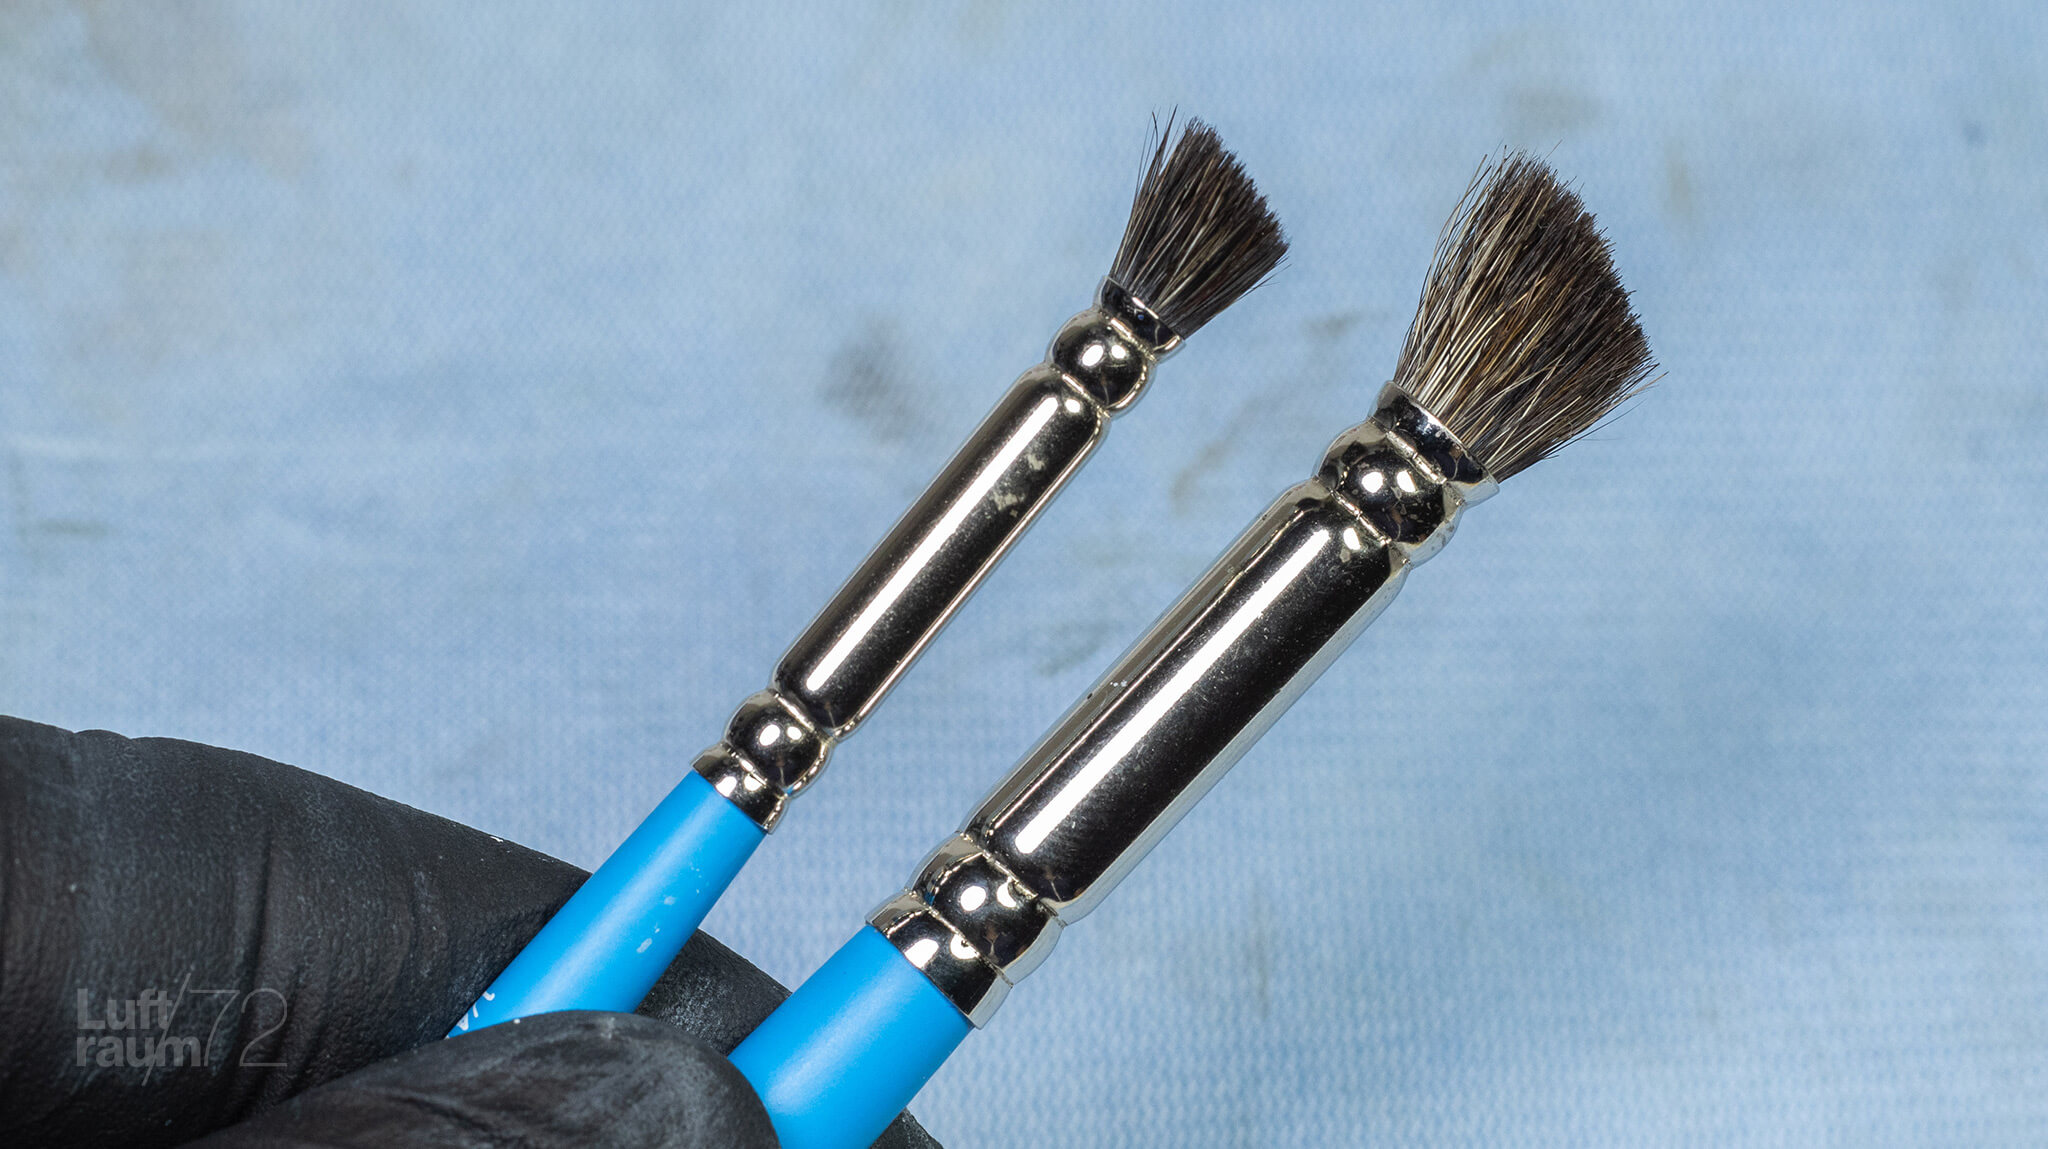
Brushes — There are 3 main brushes I rely on for the technique. First, is a basic flat for applying my wetting agent; second is an old #2 or #3 round brush for applying and modulating the ink (or a flat for larger areas), and most important, an artist’s brush called a Deerfoot Stippler. With a flat-faced profile, it’s perfect for creating a stippled pattern in the ink while covering larger areas. For small panels, I may also grab a ratty old round brush, or even small pieces of sponge/poly foam (though I find this can disintegrate quickly, leaving detritus in your ink.
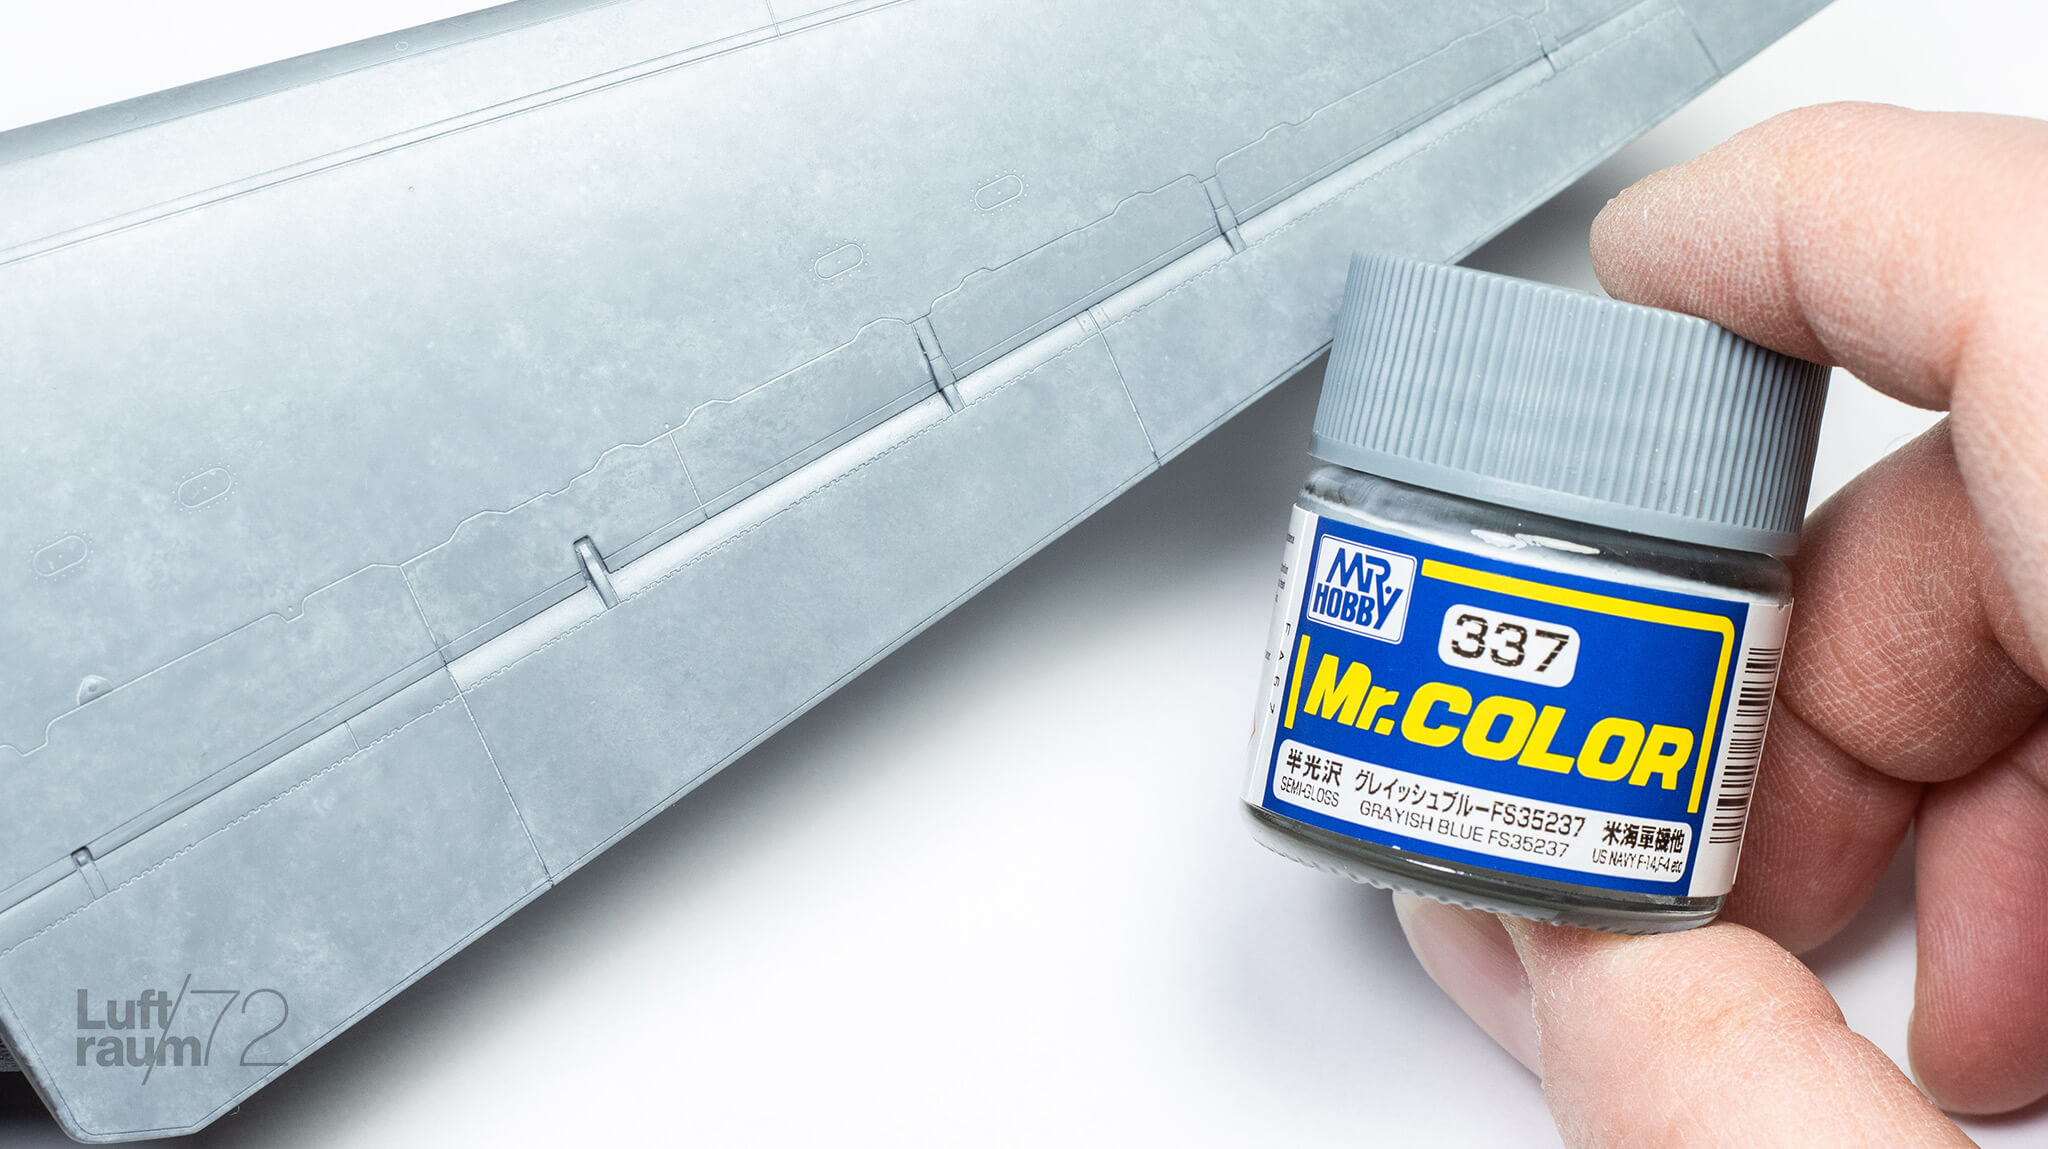
Paints — While X-20A is Tamiya’s acrylic thinner, it is still pretty hot. As such, the process as described here will require the use of lacquer primer and paints, such as Gunze Mr. Surfacer 1500 primer and Mr. Color lacquers.
The last tool I rely on is a 0.15mm needle marketed as either an acupuncture needle or as a 3D printer nozzle cleaning needle. Occasionally a fibre will find its way into the ink, and with it sharp poinr and pliable shaft, it can push or even flick fibres off the surface. A surplus airbrush needle is also effective for guiding fibres to an edge where they can be plucked with fine-nosed tweezers.
Step 1
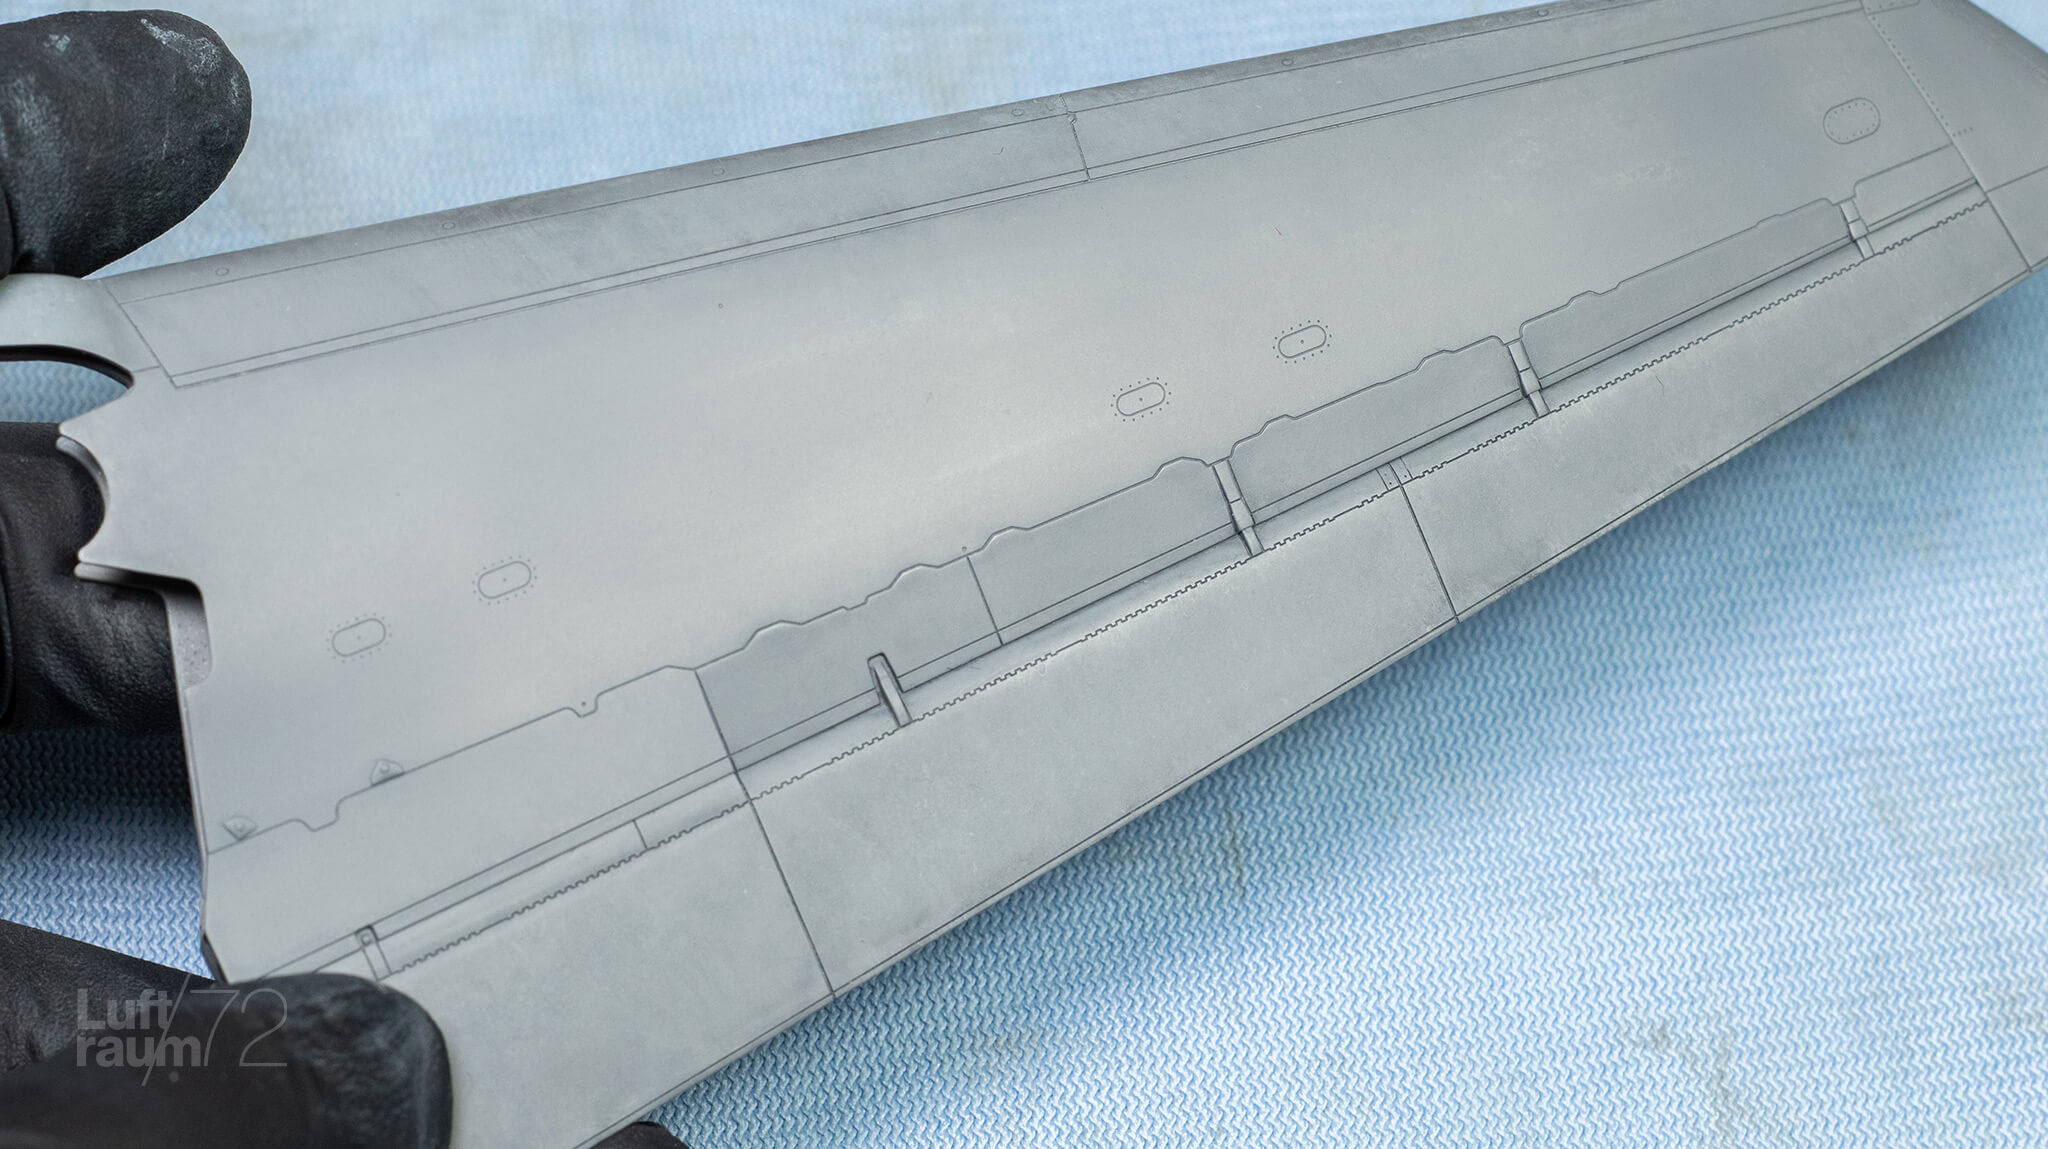
Once assembled and all seams addressed, the wing is sprayed Gunze Mr. Surfacer Grey (a medium-grey custom mix I use), and buffed slightly with a 4000 grit sanding sponge.
Step 2
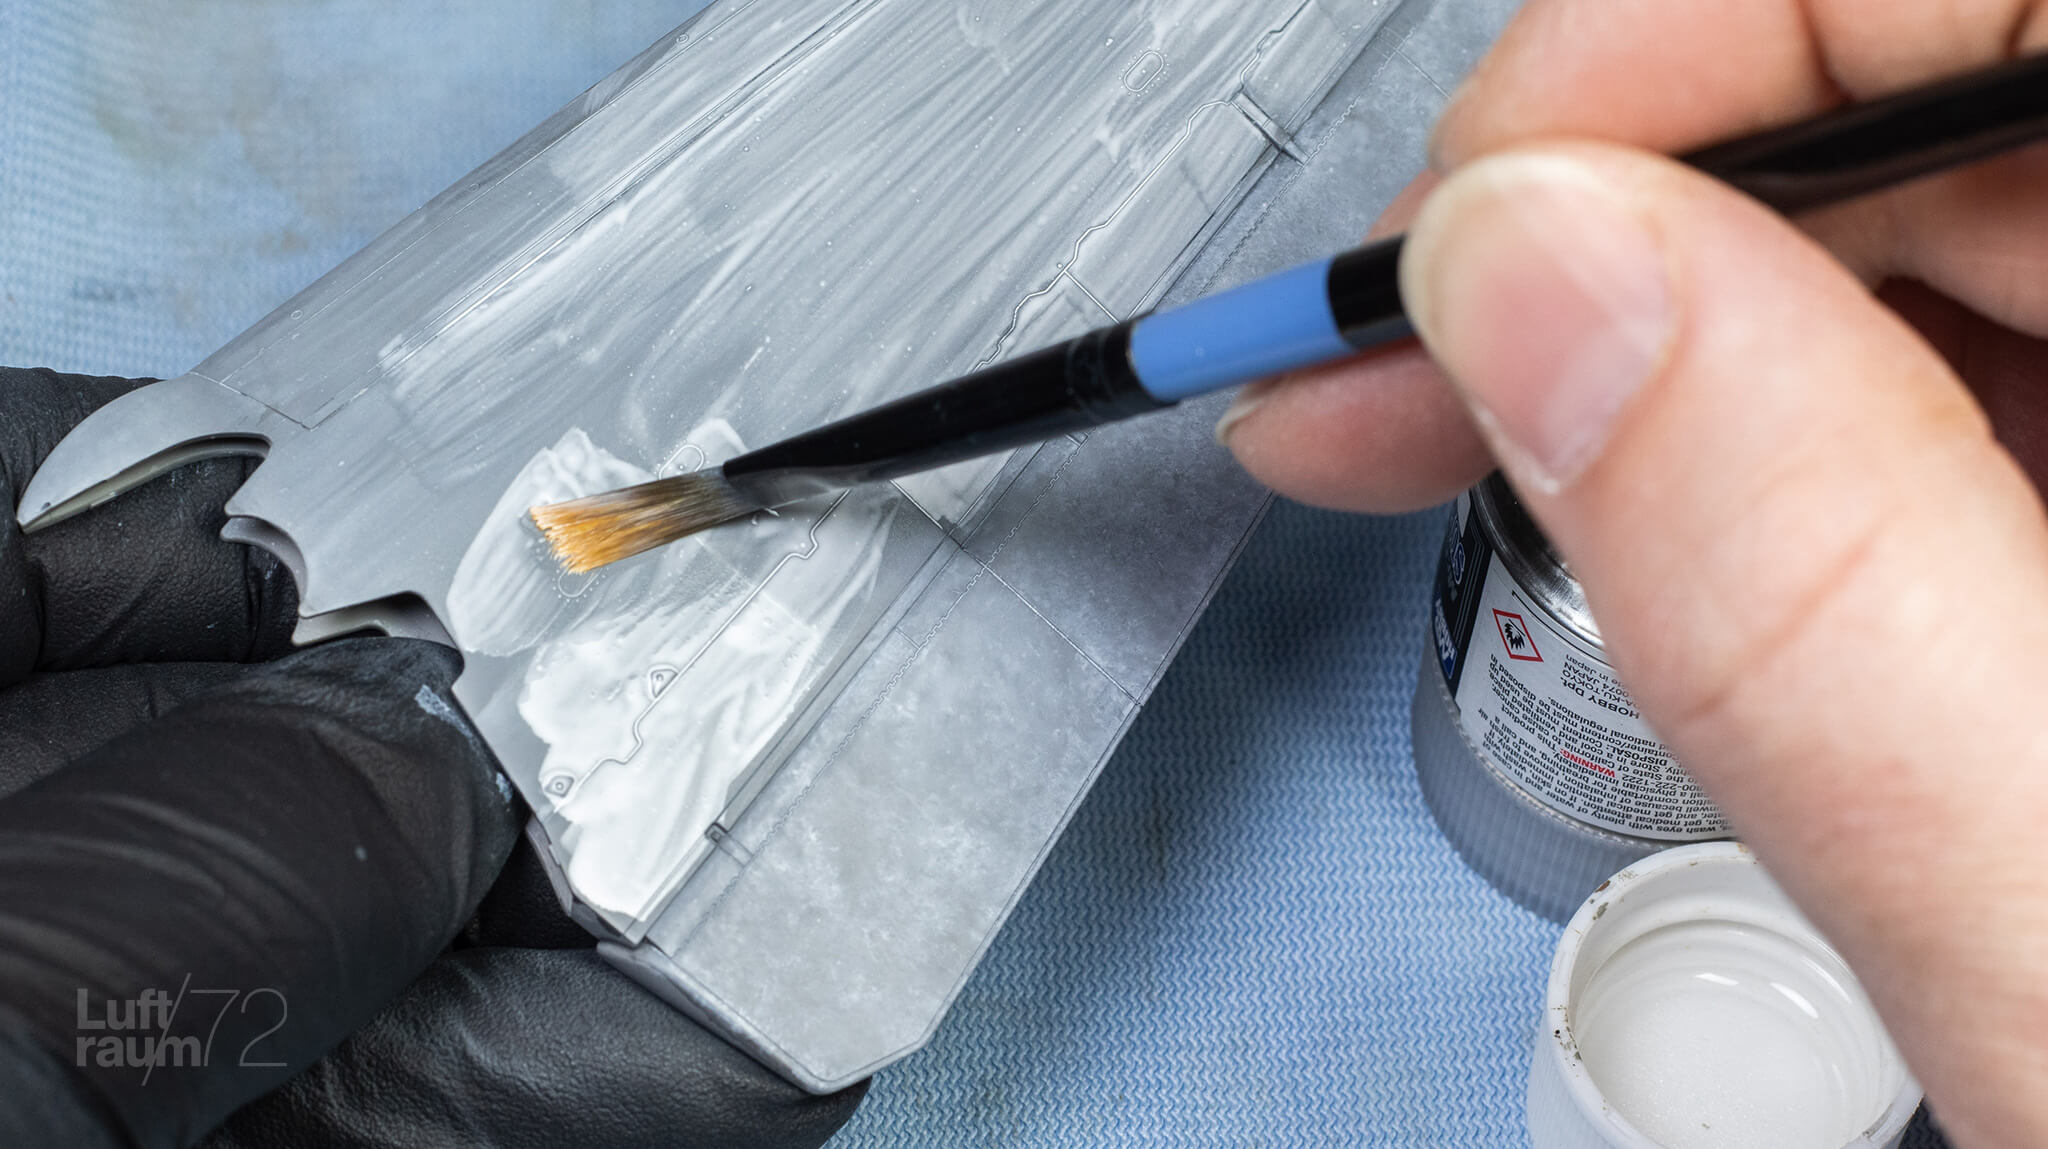
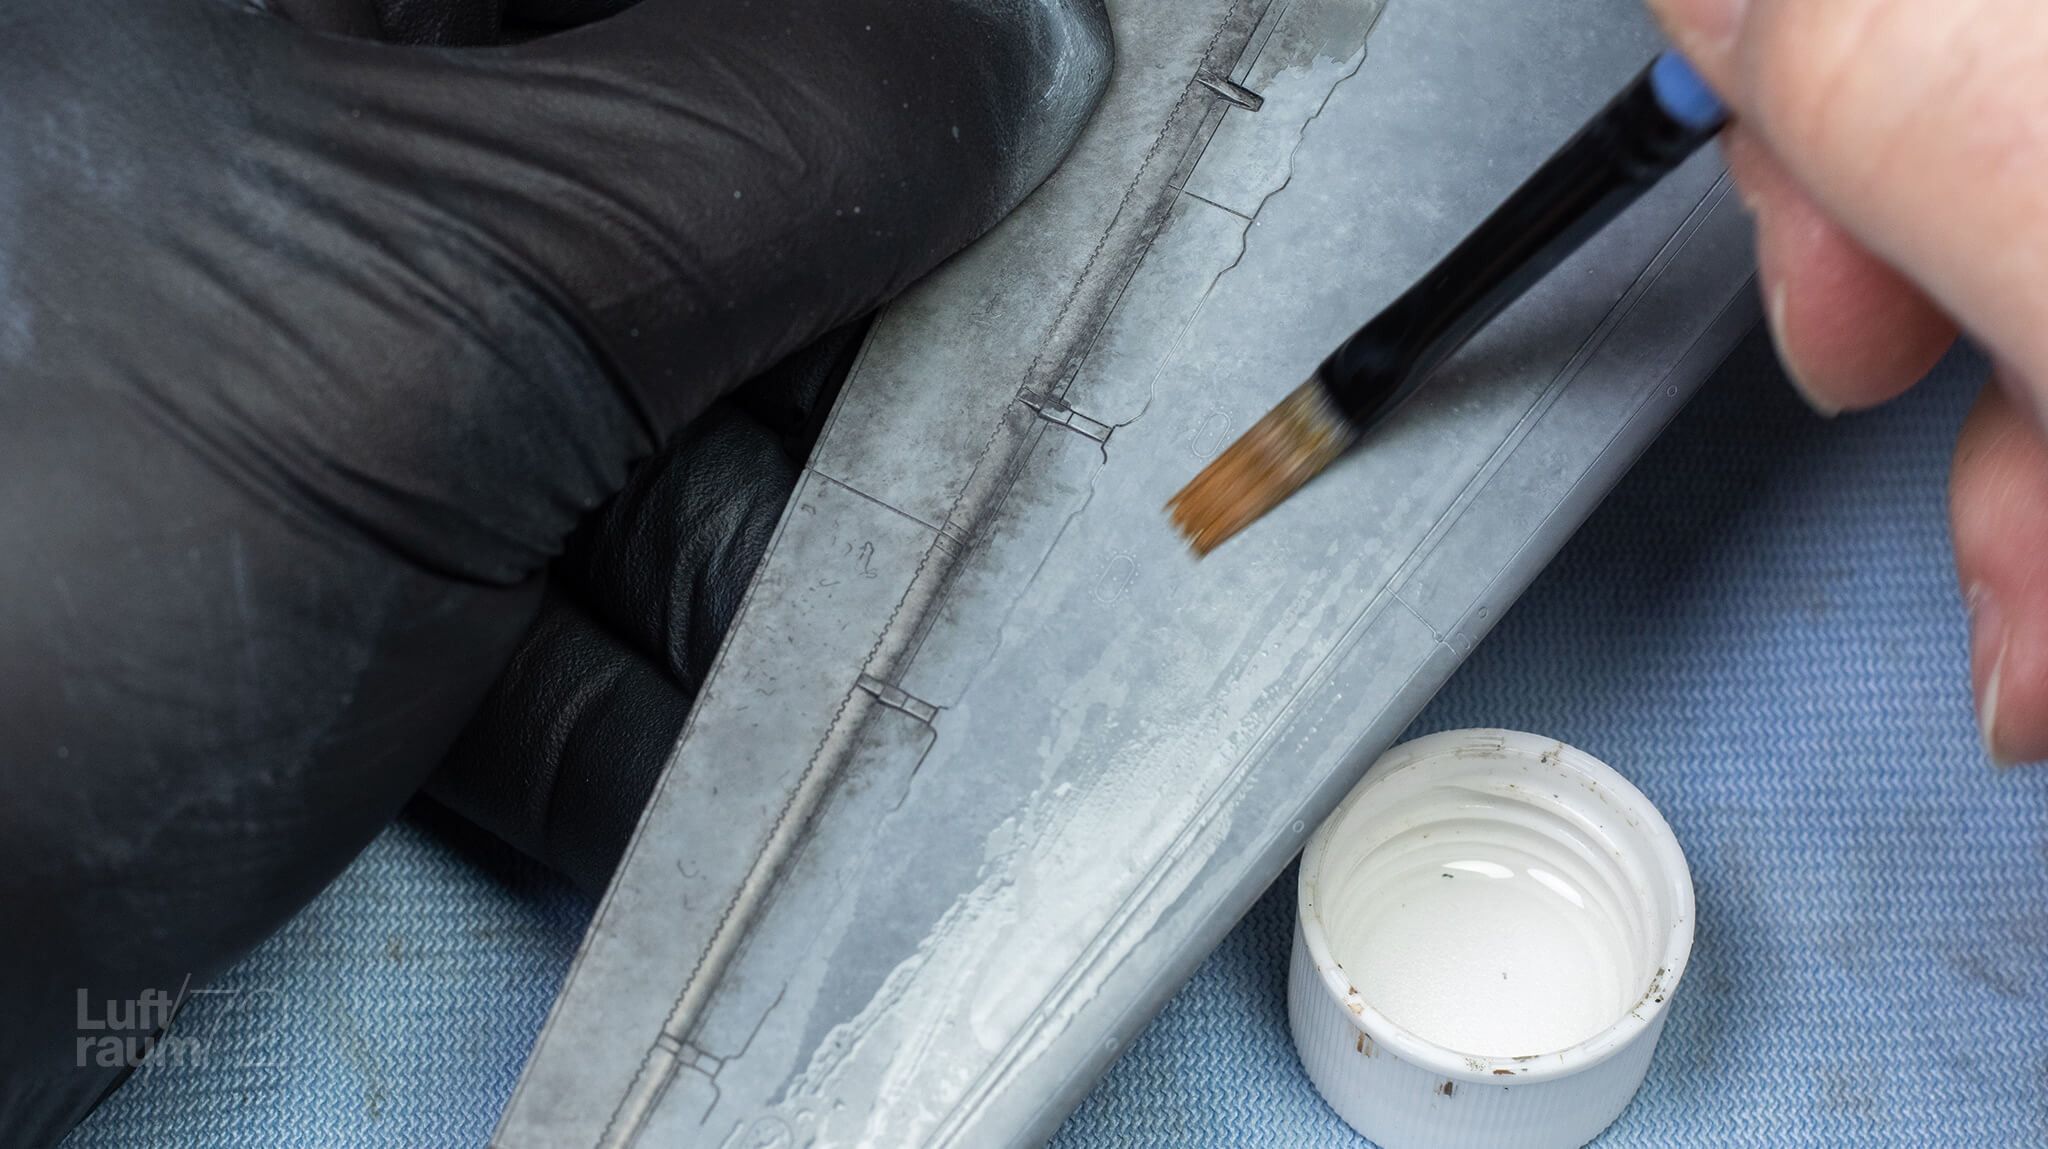
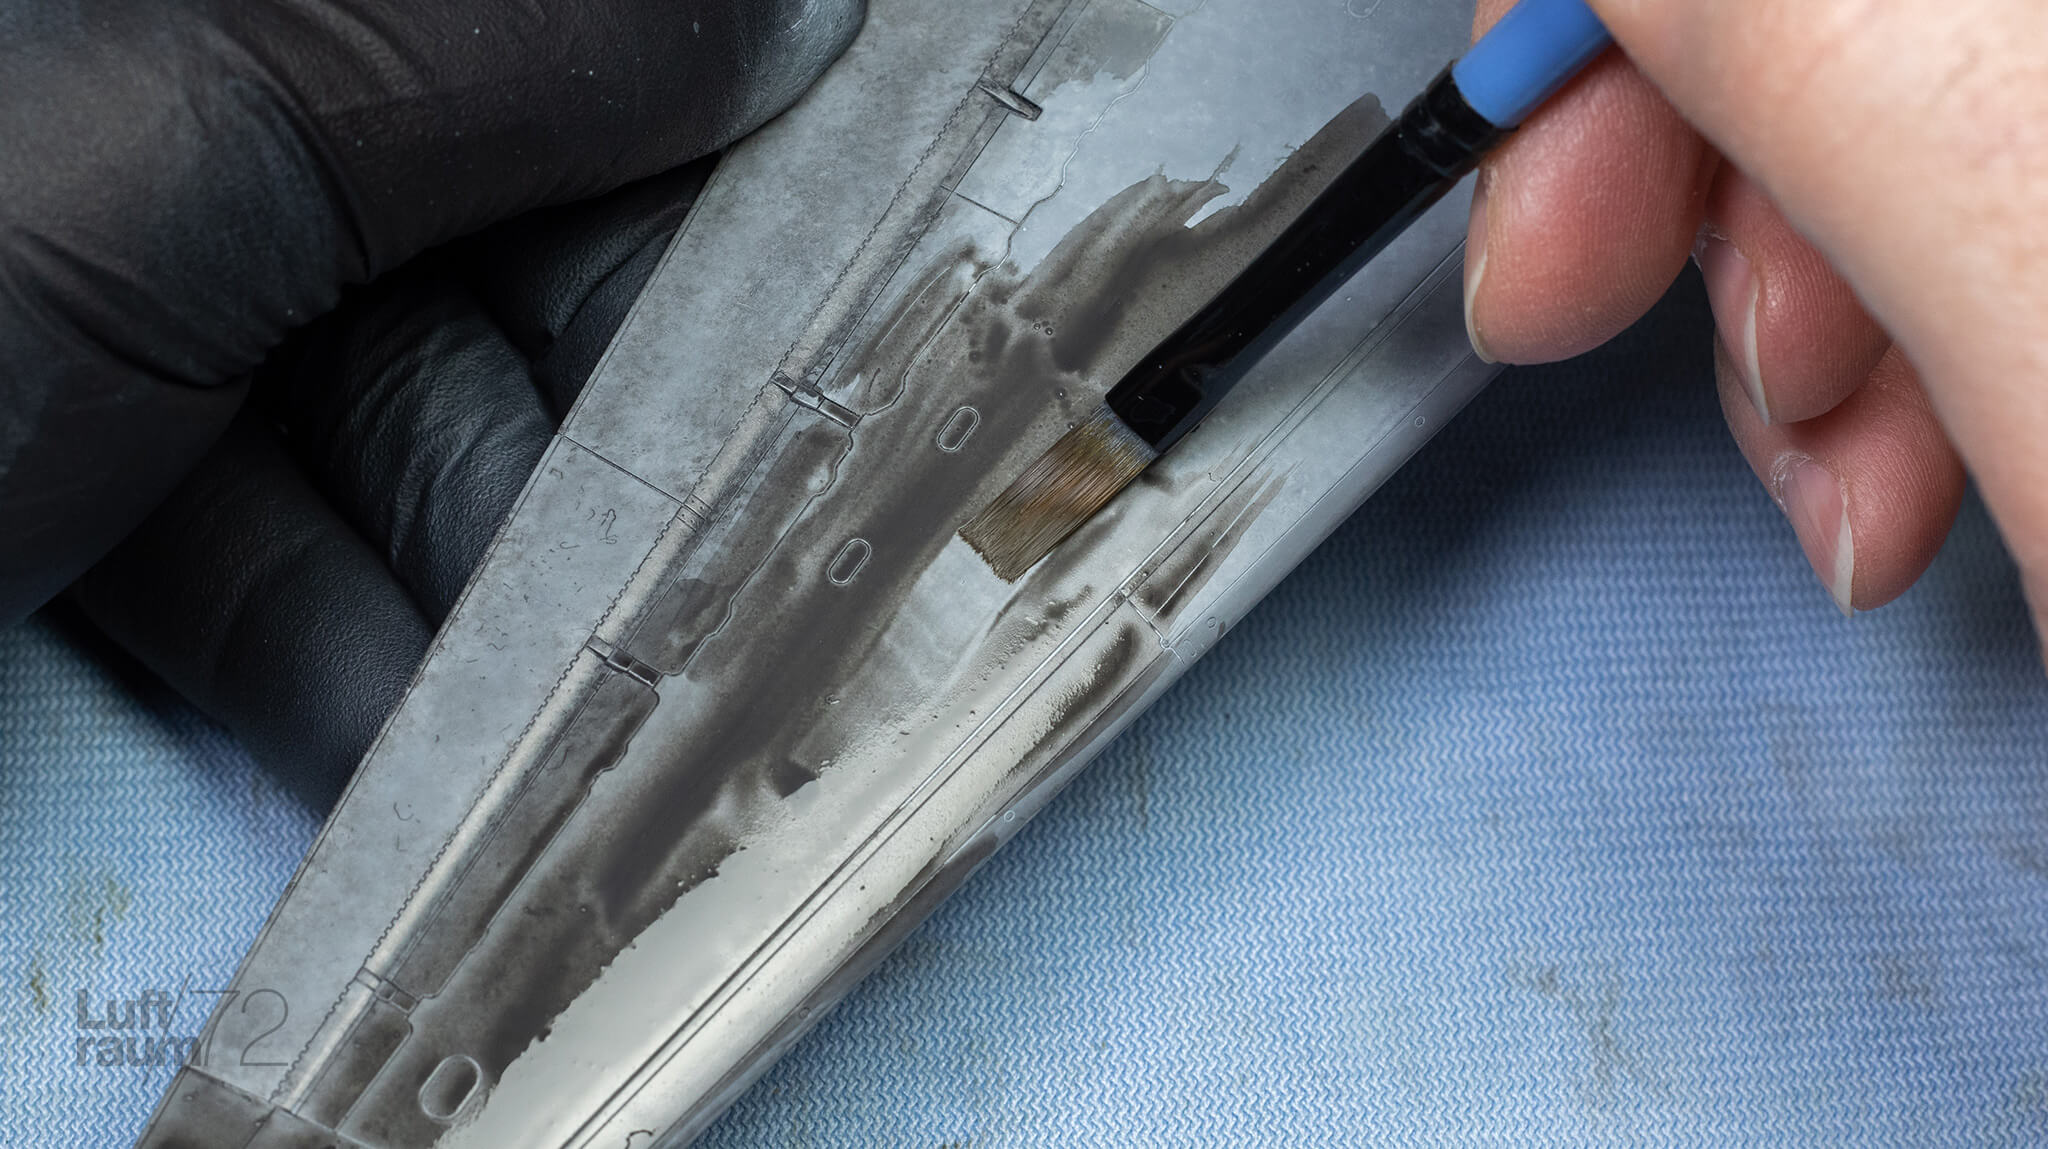
I pour out a small amount of X-20A wetting agent into the cap, and using the flat brush, open the surface by applying a thin application. At no point should the surface be so wet that the meeting agent runs or pools.
Step 3
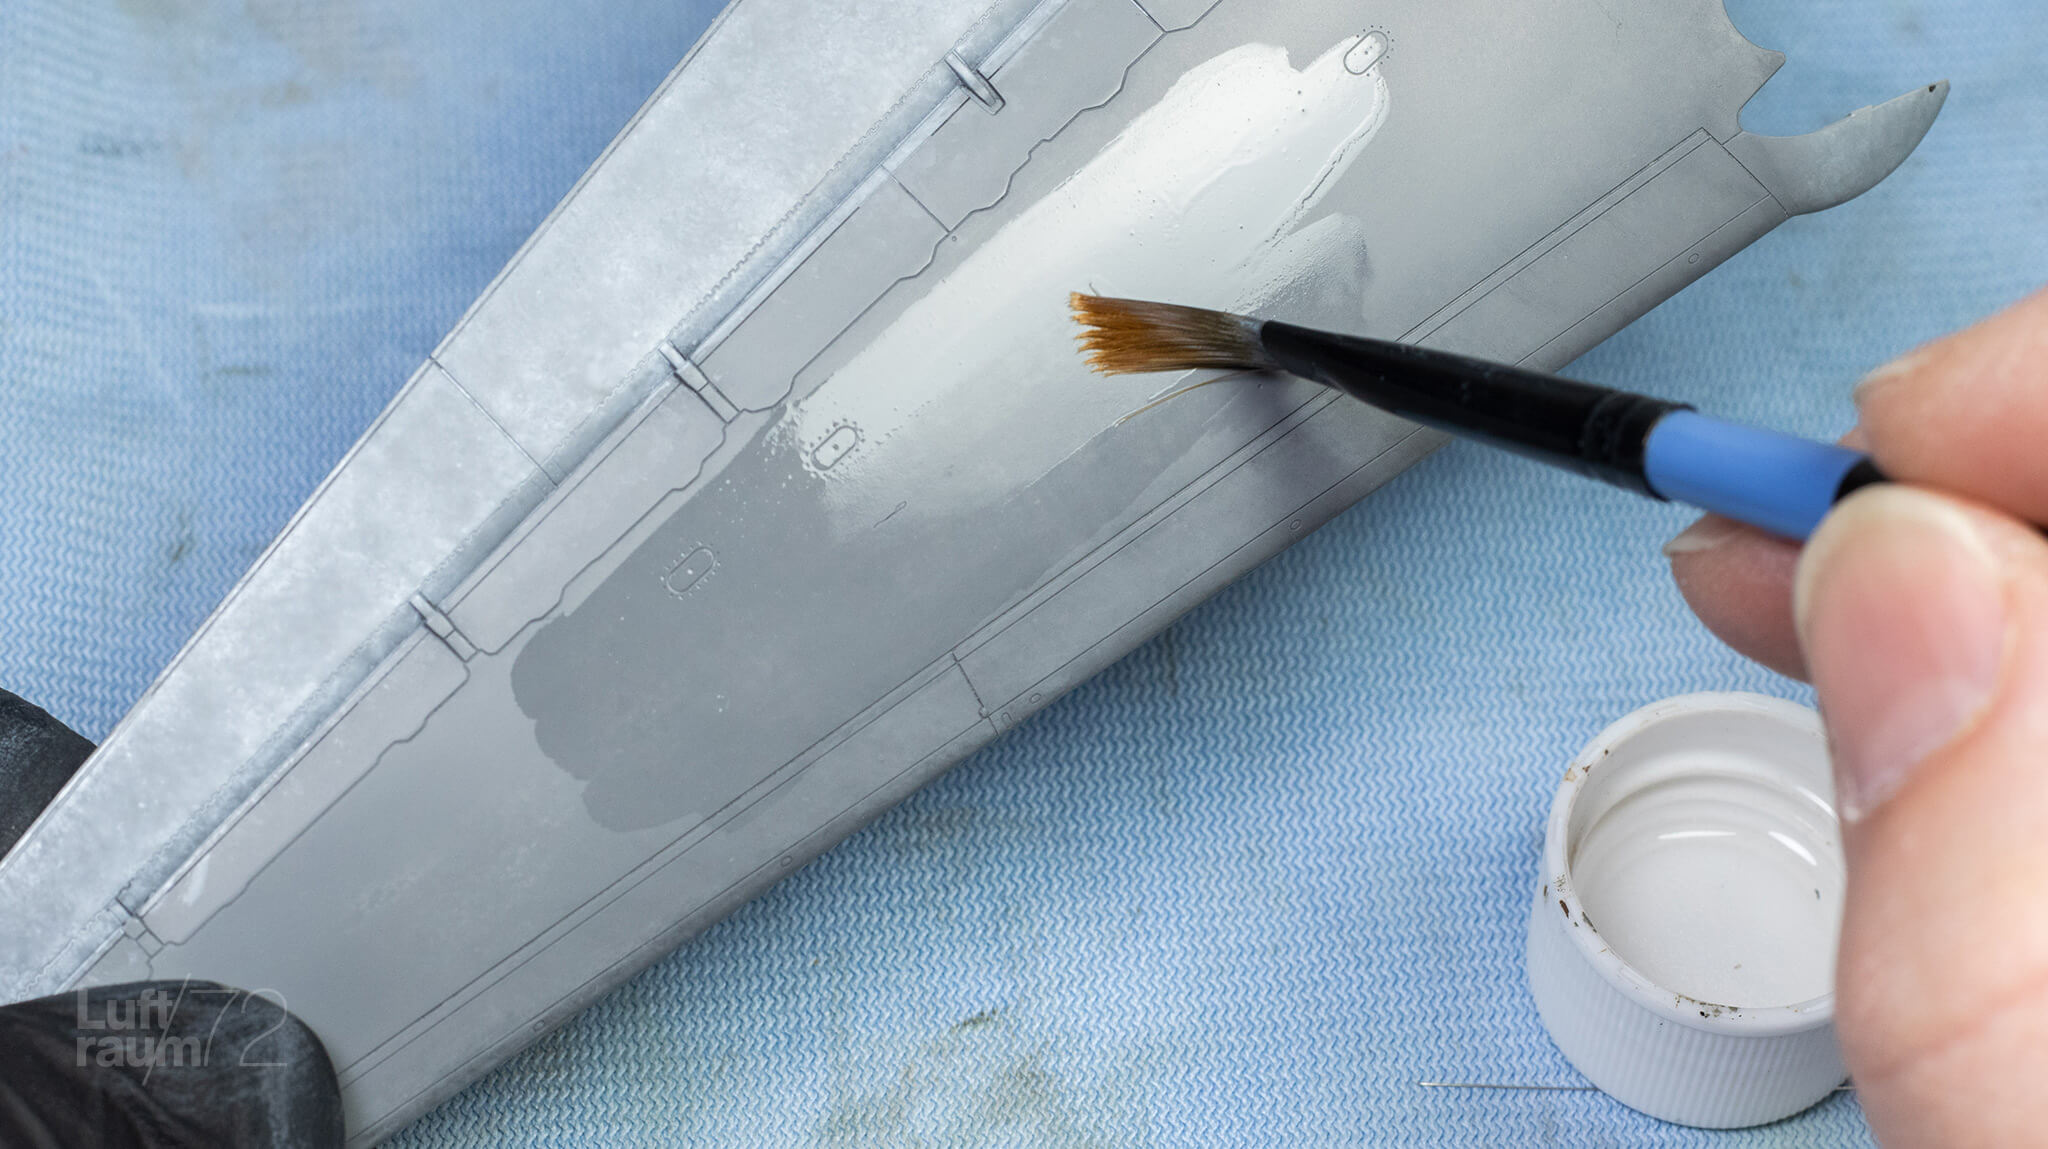
Using the old #2/#3 round brush are a flat flat for larger areas such as this, Titanium White ink is brushed onto the surface working a section at a time, ie. within a large panel or group of panels.
In this example, the control surfaces have been done, and now I’m focused on the rest of the wing.
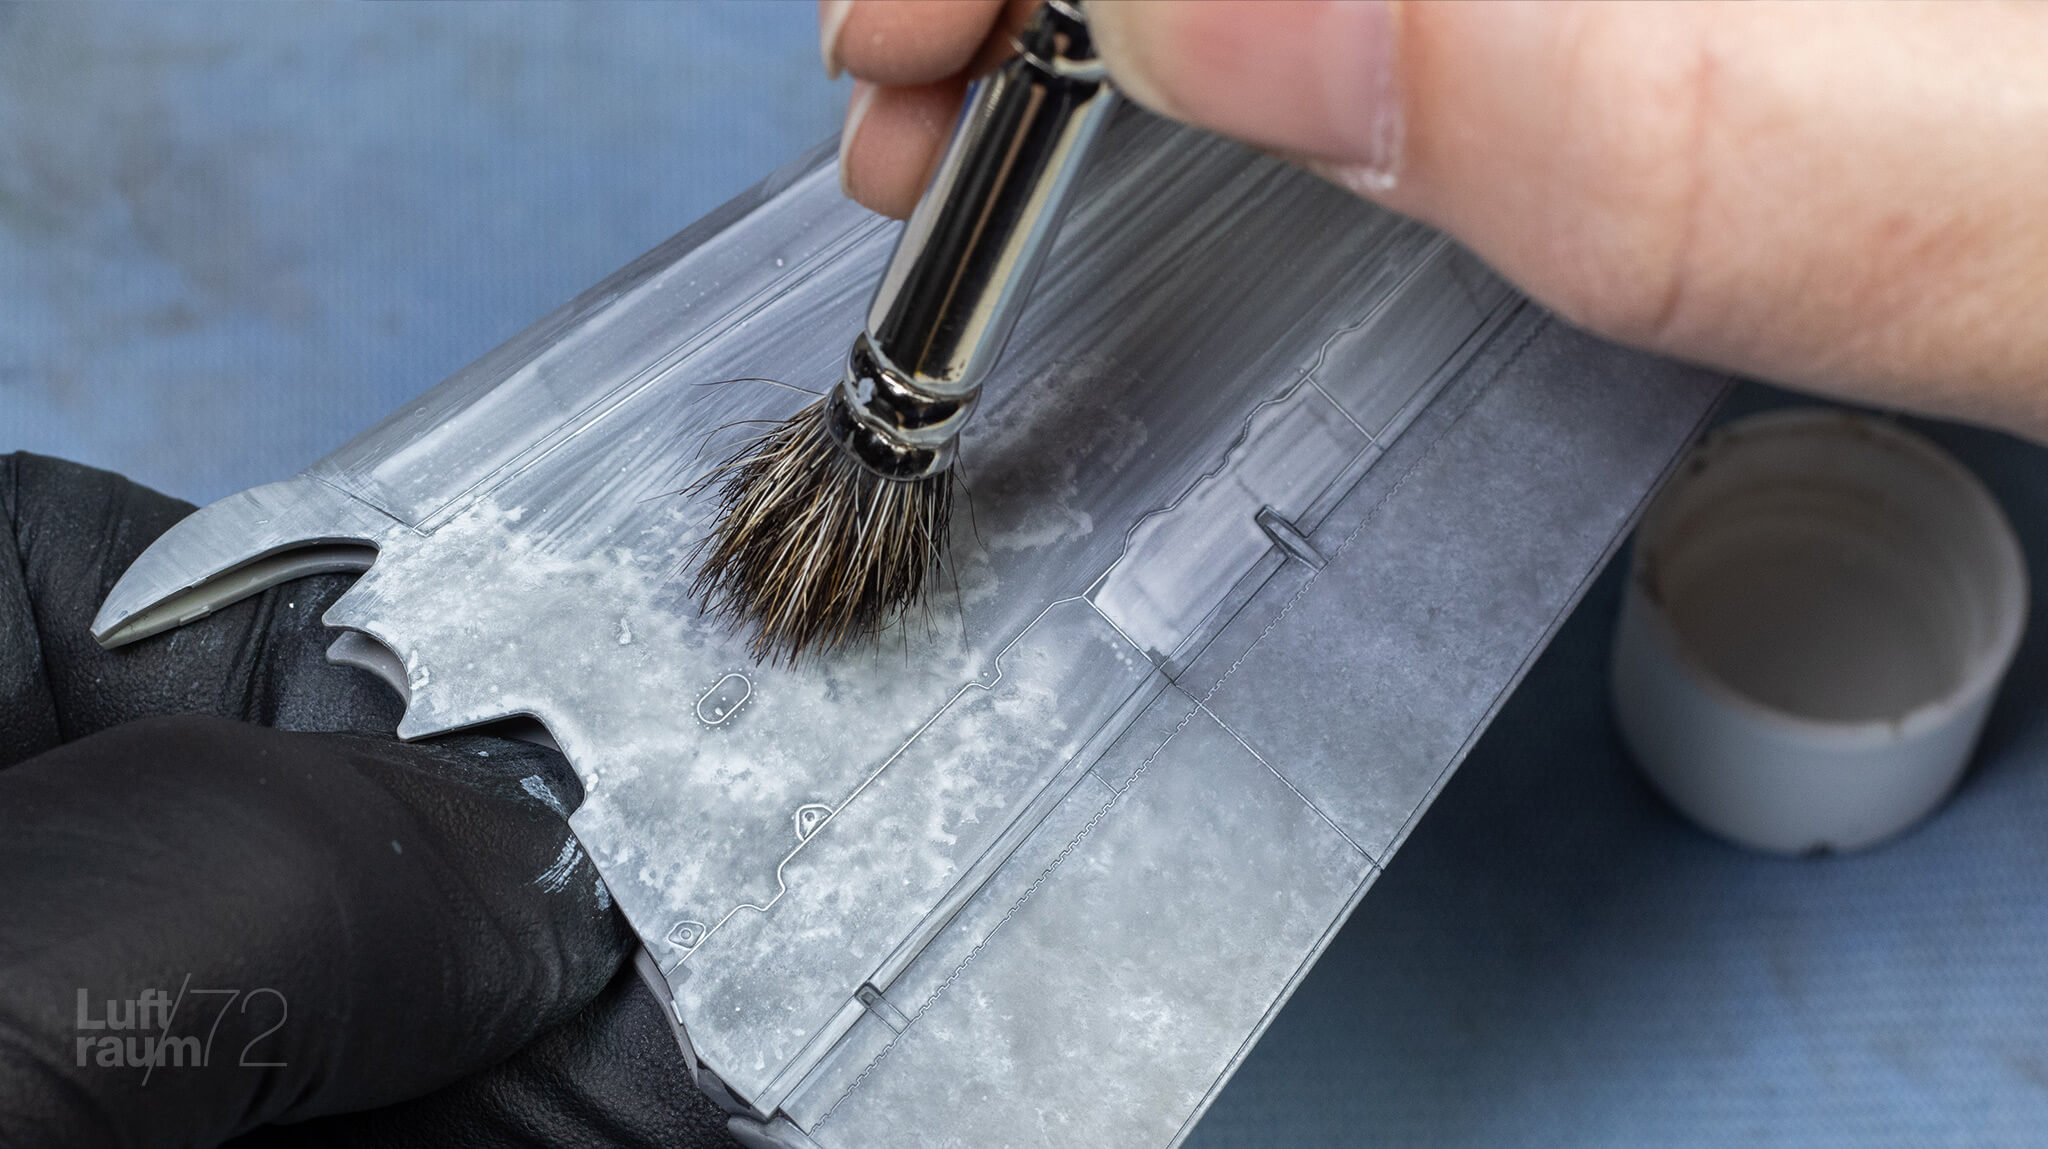
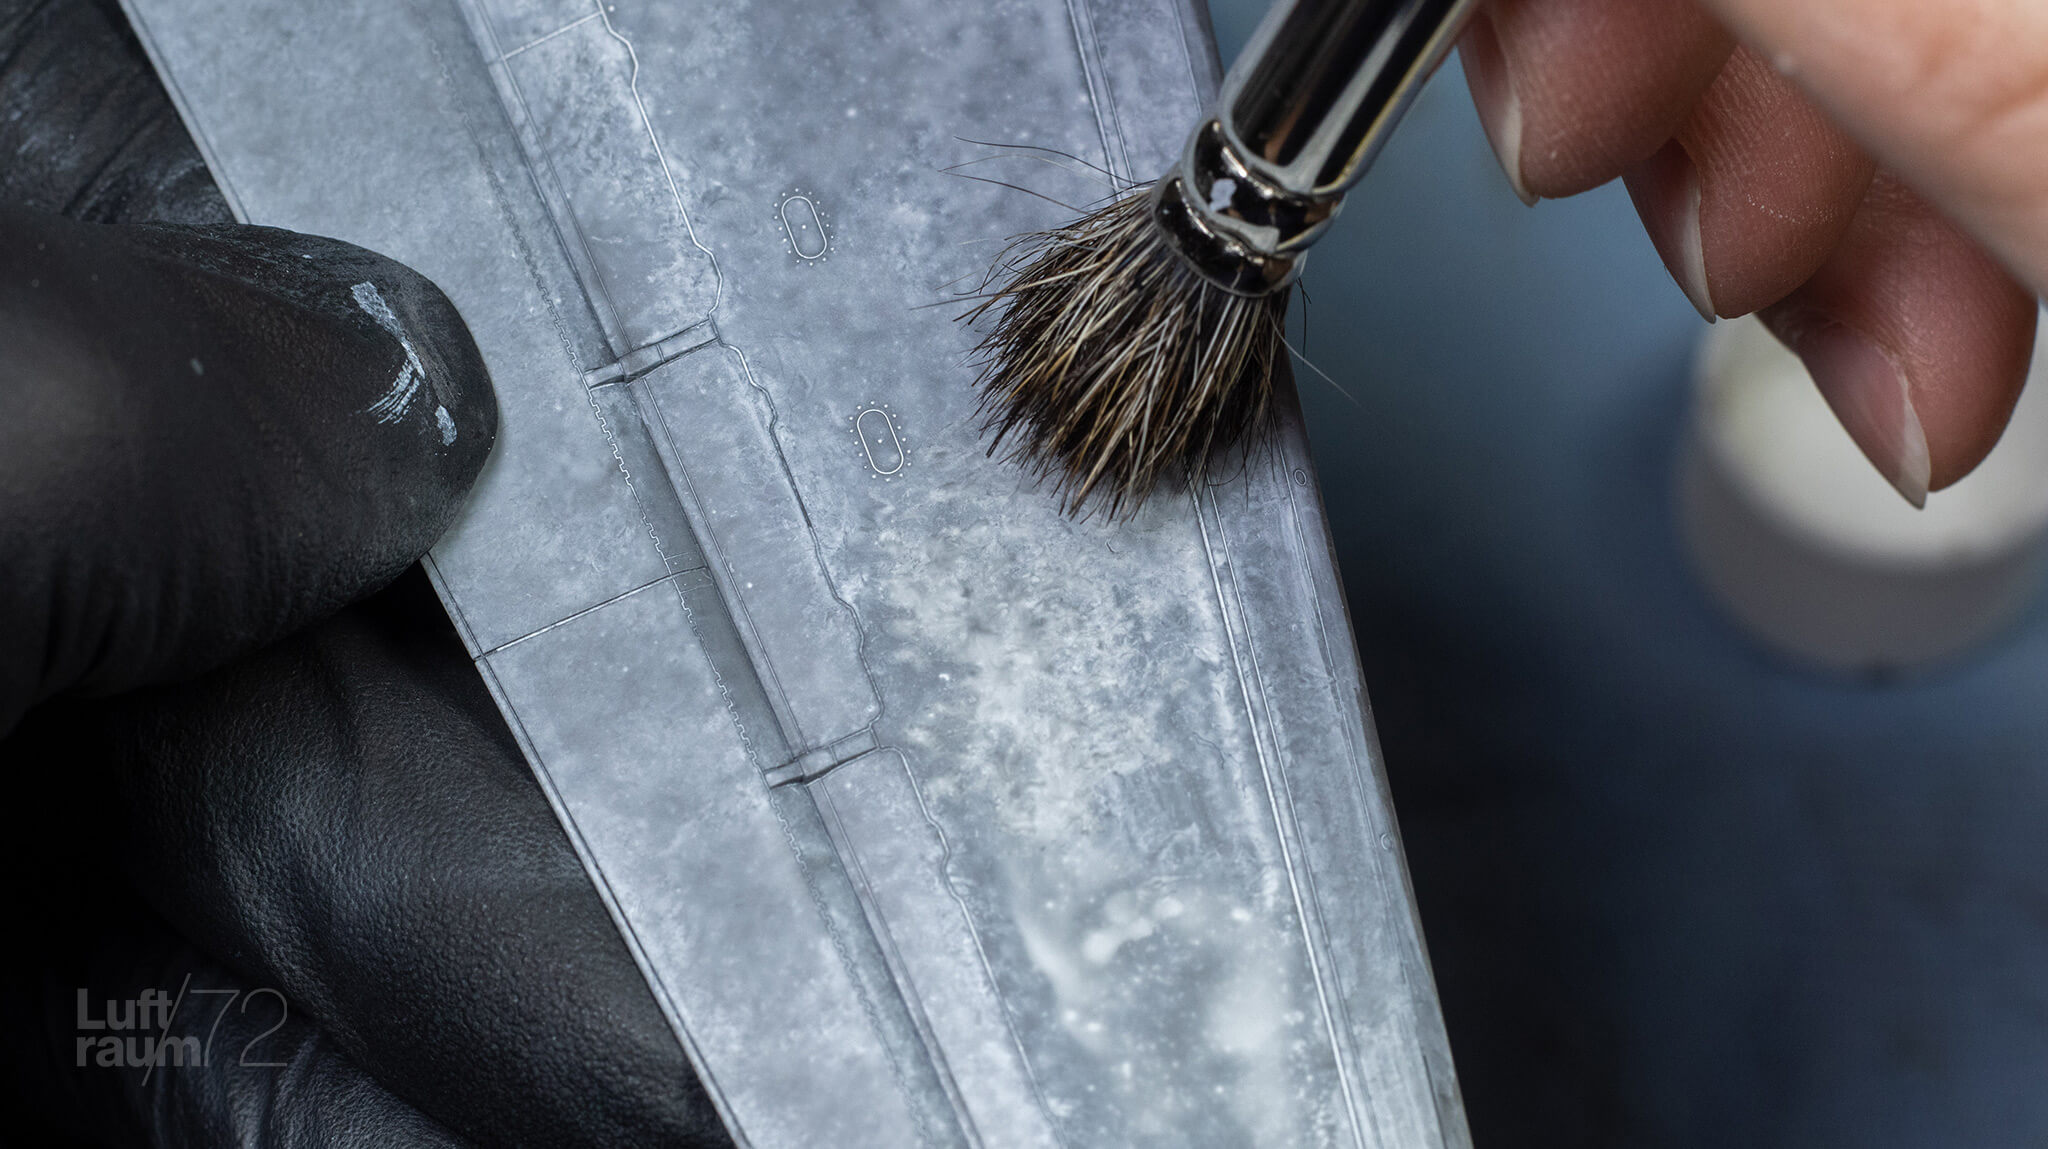
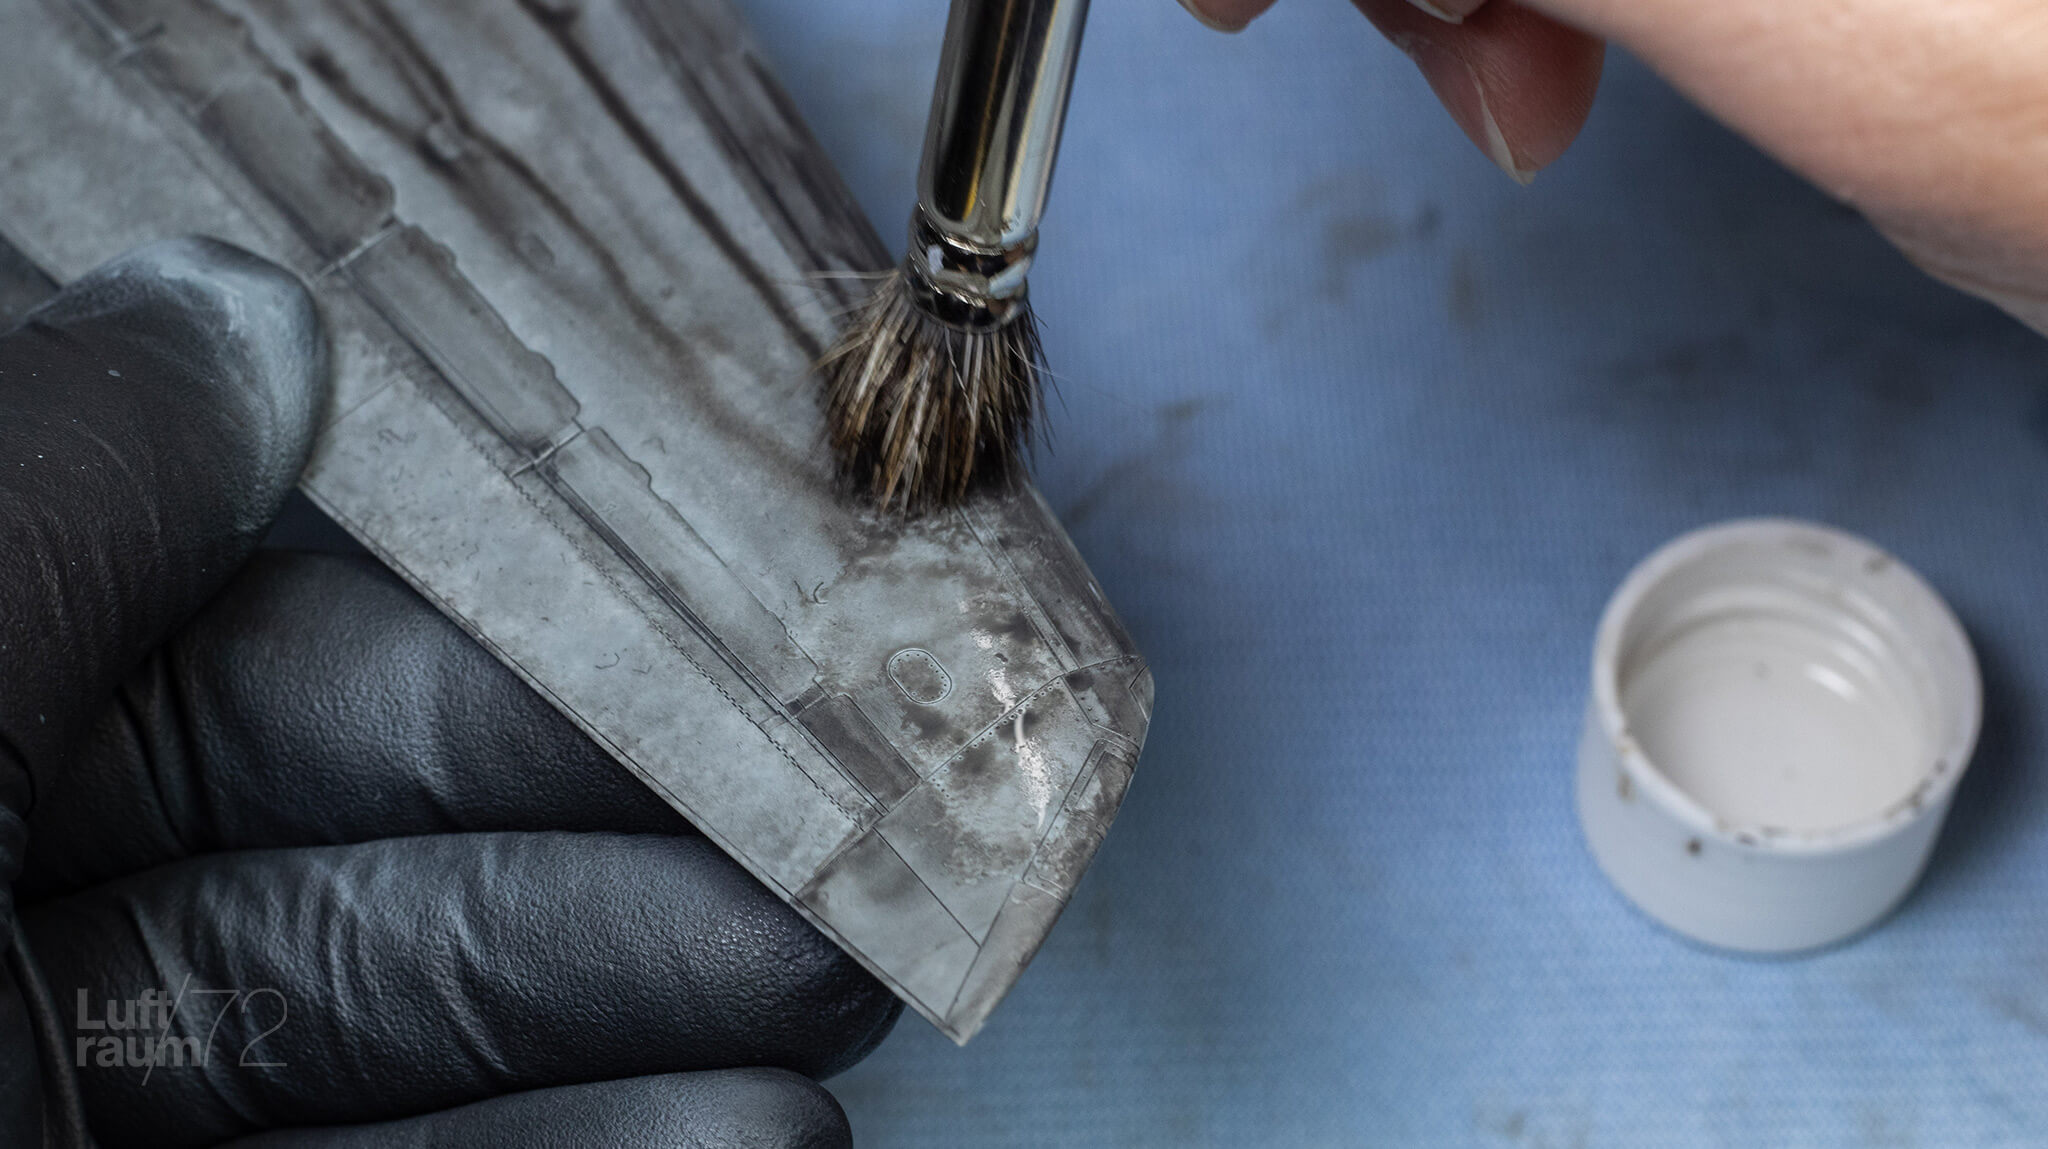
Step 4
While the surface is wet, lightly moisten the Deerfoot Stipplers with wetting agent, and start manipulating the ink using a *very light* stippling motion. Too much pressure and the bristles will splay out, creating a streaky rosette pattern in the ink. I hold the brush light enough in my fingers that it breaks my grip with any significant pressure on the bristles.
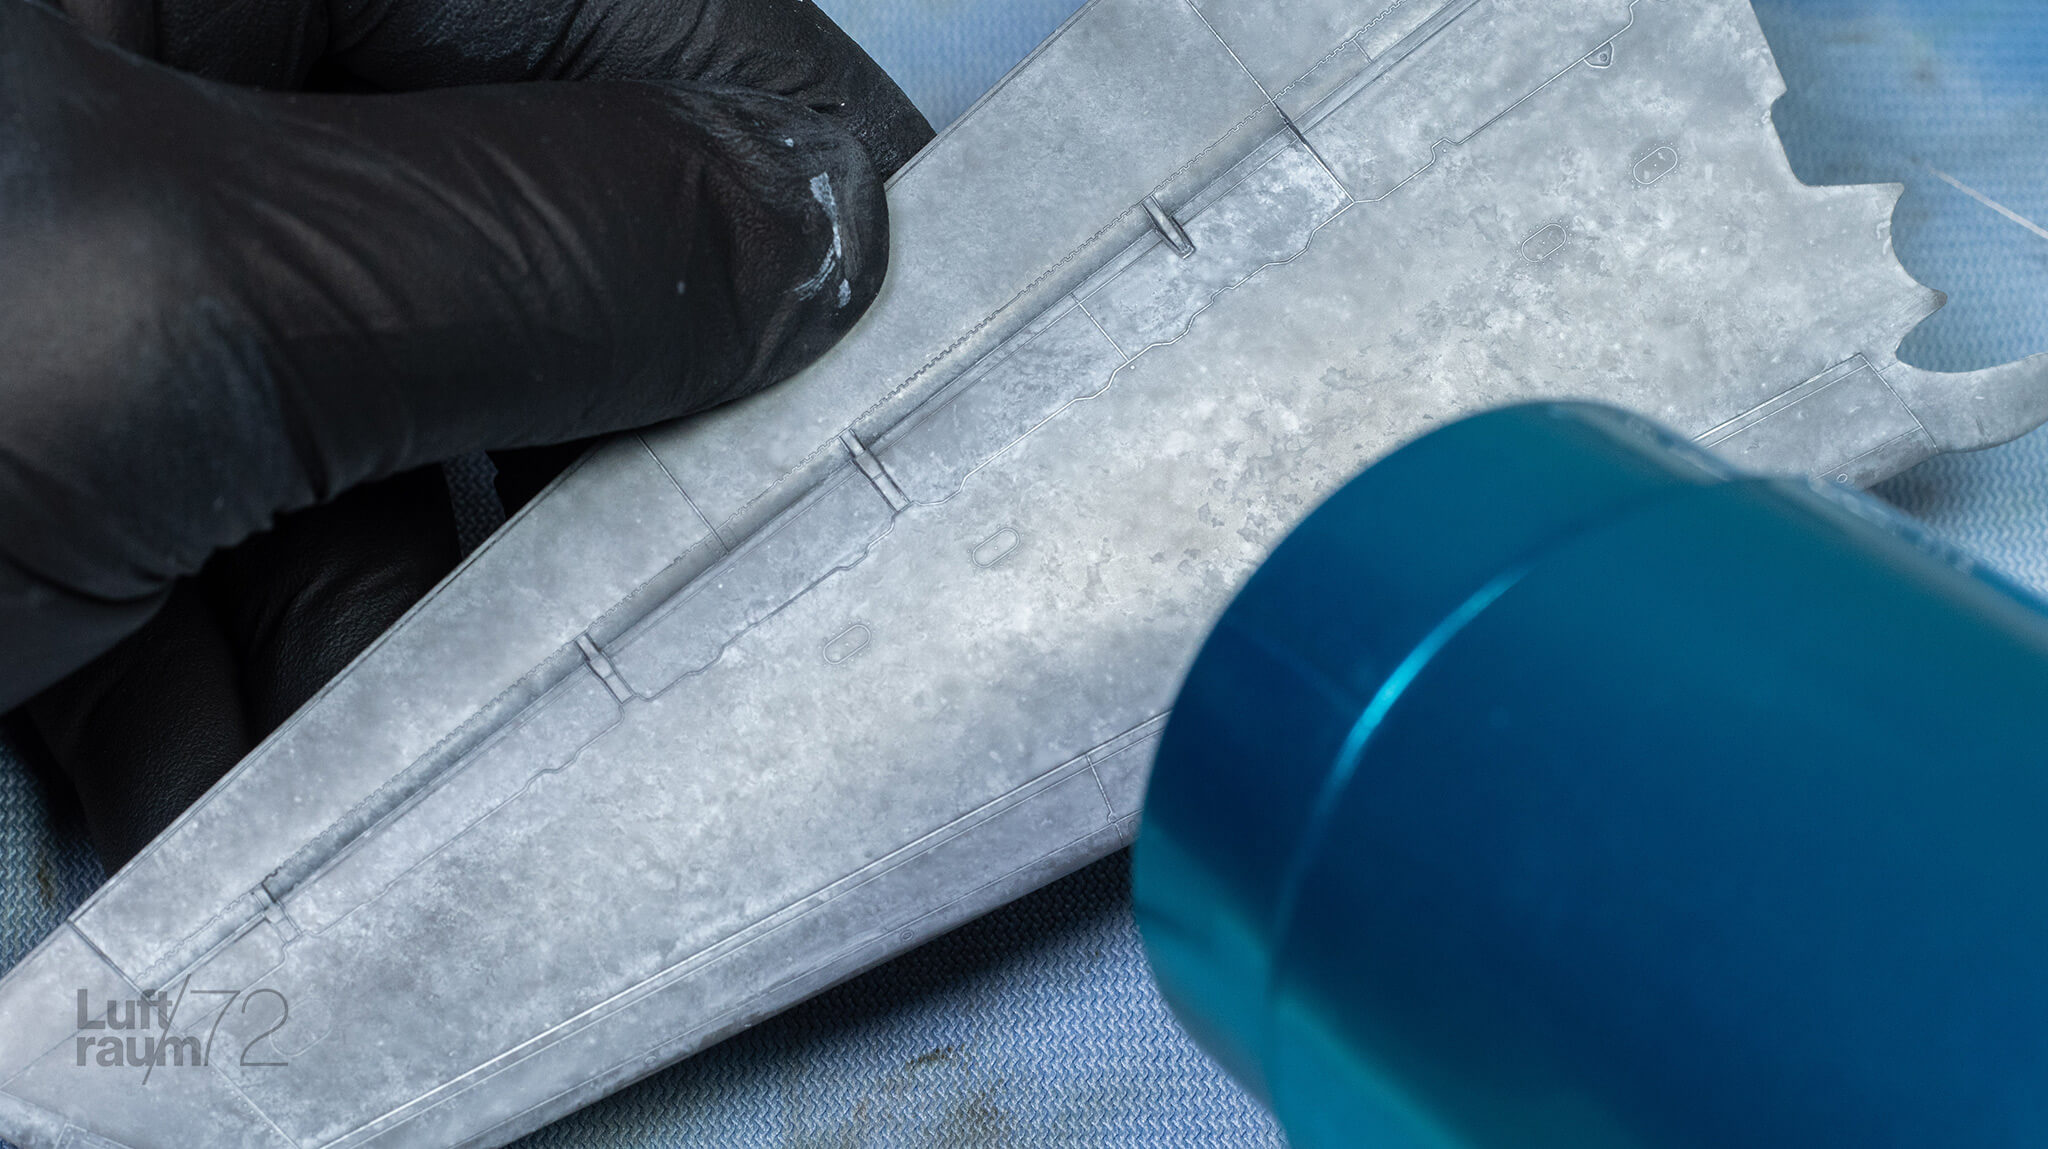
Continue stippling the ink until the thinner begins to dry off, it’s at this point that the mottling pattern will be set, so if a complex effect is desired, continue to work the ink until just about dry. For a smoother visual effect, allow the inks to naturally settle and even out more.
If needed, the drying process can also be accelerated with a hair dryer on low heat.
Step 5
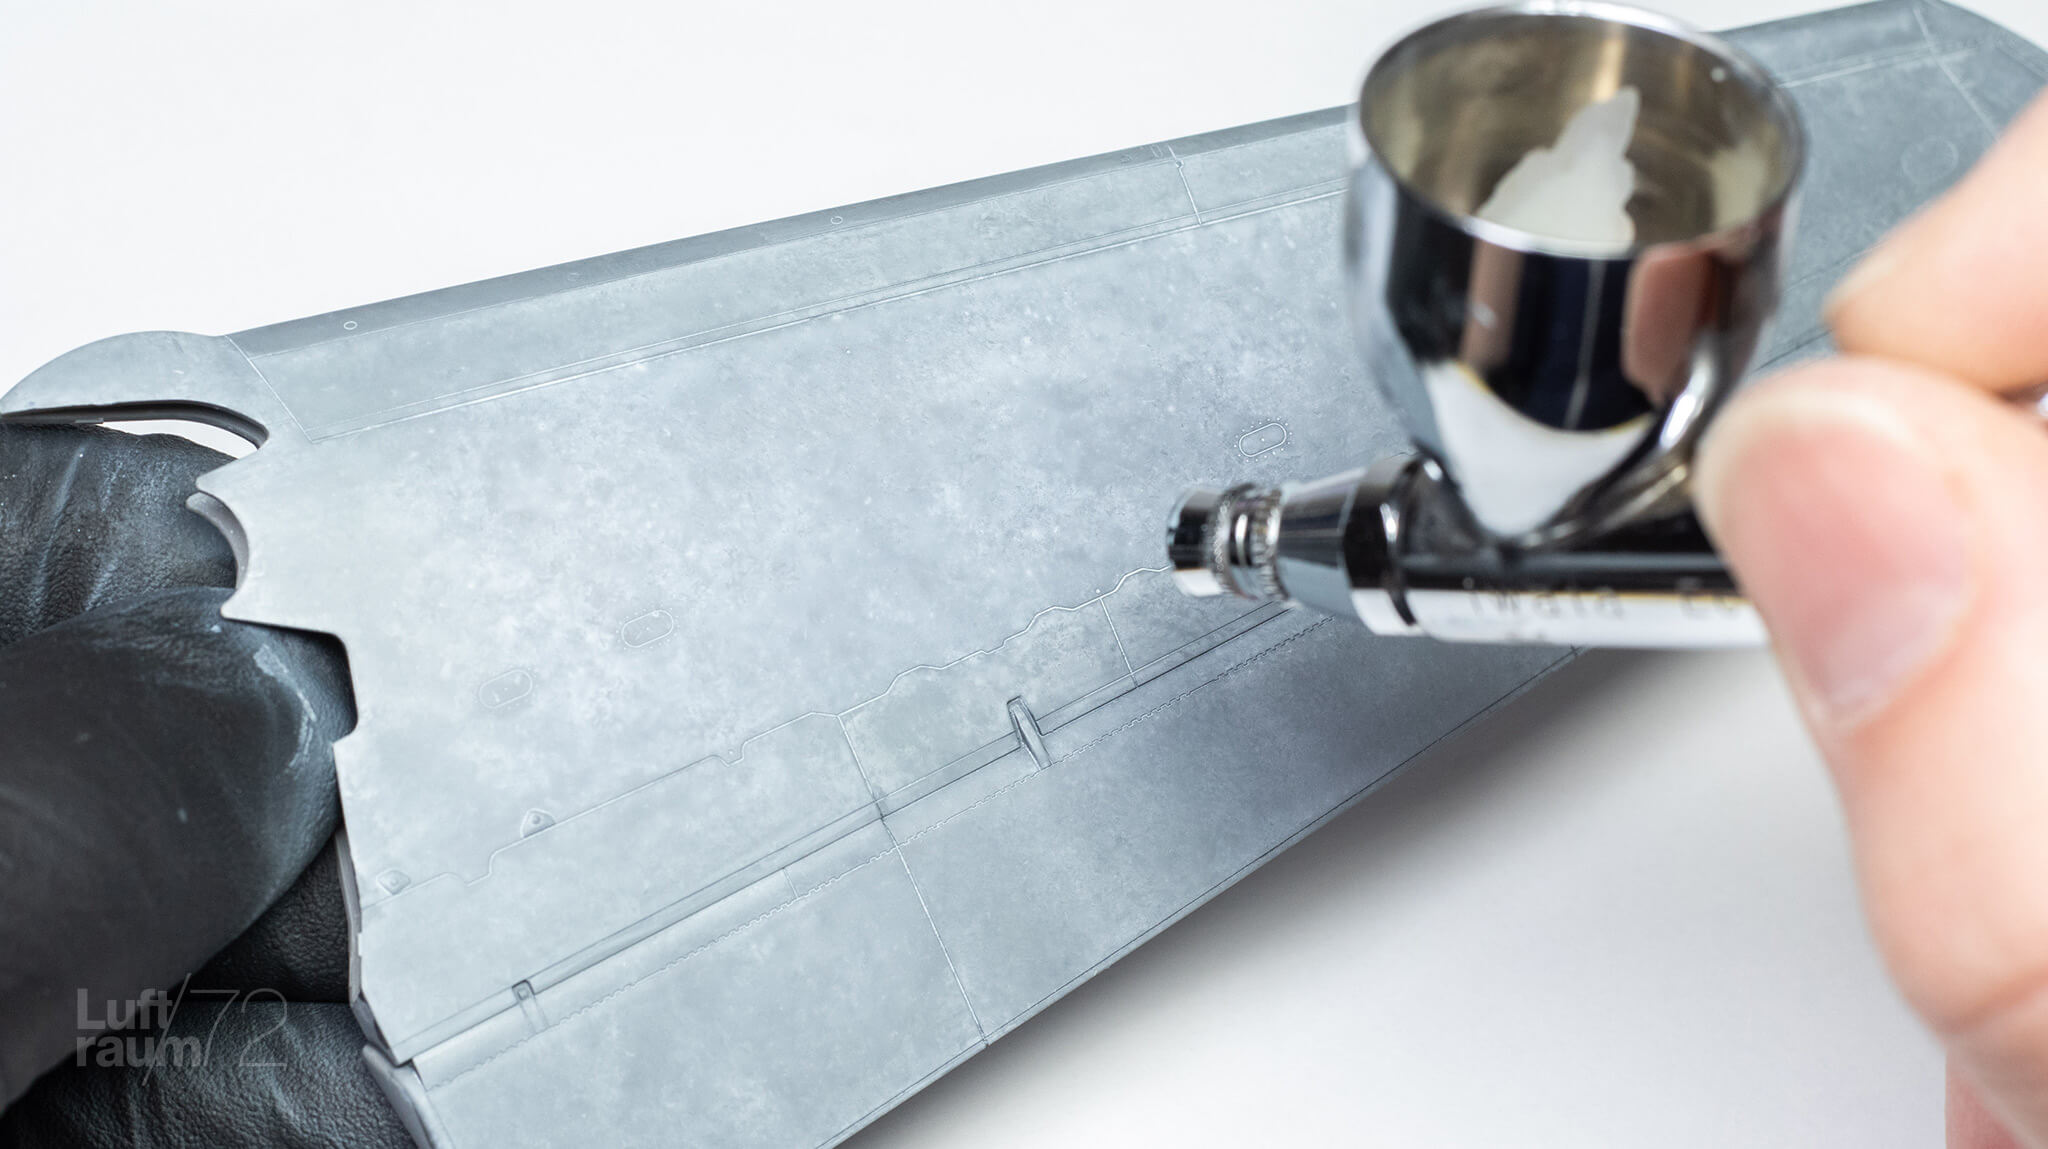
Once the ink is fully dry, the first layer of camouflage colour can be applied. On the wing, the Tomcat’s TPS scheme calls for C337 thinned 3:1 Mr. Levelling Thinner to paint, and sprayed until an opacity of 60-65% is achieved. Any heavier and there’s a risk the effect of the white ink will be obscured.
Step 6
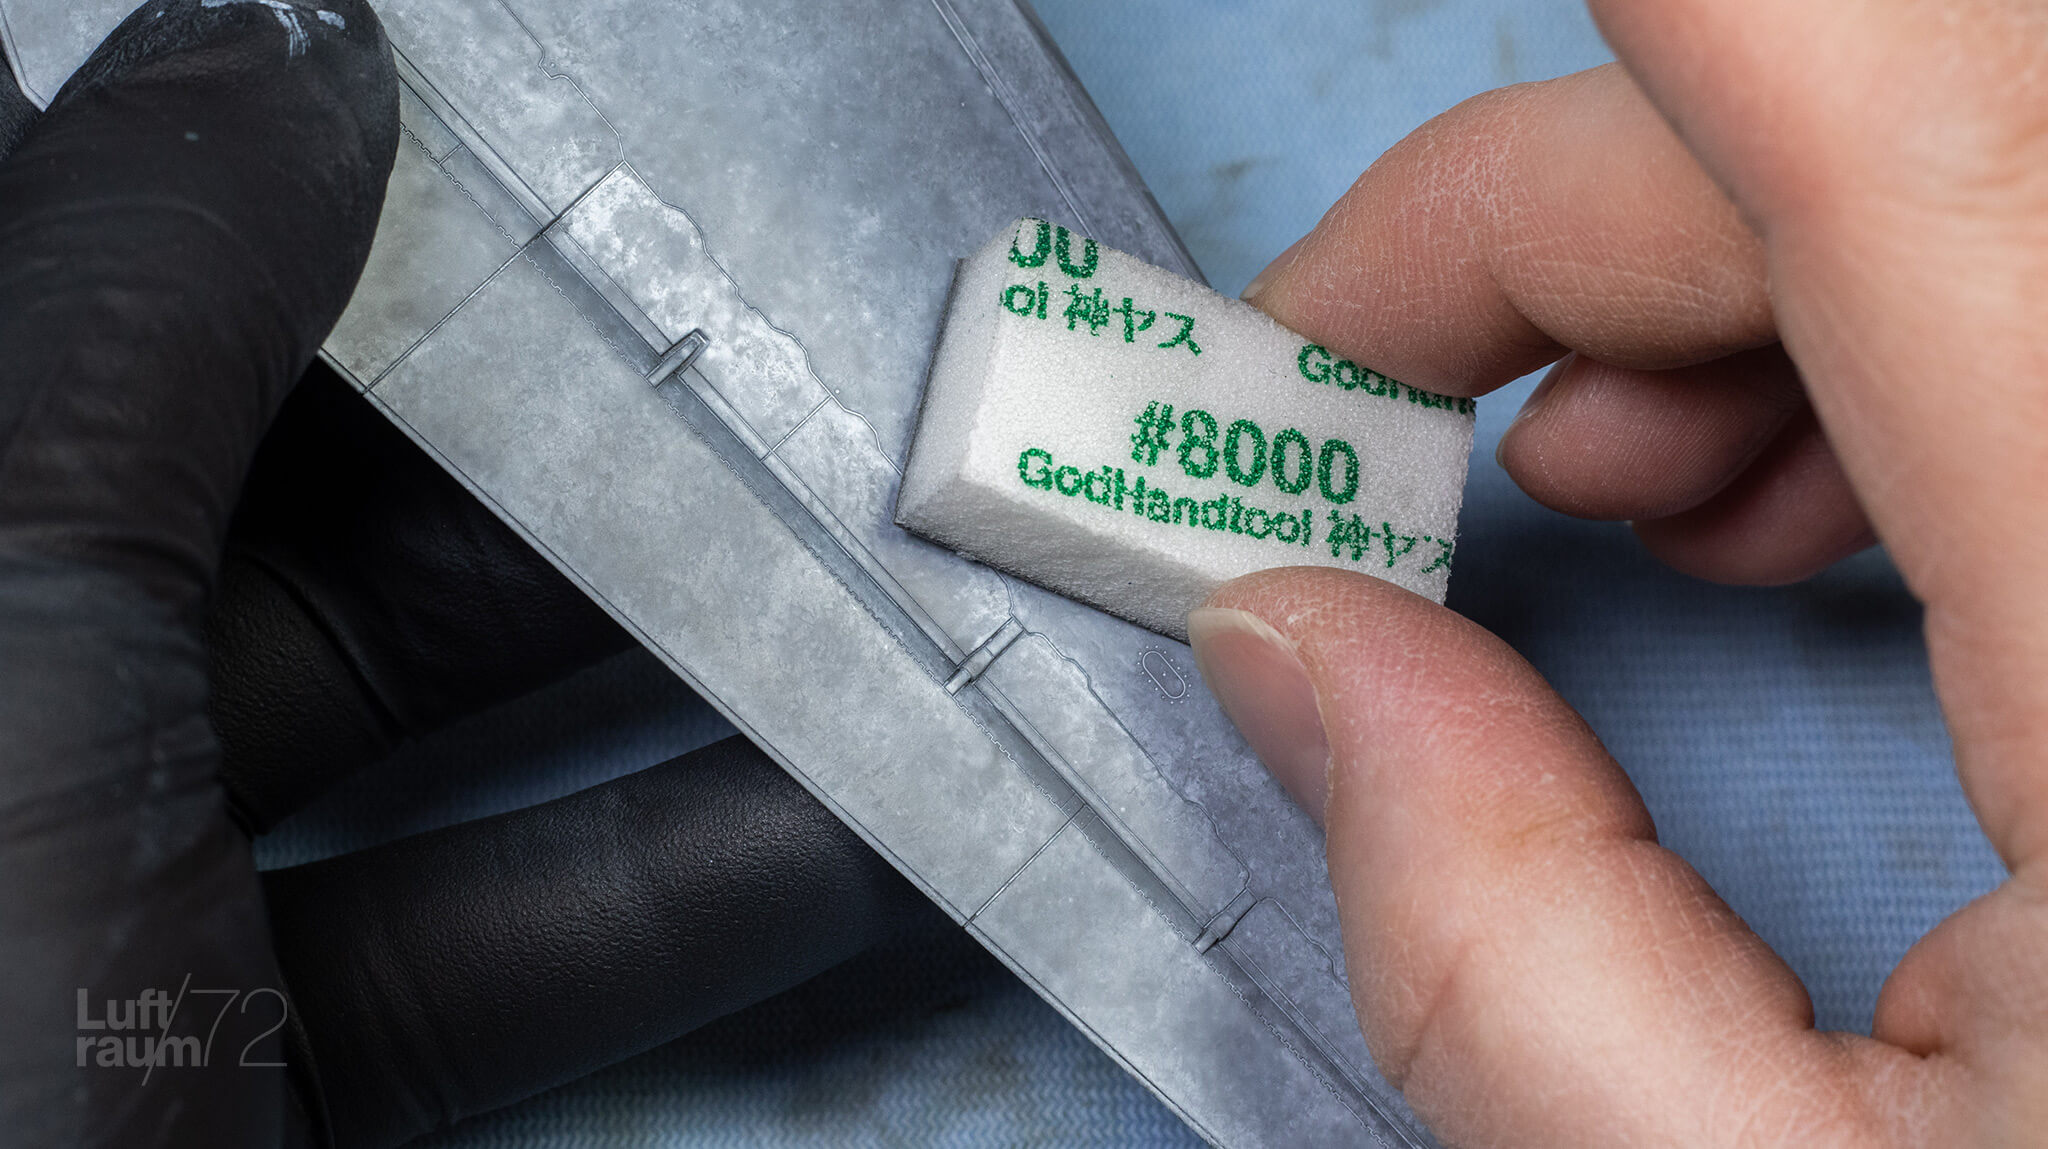
To provide some protection for the next step, a coat of Gunze Semi-Matte is applied (50:50 mix of GX gloss and flat), and once dried, lightly sanded with 6000 or 8000 grit sanding sponge.
The point is not to polish the surface to an even finish, rather to level out the highest points (on a micro scale). This creates areas that will both resist and collect the ink used in the next layer.
Step 7
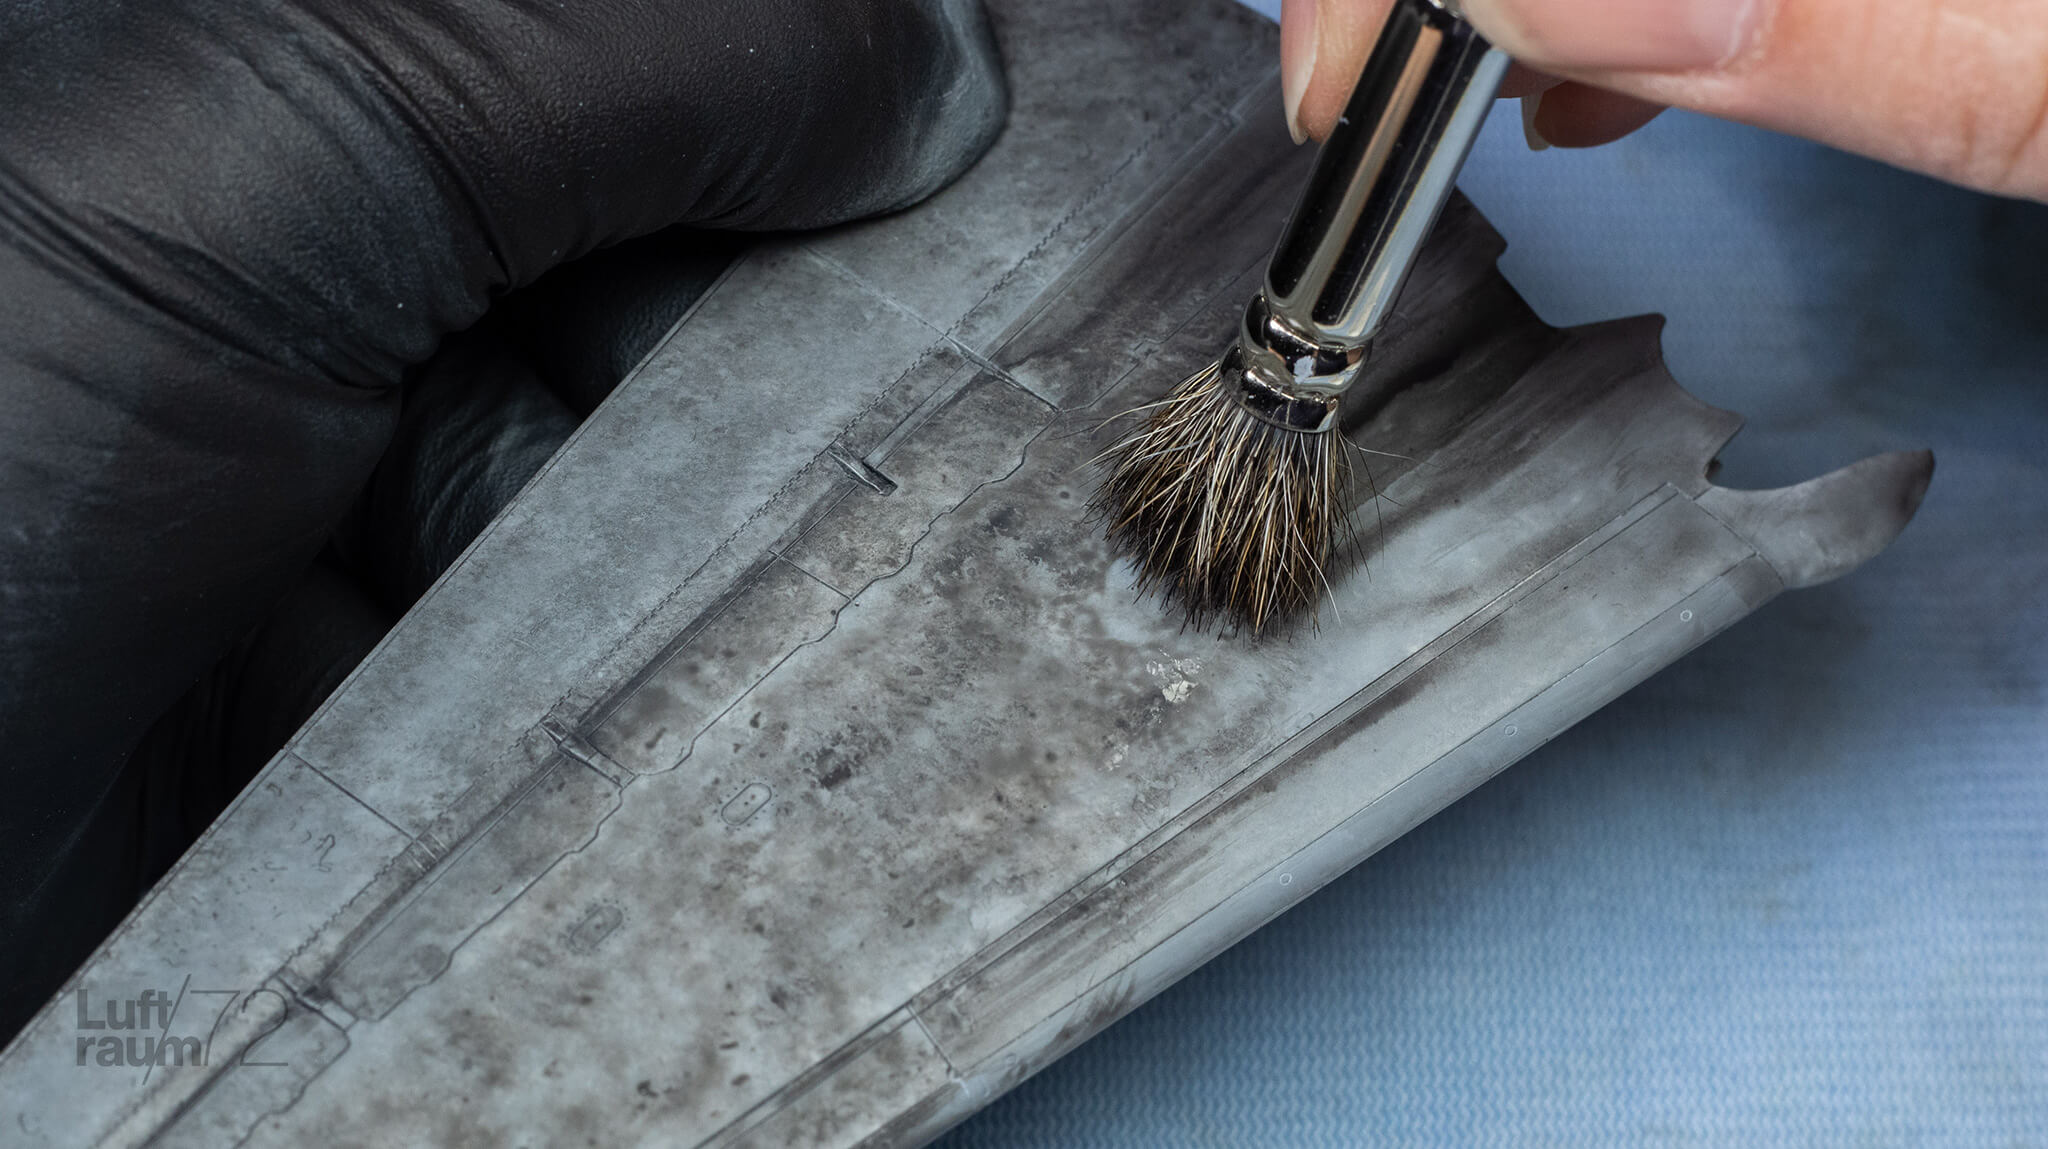
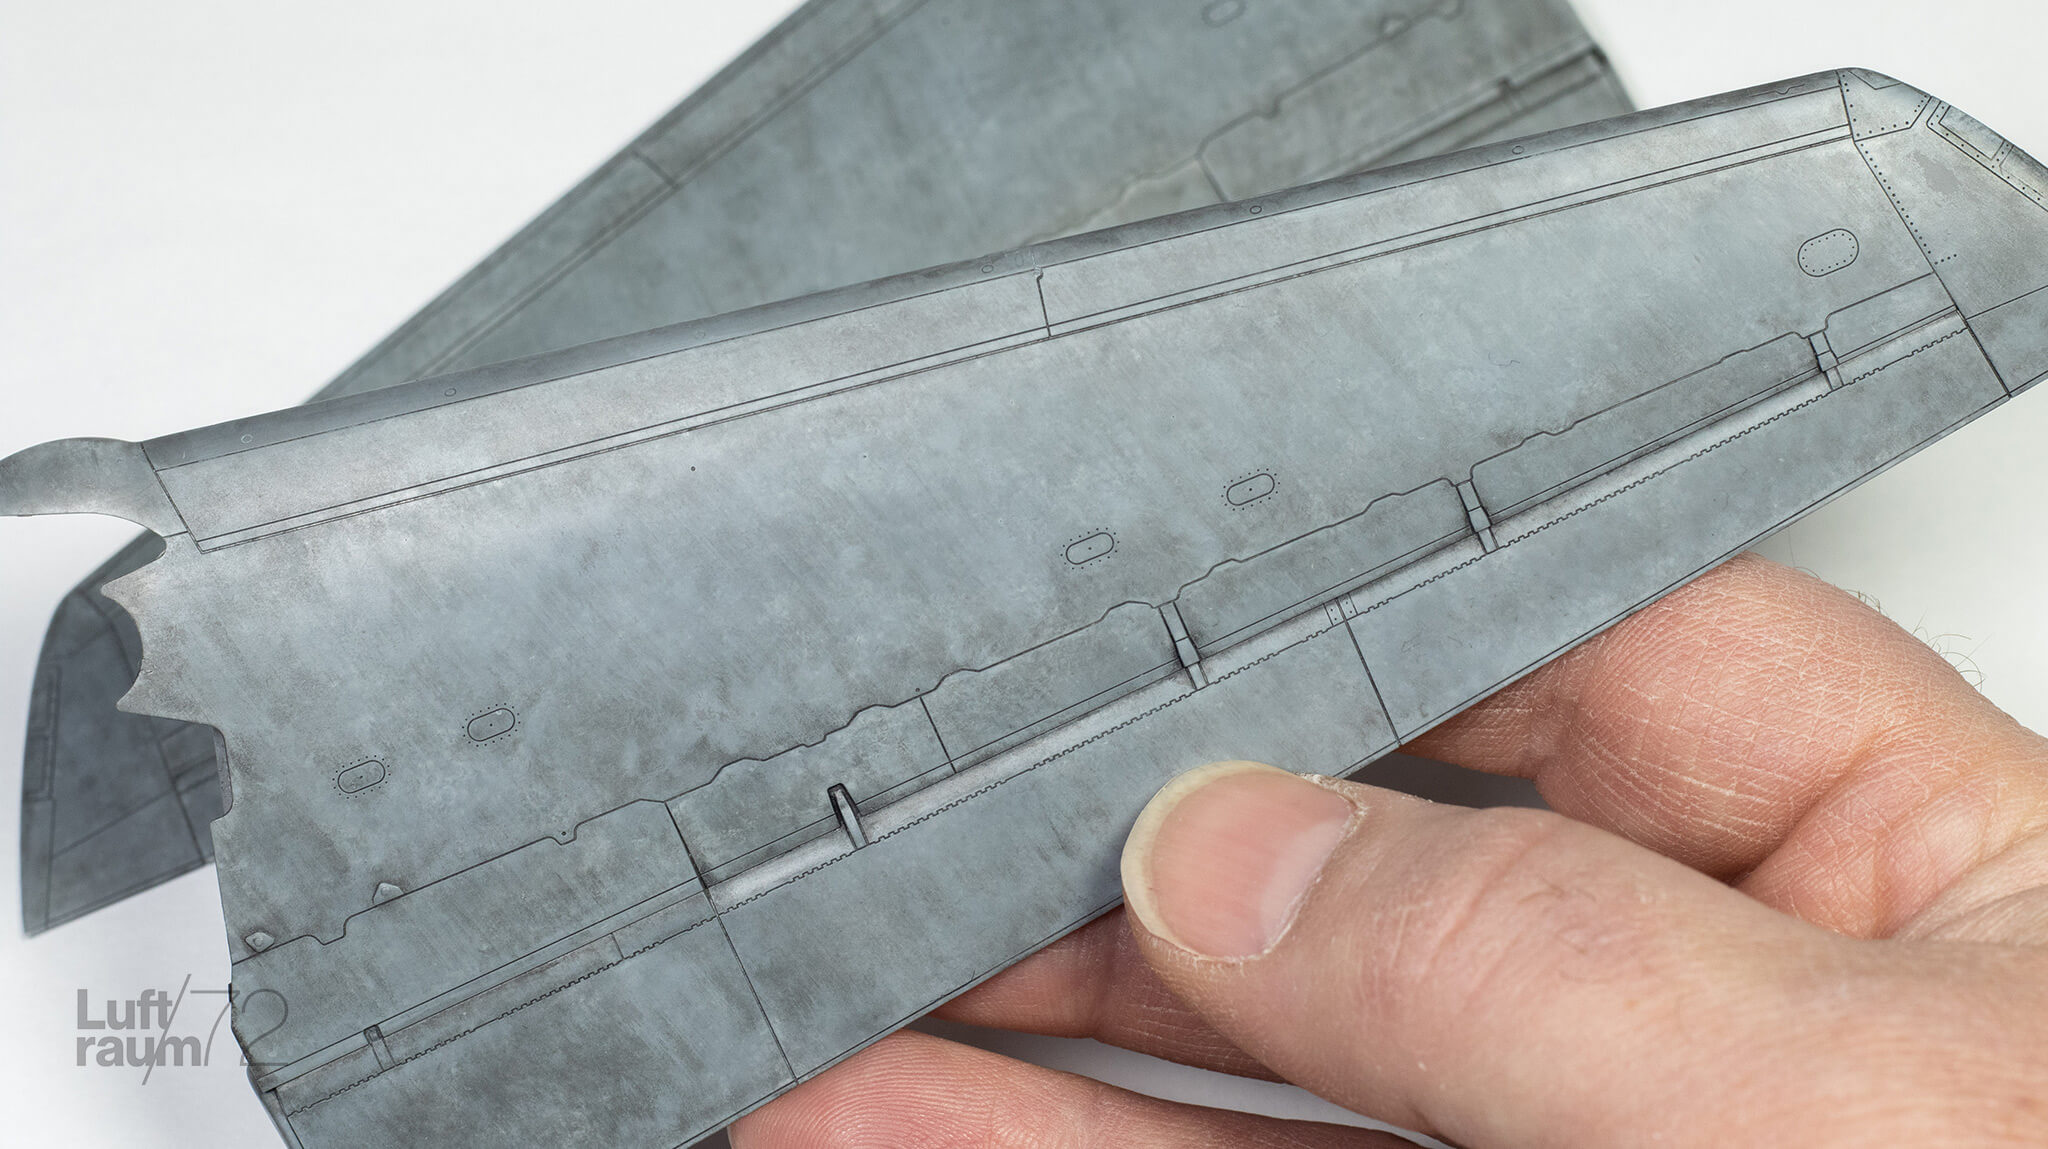
Steps 2-4 are repeated with a dark grey ink (2:1 Carbon Black to Titanium White).
Step 8
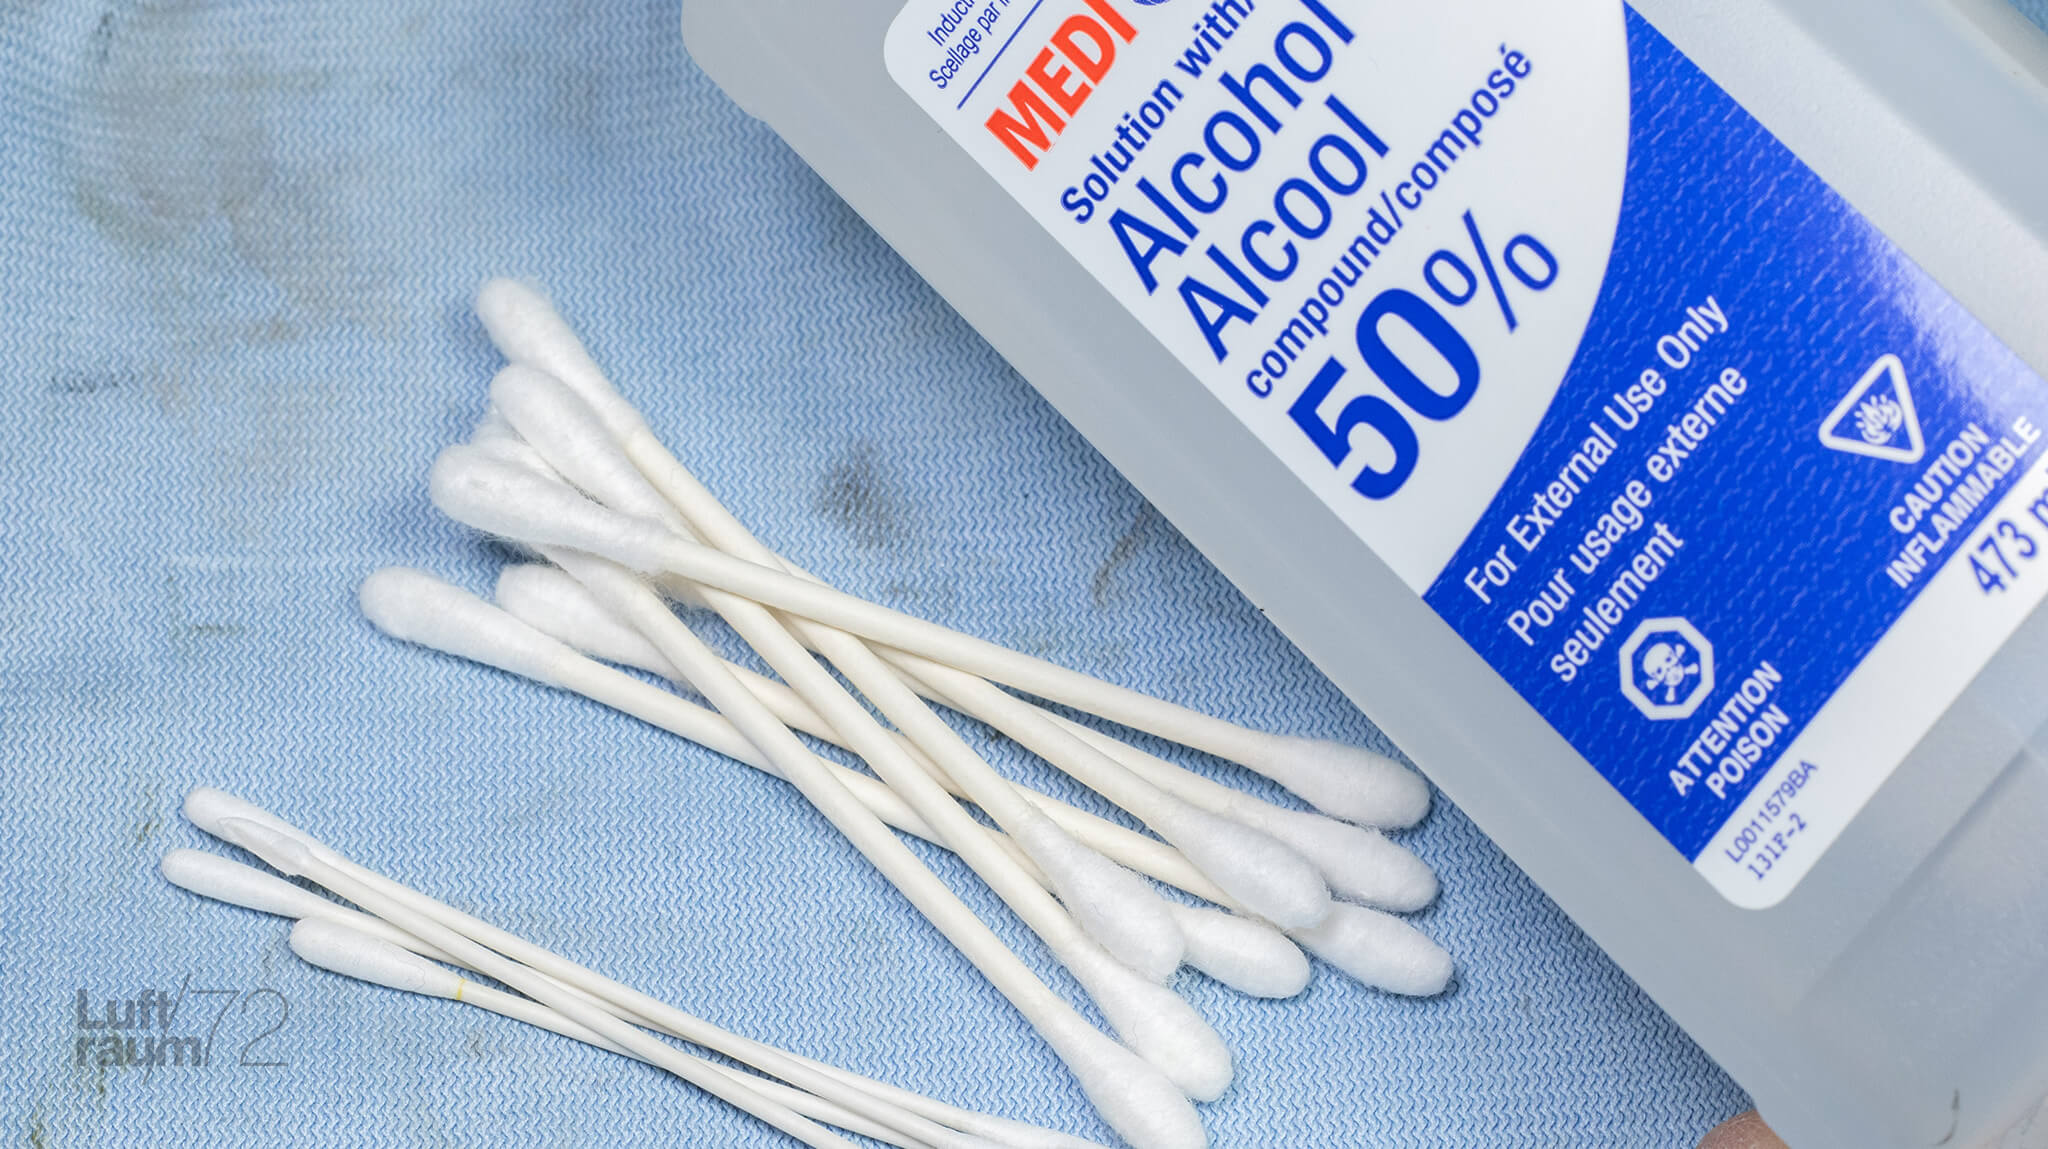
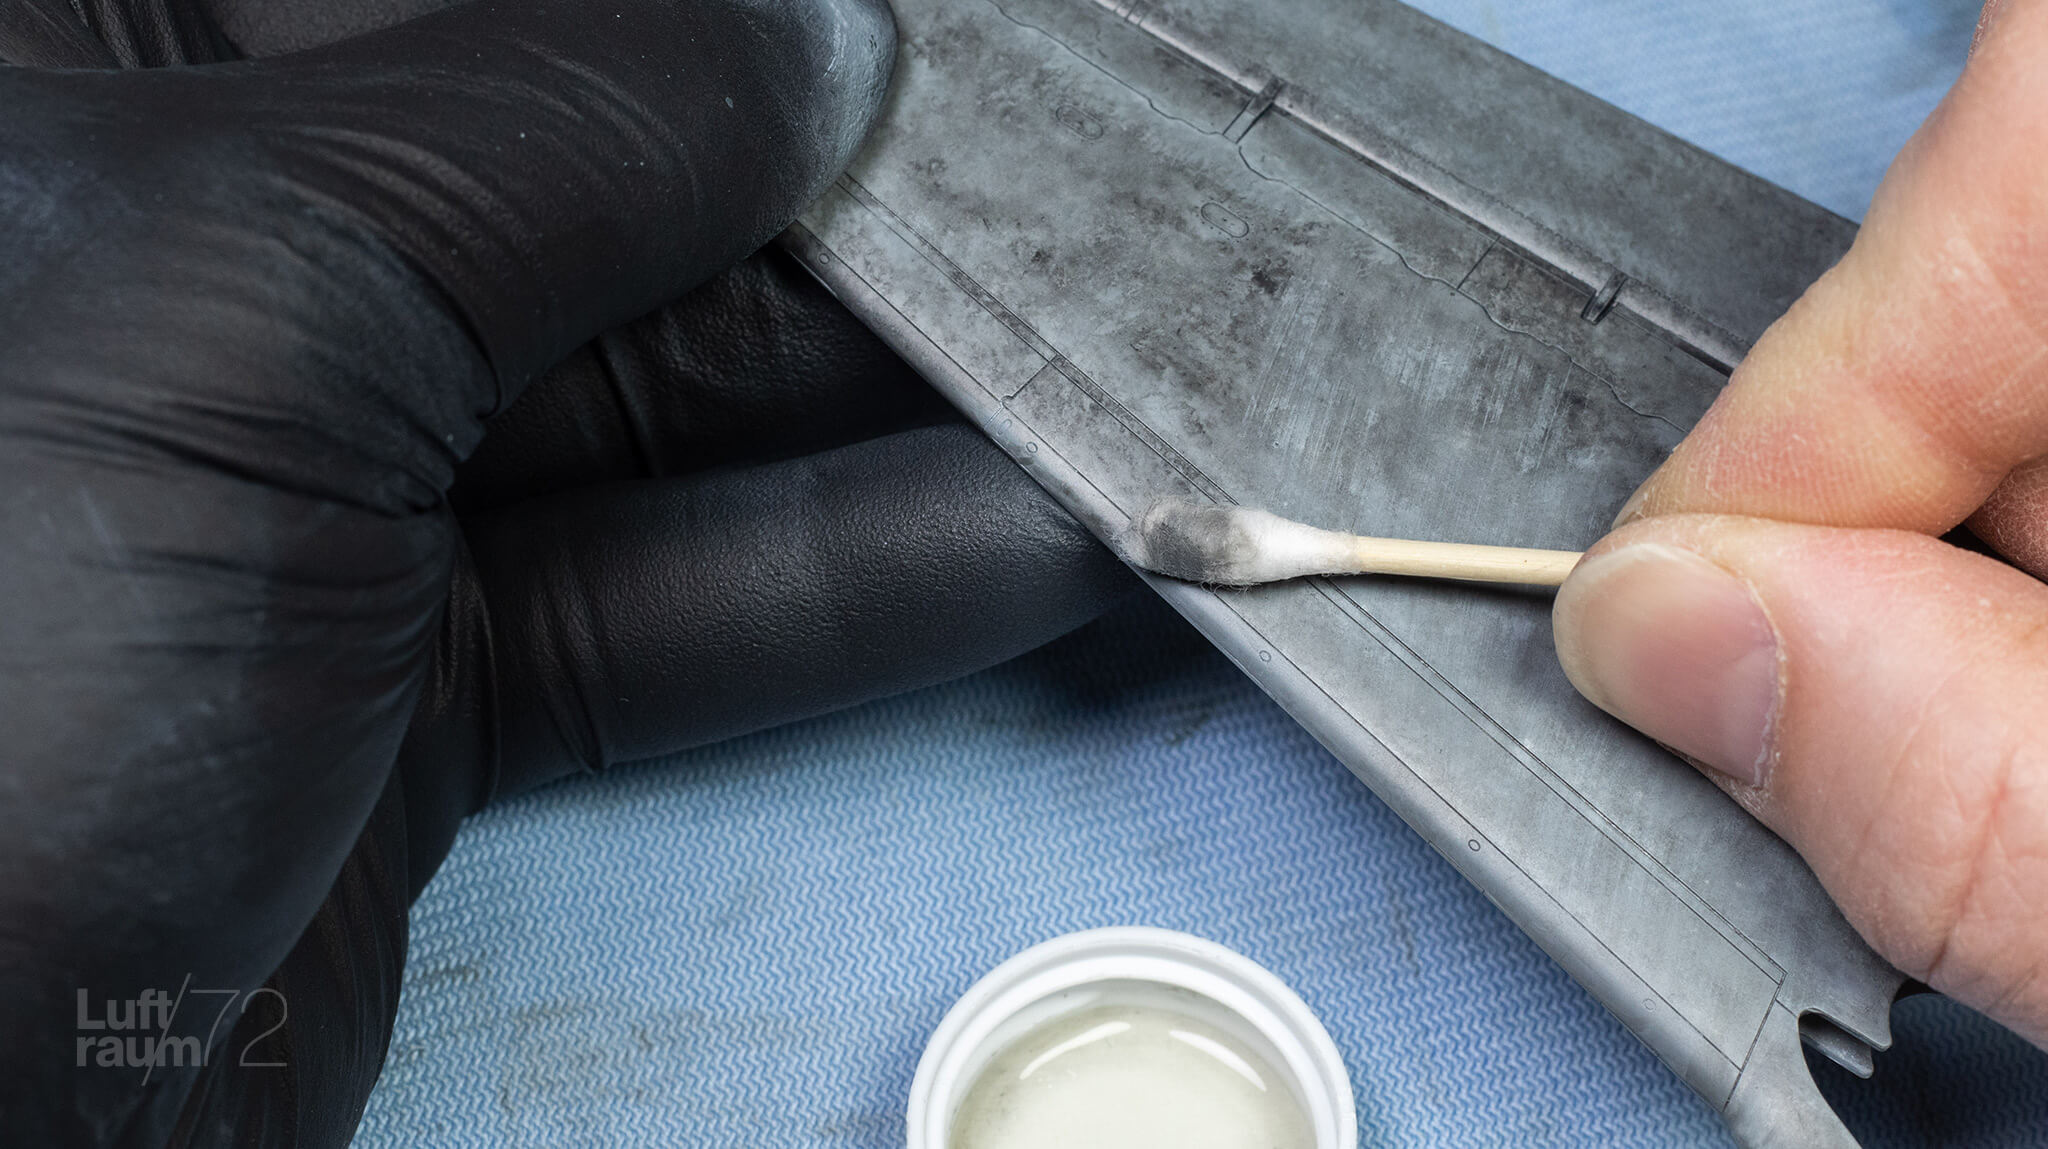
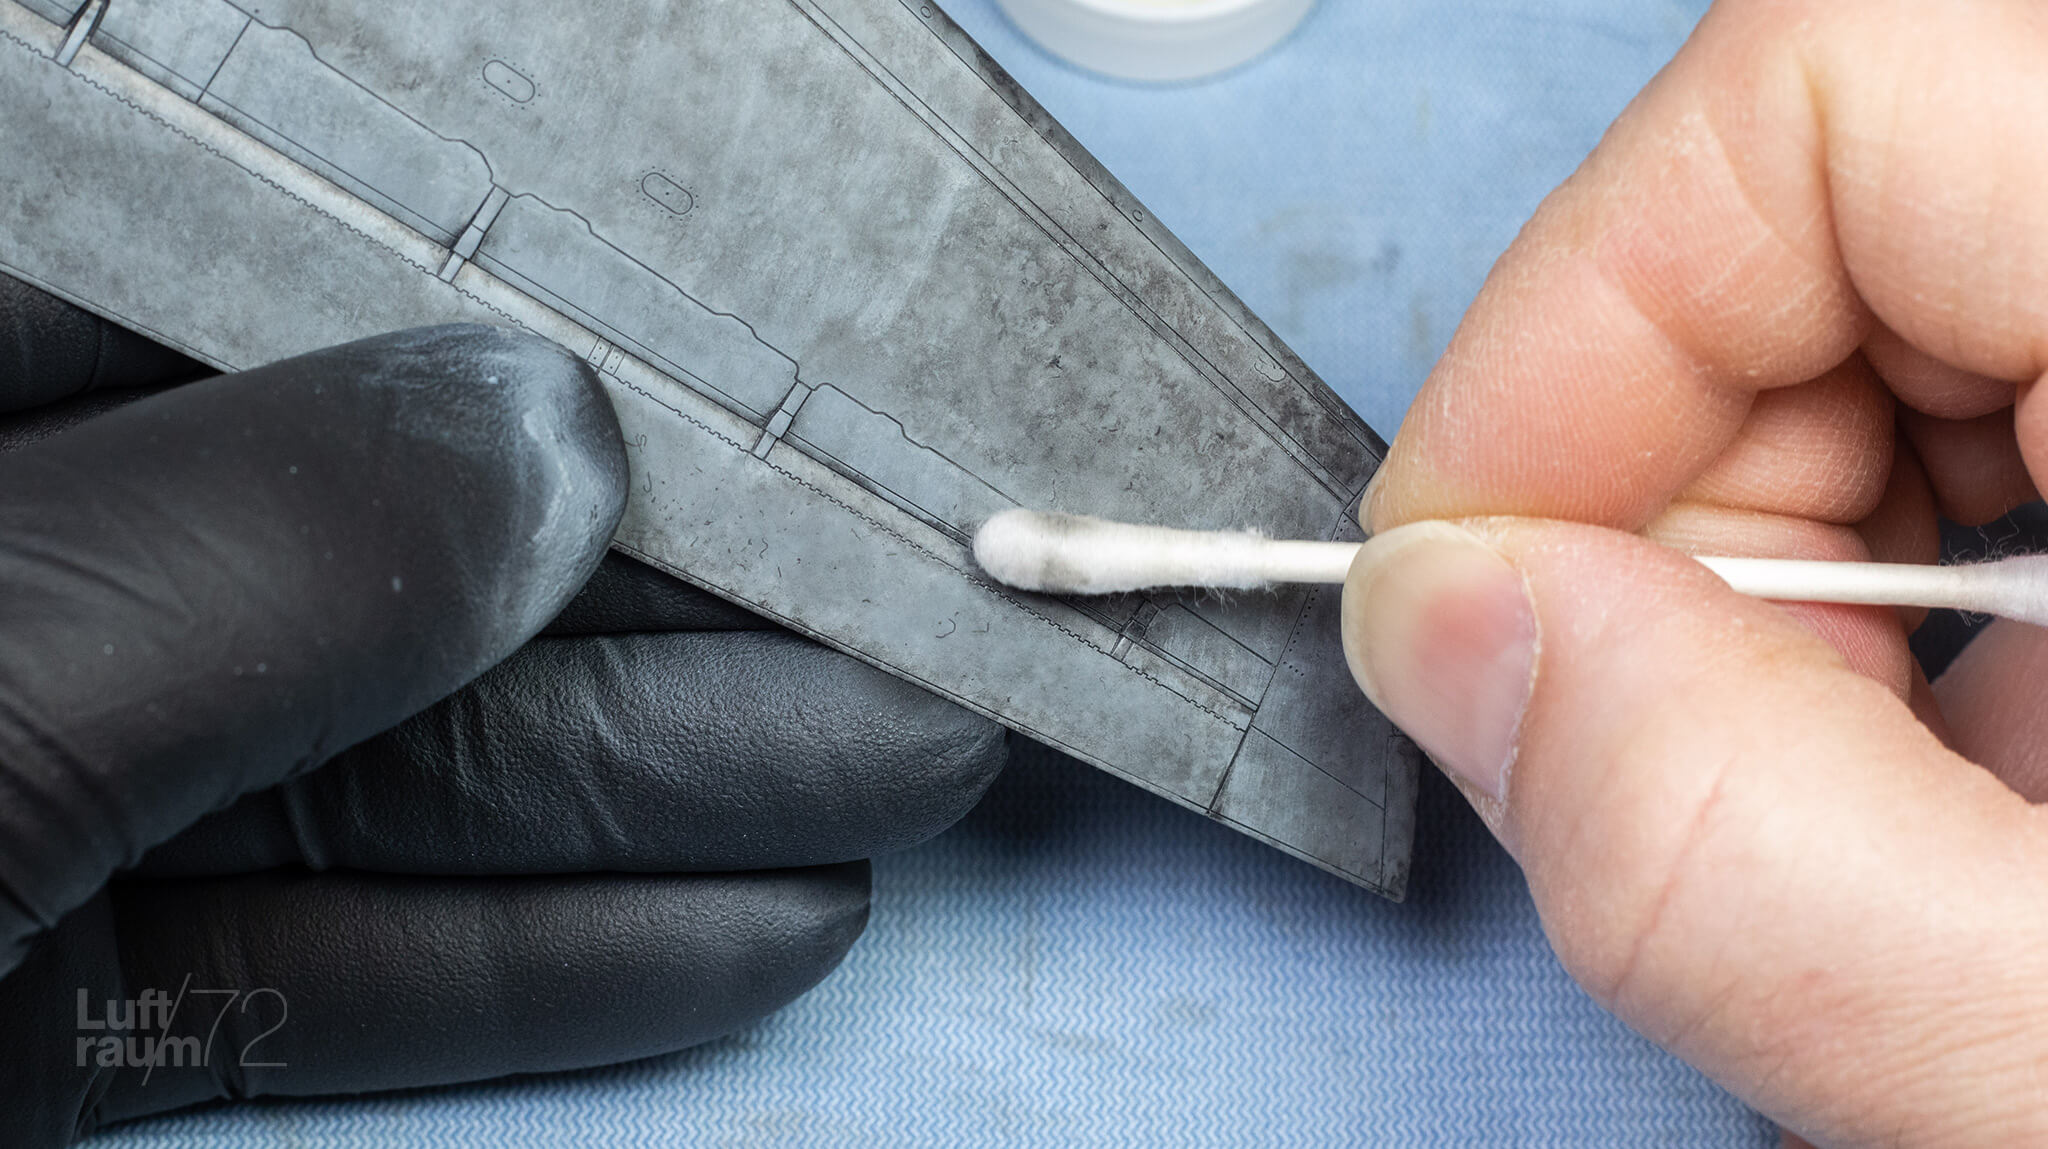
Using a quality swab or lint-free cloth lightly wetted with IPA (max 80%) or X-20A — I typically start at 50% IPA, then work my way up through the stronger solvents to X-20A, as necessary — begin to gently wipe the surface to remove excess ink. This will lift the dried grey ink, leaving small pockets of it dotting the surface. For streaking effects, try to swab in the direction of airflow whenever possible.
Exercise caution as too much thinner or pressure on the swab can cause the underlying layers to lift, even with lacquers. This is the reason for the extra coat of varnish in Step 6.
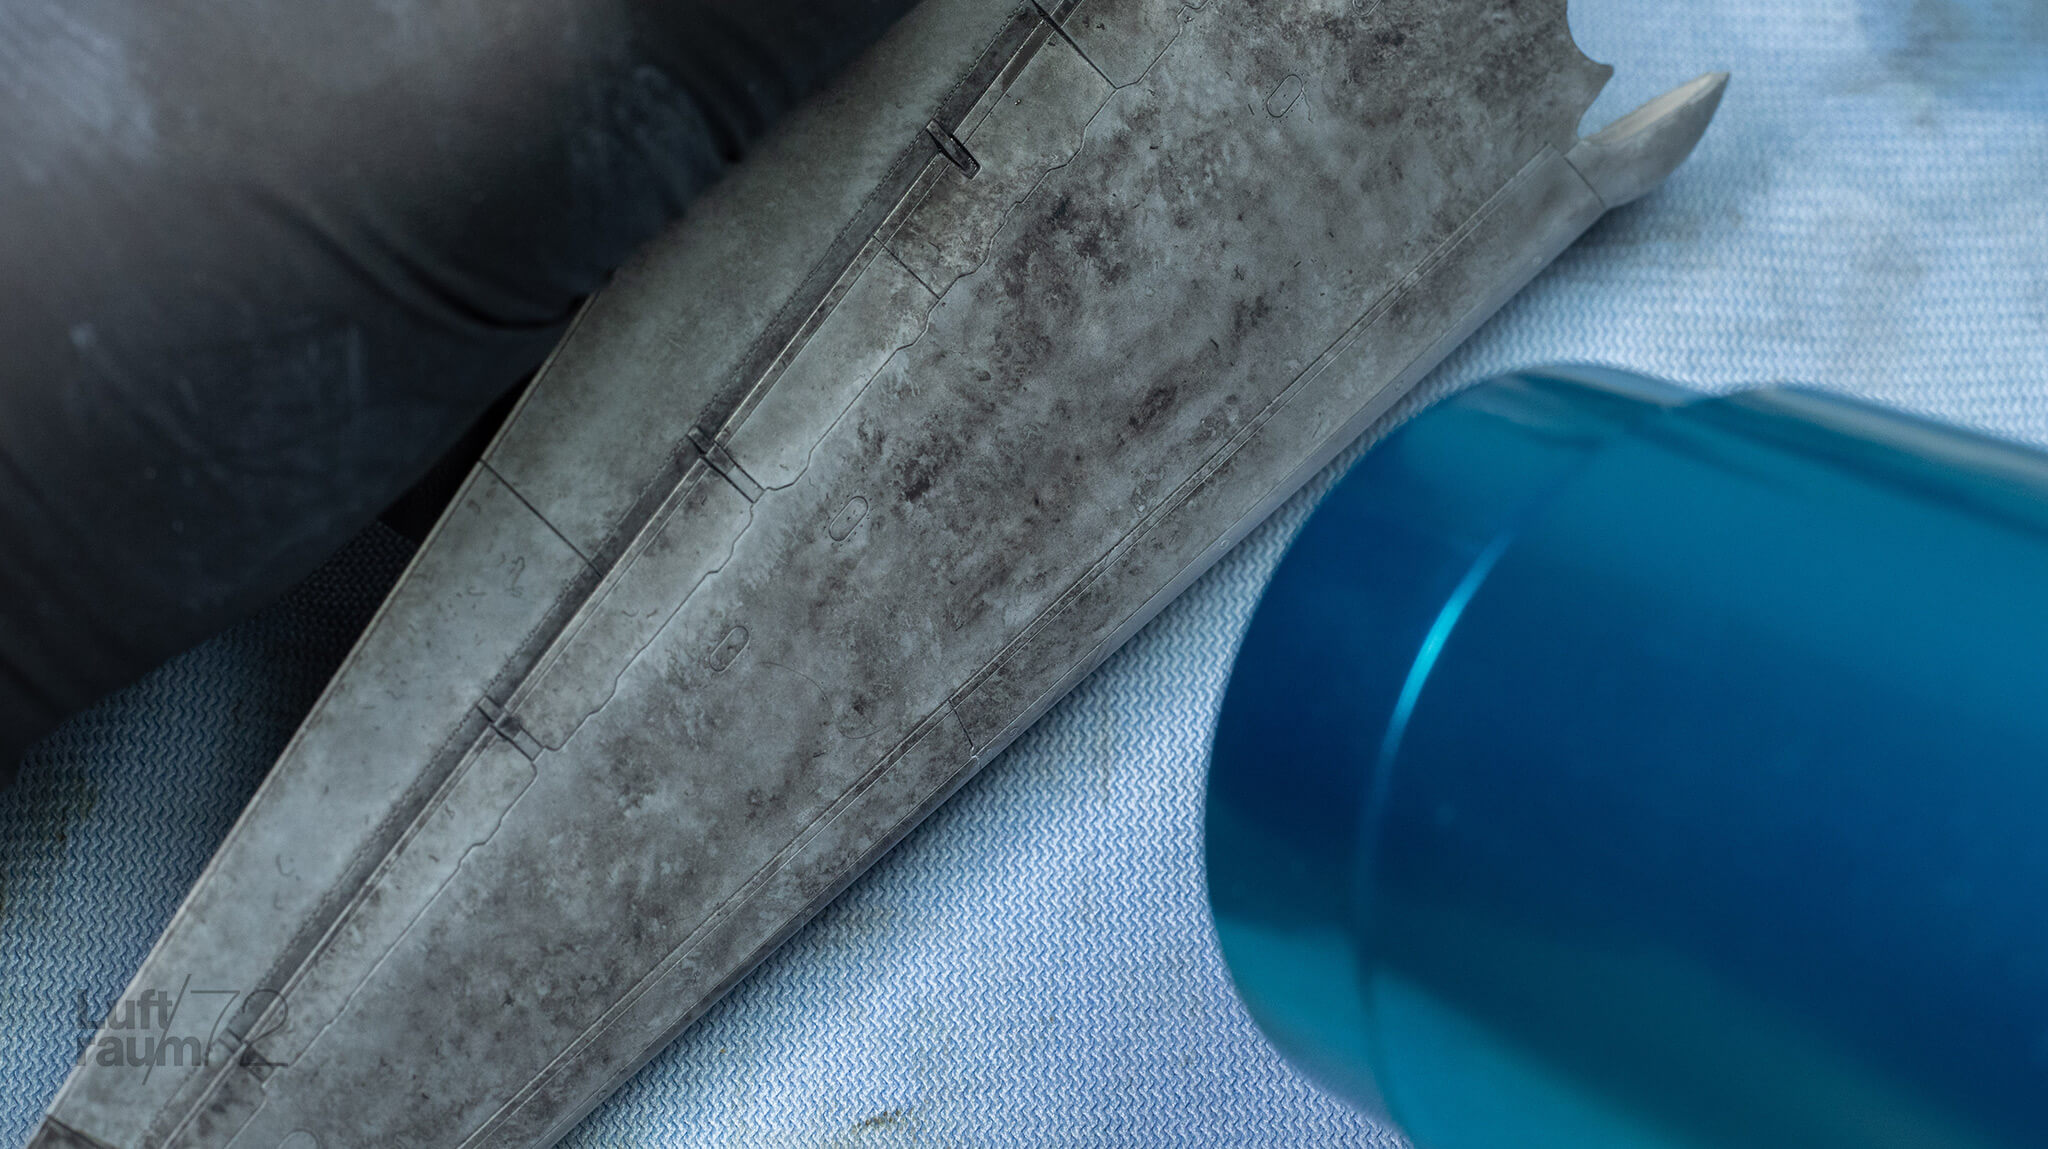
Vary the intensity of the effects on different panels by controlling how much ink you remove, or by how much camouflage colour you apply in Step 9.
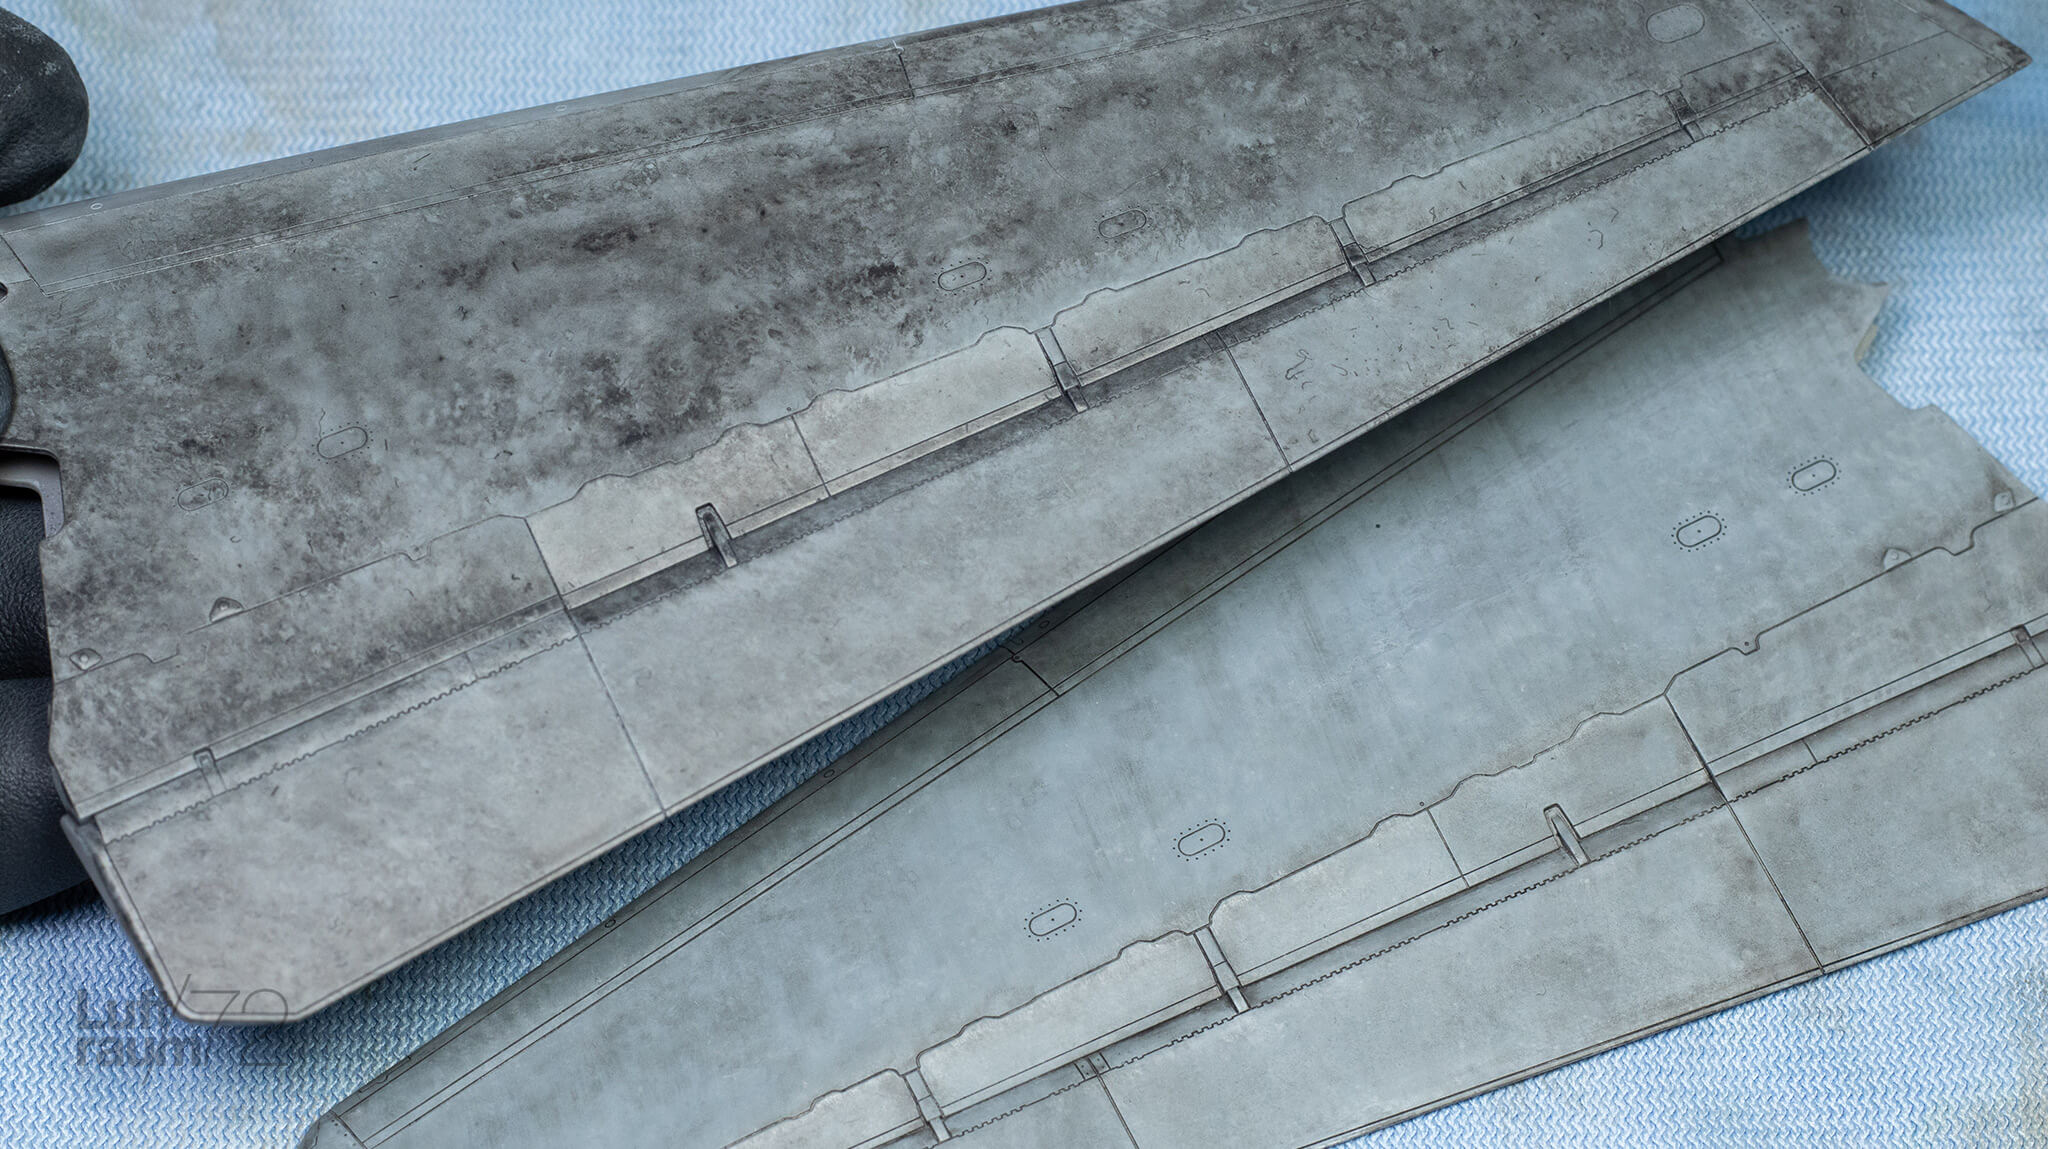
Comparison of wings before and after removal of excess ink.
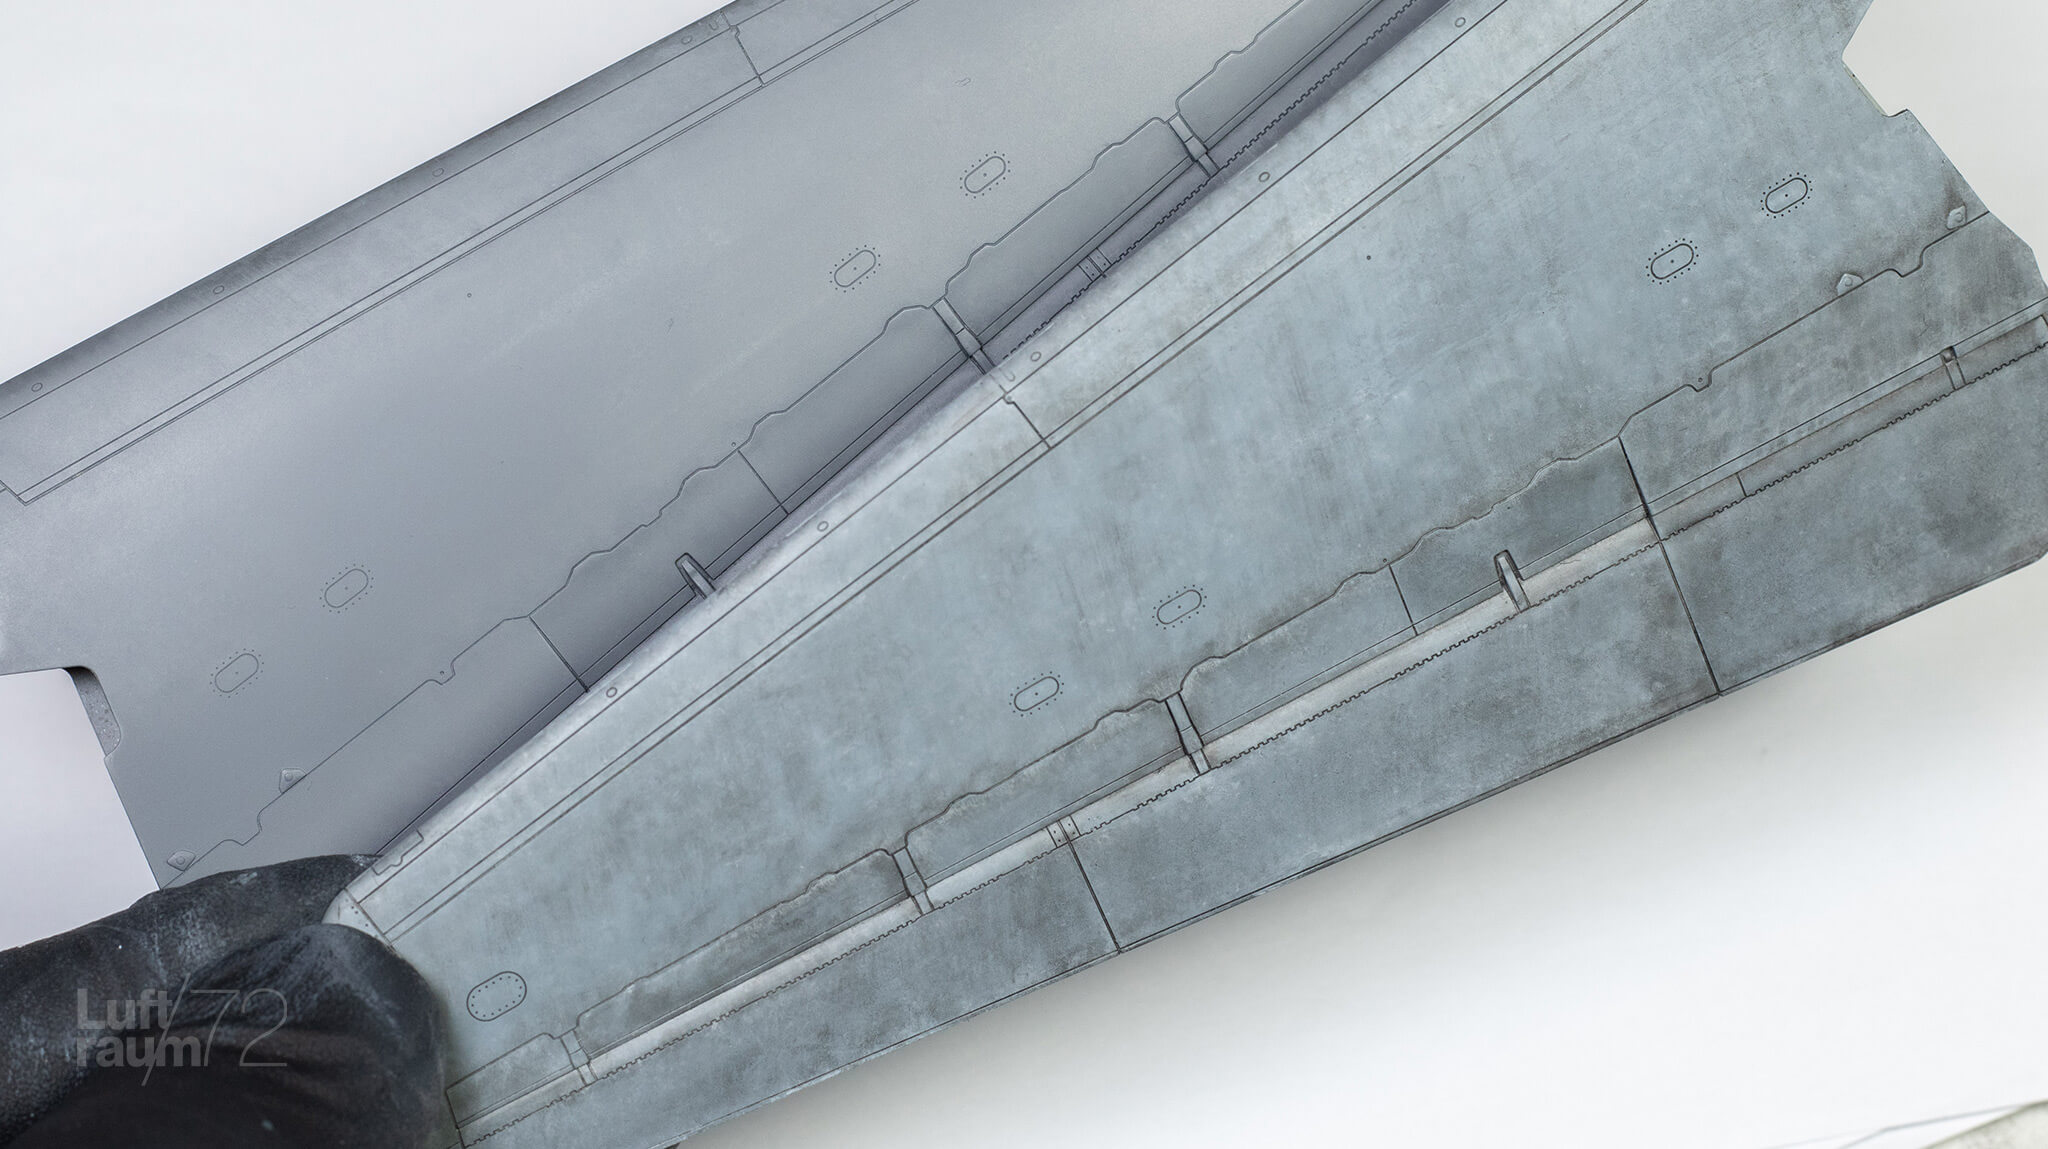
Step 9
Once fully wiped down, the second application of camouflage colour can be applied, if necessary. This time the Gunze C308 is thinned 4:1 with Mr. Levelling Thinner, and is applied to put 20-30% opacity, essentially just enough to shift the colour back to the appropriate hue. Even with a thin application of the camouflage colour, the grubby browns of the ink still show through nicely, giving the effect of accumulated grime.
Also of note, a secondary benefit of the grey ink layer is the way in which it has already addressed all the panel joins with a nice subtle effect.
Image above contrasts the finished effect next to an unfinished wing.
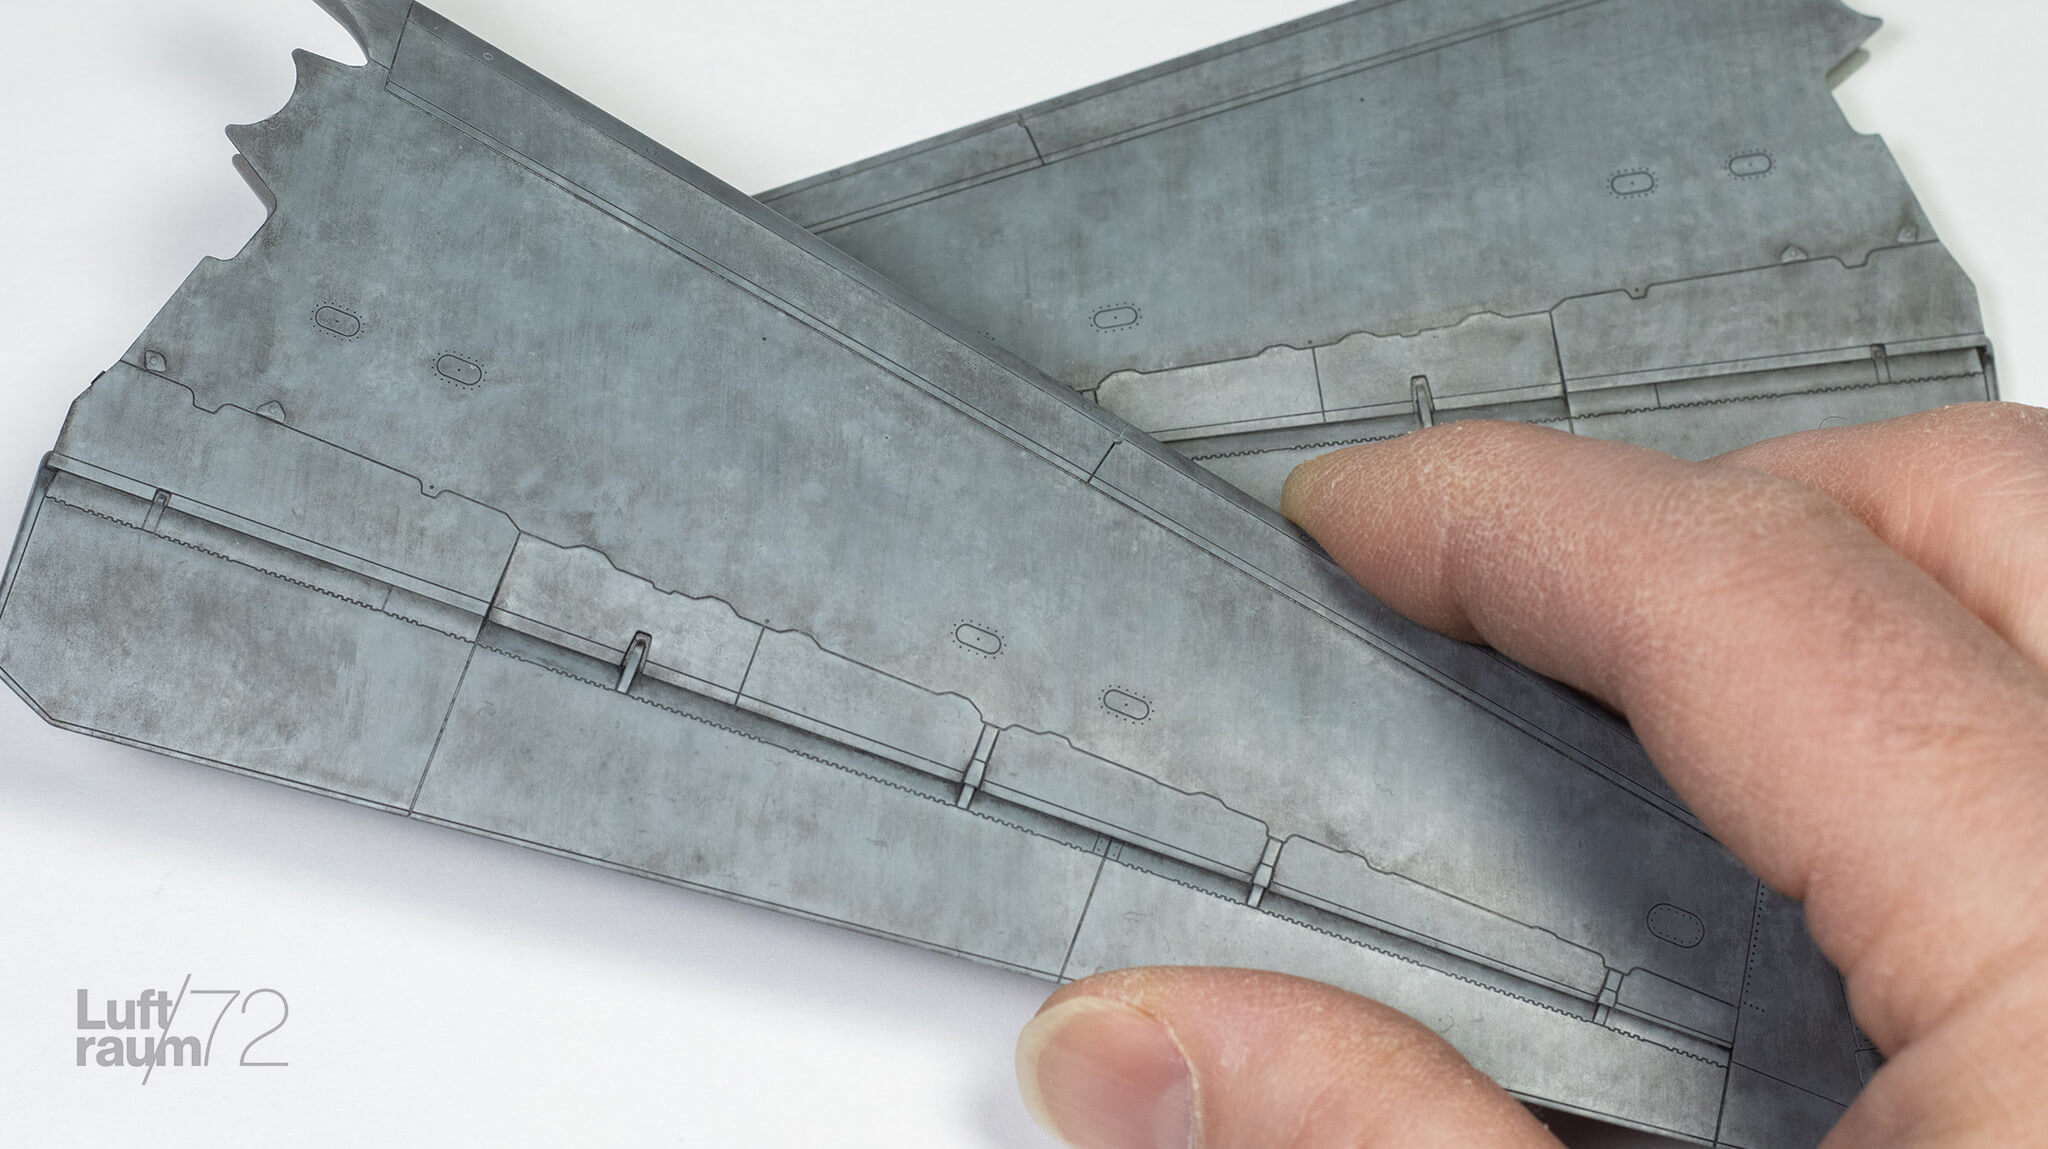
Next Steps
At this point, the wing is done and ready for decaling. Of note is how the dark grey ink has already addressed the panel joins, filling them with a nice subtle grey. All that remains would be to touch up any panel joins overlaid by a decal with a panel line wash.
While the grey of the TPS scheme doesn’t really call for anything further than simple black and white, the wide range of Liquitex inks would work equally well with with virtually any camouflage scheme. Buy a few, experiment, and see what works for you!
Like what you see? Learn something new?
If you’ve found this tutorial helpful, and would like to see more in the future, please consider making a small contribution through Buy Me a Coffee. Simple, safe and secure, it’s a great way to say thanks!
Super Detailing the F-14 Tomcat goes deep on the techniques, materials and philosophies that went into my super-detailed build of Tamiya’s superlative 1/48 Tomcat, but are equally useful on any aircraft or detailing project.